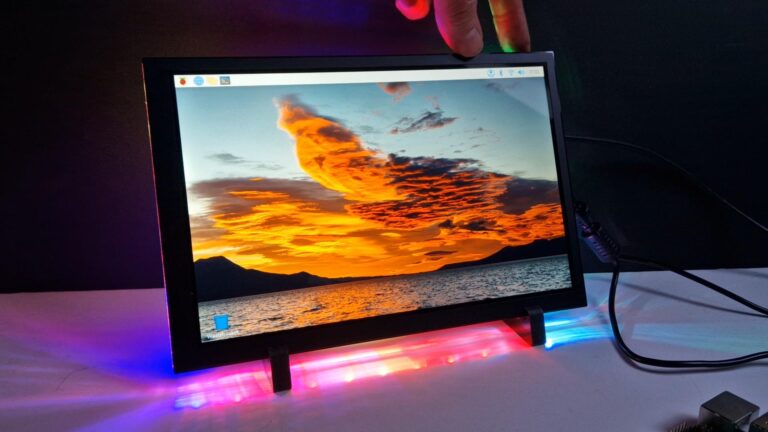
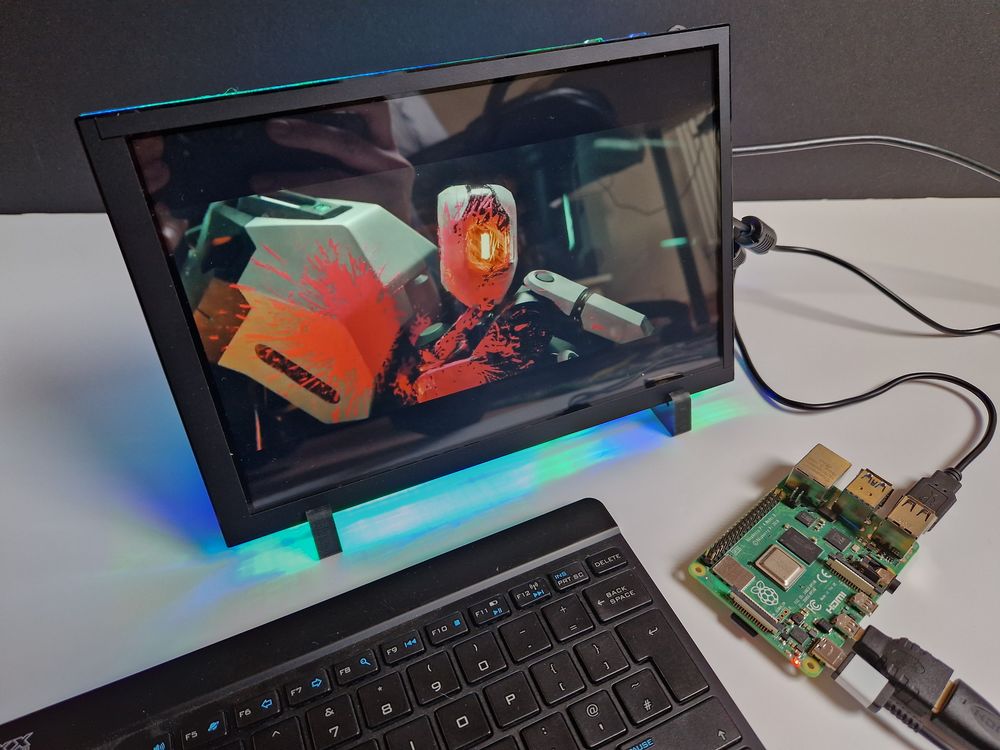
Elecrow have recently launched their Meteor 10.1 inch IPS touchscreen monitor with HDMI input. It makes a perfect Raspberry Pi screen. It’s standout feature is a ring of RGB LEDs mounted in the outer edge of the case. These LEDs are capable of producing 19 different light patterns to add a sense of atmosphere to any project.
Elecrow sent me one free of charge with the only requirement for me to share my thoughts on it, whatever they may be.
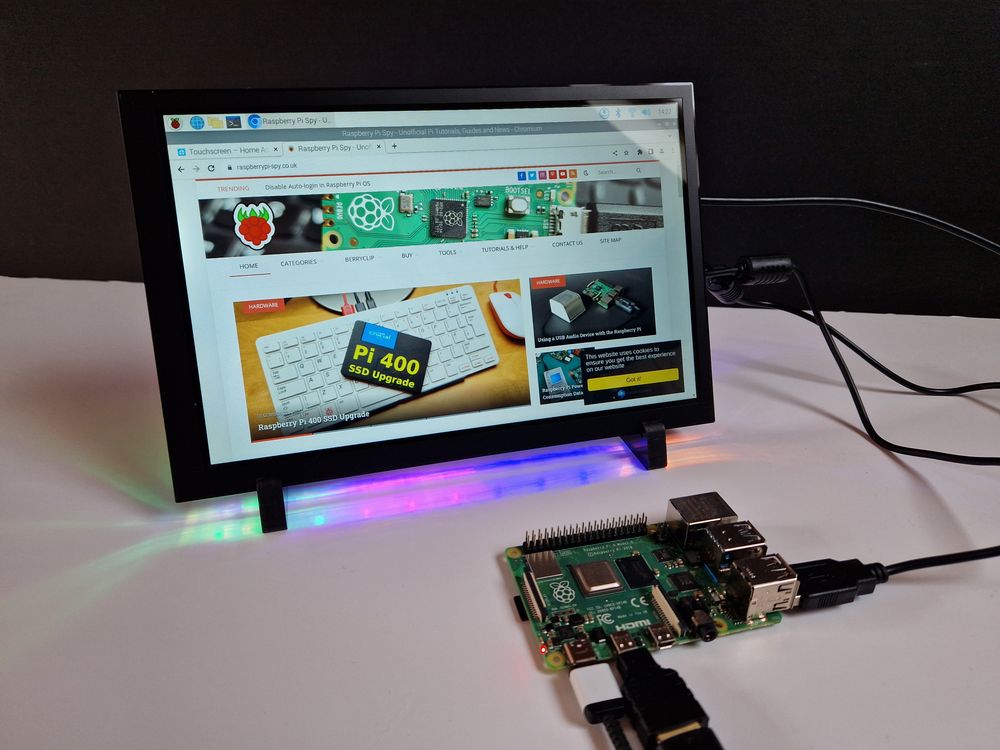
I’ll give you all my thoughts on it, the good and the bad. But the short version is I like it a lot,
Screen Specifications
Let’s start with the specifications:
| Screen Size | 10.1 inch |
| Touch | Capacitive 5-Point Touch |
| Backlight Control | 10%-100% in 10% increments |
| Digital input | HDMI |
| Panel brightness | 300cd / m² |
| Contrast | 700: 1 |
| Resolution | 1280×800 |
| Viewing angle | 178°Wide Viewing Angle |
| Appearance Dimension | 239*157.5*12.6mm |
| Active display touch area | 216.57*135.36mm |
| Power Supply | DC 5V-2A |
| Power consumption | 5.29W (100% brightness no RGB LEDs) 7.6W (100% brightness, RGB LEDs 100% brightness) |
| Panel | 6H Toughened Panel |
| Net weight | 540g |
| RGB LEDs | 27 LEDs with 22mm spacing, 19 modes |
| RGB Brightness | 3 levels |
In the Box
The screen is well packaged and comes with a number of accessories.
- 10.1 inch monitor
- HDMI Cable
- Micro HDMI Adapter (for use with the Pi 4)
- Micro USB Cable (45cm)
- Micro USB Cable (100cm)
- M2.5 Screw Pack for Pi mounting
- Phillips screwdriver
- Two acrylic brackets/feet
The screen has a pull-off screen protector. The touch interface worked fine with this film in place but I removed it to make taking photos a bit easier.
Rear Connections
The connections on the rear of the screen consist of:
- HDMI
- MicroUSB Power
- MicroUSB Touch Interface / RGB Power
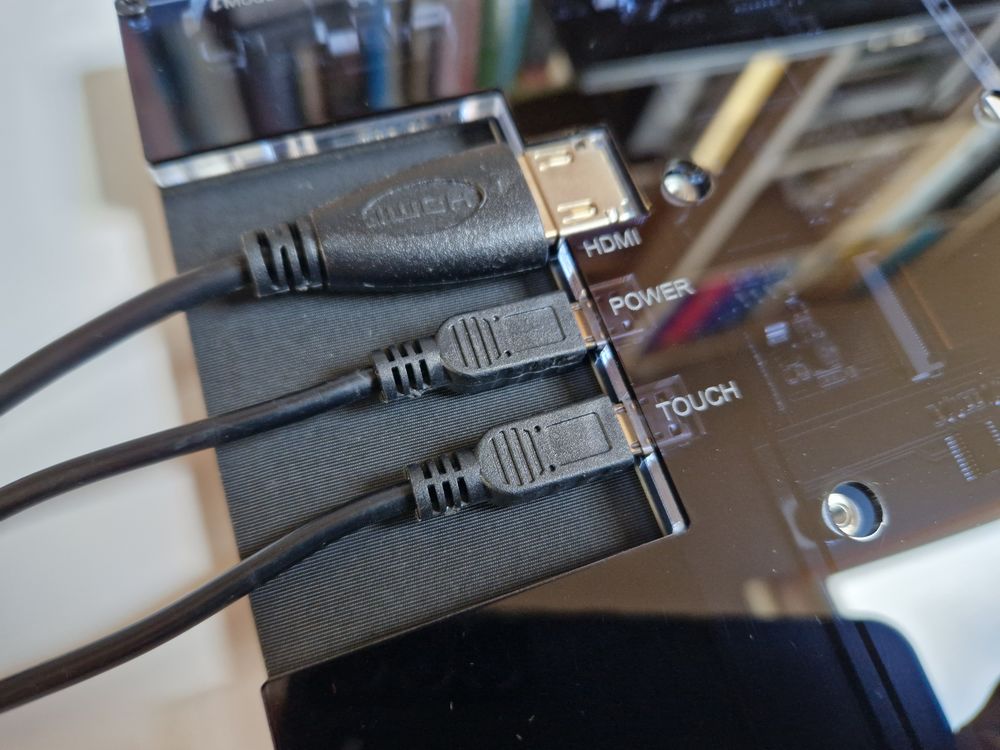
The sockets are recessed in relation to the back of the screen although certain plugs may stick out slightly depending on their design.
Controls
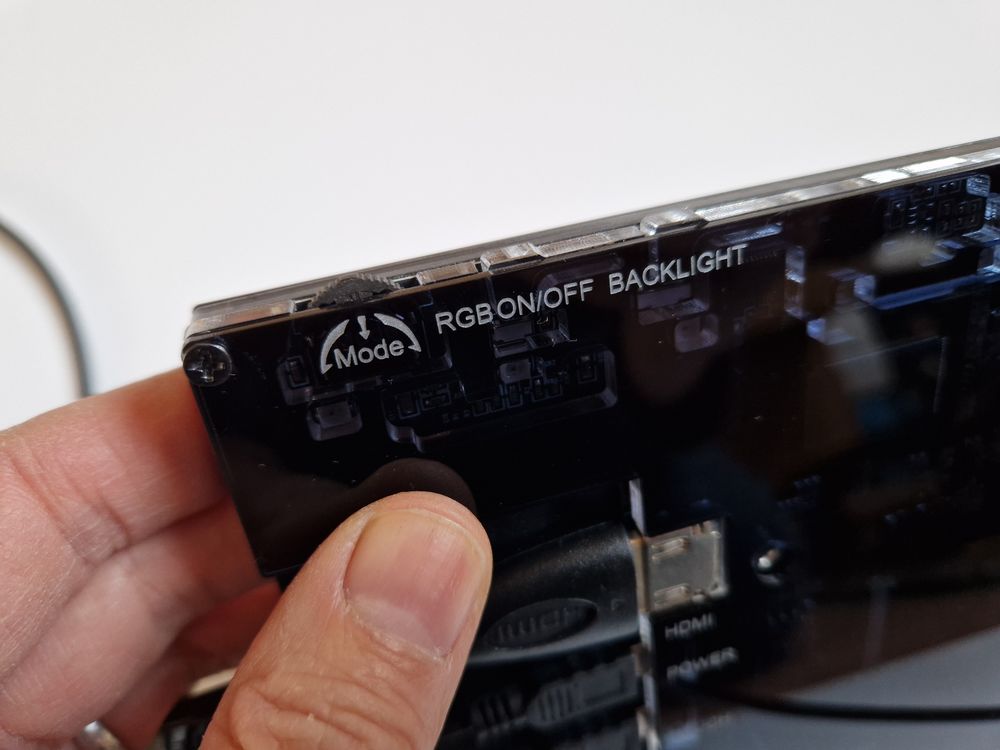
Along the top edge there are 3 controls. Two buttons and one rocker switch.
- Button 1 : cycles the screen brightness between 10% and 100%
- Button 2 : Turns the RGB LEDS on/off
- Rocker :
- Moving it left/right cycles through the 19 different light patterns
- Pressing the rocker control cycles the three RGB brightness levels, low, medium and full.
Power
The screen requires power for the RGB lights and the screen. How much power these use depends on the screen and RGB brightness levels. With the screen on 100% and the RGB on full the screen consumes between 350-700mA. It varies depending on what images are being displayed and what light pattern you are using,
The official specifications suggest a power usage of 5-7.6W. This would translate to current draw of 1-1.5A @ 5V. For this reason Elecrow recommend you use a 5V 2A power supply.
I tried powering it using two methods.
Method 1
Connect the screen’s Touch microUSB to a Pi USB port. Then connect the screen’s Power microUSB to another Pi USB port. This is possible with a Pi 2 and Pi 4. BUT you have to keep the power consumption of the screen within the capabilities of the USB port. This is easier with a Pi 4 but full brightness can sometimes cause the screen to flicker. I would recommend on setting the screen brightness to 70% and the RGB level to medium.
Method 2 (recommended)
Connect the screen’s Touch microUSB to a Pi USB port. Then connect the screen’s Power microUSB directly to its own power supply. This ensures the screen has the power it needs without overloading the USB port on the Pi. This may be especially important if the Pi is being used with other USB devices.
Resolution & HDMI Connection
The screen has a native resolution of 1280×800 but will accept an HDMI signal of 1920×1080. When connected to a Pi running the Raspberry Pi OS the display settings allowed me to switch between the two resolutions.
It depends on your project but I preferred to set it to 1280×800 as this made the interface more practical to use via the touch interface.
The Touchscreen Interface
The screen itself is really nice. It’s bright, clear and the Raspberry Pi OS desktop looks great on it. The touch interface is responsive and I managed to use it to navigate the OS interface. Obviously hitting the tiny interface features such as the windows minimise icon is tricky. But no one buys a 10 inch touch screen to use a desktop operating system.
RGB LED Light Patterns
A key feature of the Meteor screen is the array of RGB LEDs mounted around the edge of the case. They are nicely integrated into the design and don’t get in the way. There are 19 preset light patterns and these can be changed using the rocker switch on the top edge. There are a set of patterns that are just solid colours if you prefer that look.
The RGB lights have three different brightness levels but can be switched off completely if required.
Pi Touchscreen Software Configuration
All I needed to do to get the screen to work was plug in the 3 cables and power up the Pi. That was it. The Pi booted up and the desktop was shown on the screen. The touch interface worked straight away without any additional software. This screen is truly plug-and-play.
In order to create the SD card for the Pi I used the Official Pi SD Card Imager tool. Using the advanced options I preset the WiFi details so when I booted up I the system was ready to use.
You may want to attach a USB/Bluetooth keyboard to make your initial setup easier.
The Case
The screen is mounted in an acrylic case. It is nice and compact, encasing the screen without adding too much bulk, The recessed sockets of the back make it suitable for flush mounting it on a wall or within a custom cabinet.
Additional Thoughts
- A user manual would be nice to clearly explain the features and power arrangements.
- The RGB lighting may not be for everyone. So you may want to consider another screen if you don’t want the RGB lighting.
- You can’t control the RGB lighting from the Pi. Would be awesome if you could control colour, pattern and brightness. Perhaps via the touch USB port or an I2C header.
Things I Liked
- Nice screen with a good level of clarity. – clear, crisp, bright
- Brightness adjustment is easy to use
- RGB lighting is easy to use and brightness is easy to adjust
- Touchscreen works well with no configuration required
- Buttons are discrete
- Acrylic case/surround is well constructed
- Form factor is useful for various mounting options given it is nice and flat. Cables can be recessed so the screen could be stuck to a flat surface. Or sunk into a cabinet.
Possible Projects
The possible projects you could use this screen in are endless but here are a few possibilities:
- Raspberry Pi project screen
- Secondary monitor for PC
- Screen for retro-gaming system
- Home Assistant control panel
- Additional screen for a laptop
Final Conclusion
The Elecrow Meteor is a great Pi screen and definitely worth considering if you need a touch screen for your Raspberry Pi project. It’s quick to deploy using the acrylic feet but equally easy to stick to a flat surface. The HDMI input means it can be used with any device or computer that has an HDMI output.
Buy a Meteor 10.1 inch IPS Touchscreen
If you want to take a look at the official page then head over to Elecrow to check out the Meteor 10.1 IPS Touchscreen product page. At the time of writing you can get a massive 10% discount by using the discount code 10ELECROW.
I also talk about this screen on my YouTube channel. You can take a look here:

