Lots of people experimenting with the Raspberry Pi already have a box full of tools suitable for electronic hardware projects. However if you are just starting out you may be wondering what you need to get up and running. This article aims to list the things you might want to consider buying.
You don’t need all of it and it depends on your project but the items below have all proved useful to me. You do not need to spend a fortune. Better quality tools cost more but sometimes the extra cost simply isn’t worth it. The only thing in the list below where I have found a premium price matters is wire strippers.
For each item I have listed an “Estimated Cost”. These are very approximate costs to give you a quick starting point.
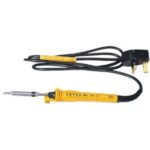 Soldering Iron
A soldering iron will allow you to solder components to a PCB, join wires and make more robust circuits. You want a decent quality iron but you do not need to spend a fortune. I use an Antex XS 25W. If in doubt buy something made by Antex or Weller. The main feature you want to look out for is a pointed tip. (Estimated Cost : $30)
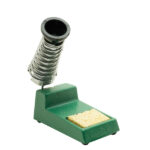 Soldering Iron Stand
A vital piece of equipment. It will save you burning yourself and burning holes in your desk and carpets. They usally consist of a heavy base with a coil of metal to hold the iron. Ideally you want one that has a space for a small piece of wet sponge. This can e used to wipe the tip of the iron to keep it clean. (Estimated Cost : $10)
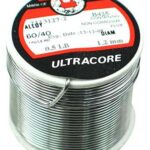 Solder
Once you got a soldering iron you need some solder. You aren’t going to be doing much soldering without it! I use a roll of 60/40 tin/lead solder with a flux core. Flux helps the solder flow once it has melted. A decent sized roll will last years. Lead-free solder is available but until I run out I won’t be able to give it a try. (Estimated Cost : $5)
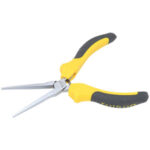 Long Nose Pliers
Also know as “Needle Nose” these are handy for bending wire and positioning components in hard to reach places. There are various sizes but for small electronics you don’t need a huge pair. I’ve got a “miniature” pair and standard length pair. A total length of 120mm is fine. (Estimated Cost : $10)
 Wire Cutters
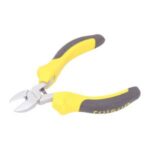
These are useful for cutting wire and trimming components. There are various designs but I prefer “side” cutters. As with long nose pliers there are various sizes and it is worth having a standard size and a “miniature” pair. (Estimated Cost : $10)
 Wire Strippers
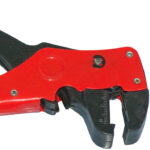
Rather than use wire cutters or your teeth it is best to use a set of wire strippers. These are probably the hardest tools to recommend because the cost and design varies so much. I’ve got three different designs. Their usefulness is proportional to their cost. (Estimated Cost : $5-50)
 Breadboard
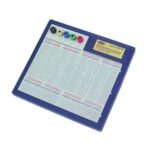
This is very popular amongst electronics hobbyists. It is useful for prototyping circuits and trying out ideas. It can be used over and over again. My breadboard is 16 years old! I use it to test circuits before transferring to stripboard or custom PCBs. Breadboard comes in various sizes. I would recommend a big piece for your main project and perhaps a few smaller pieces for testing smaller circuits. (Estimated Cost : $5-$20)
 Stripboard Spot Cutter
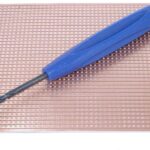
An essential piece of kit if you are working with stripboard. It allows you to remove a section of copper resulting in a clean break in a strip of copper. It works a bit like a drill bit and cuts a circular hole. This is much faster, neater and safer than trying to use a sharp knife. (Estimated Cost : $3)
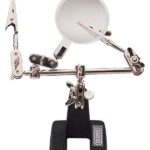 Helping Hand
A helping hand (aka Third Hand) consists of a base, a couple of crododile clips and a magnifying glass. This allows you to hold a piece of work freeing up your hands to do other tasks. These are great for holding PCBs while you solder components onto them. (Estimated Cost : $10)
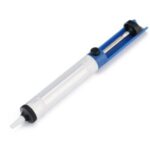 Solder Sucker
A solder sucker is great for those times you need to de-solder something. This might be because you’ve made a mistake, need to change something or because you are recycling components from an old piece of electronics. You simply melt the solder you want to remove and press the button. Once you’ve used one you will never want to attempt a de-soldering job without one. (Estimated Cost : $10)
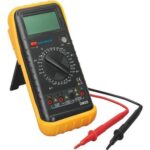
A multimeter is a very useful piece of equipment. You can use it to measure voltages, currents and check for continuity between points. This makes it a great tool for checking circuits or investigating faults. More expensive models may allow you to measure capacitance, inductance and transistor gains. (Estimated Cost : $20)
So there you have it. The contents of a person’s toolbox is a personal thing and other people’s list may vary but if you’ve got nothing and are starting out then this list is a good starting point.

1 Comment
I recently bought a butane powered soldering iron and had a good compare of electronic soldering irons or even whole stations vs a gas soldering iron.
I can highly recommend getting a butane soldering iron instead of an electrical one. It heats and cools much faster and it can also be used as hot air source for shrinking tubes or desoldering components from old electronics. The only disadvantage is that you can not perfectly control the heat like on a digital soldering iron but if you have an IR thermometer you’ll be good to go.
I can only again say that for so many raspi users a butane soldering iron is a better tool than any electric one.