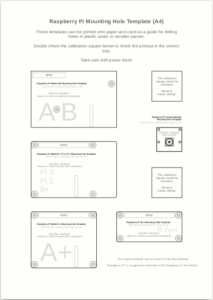
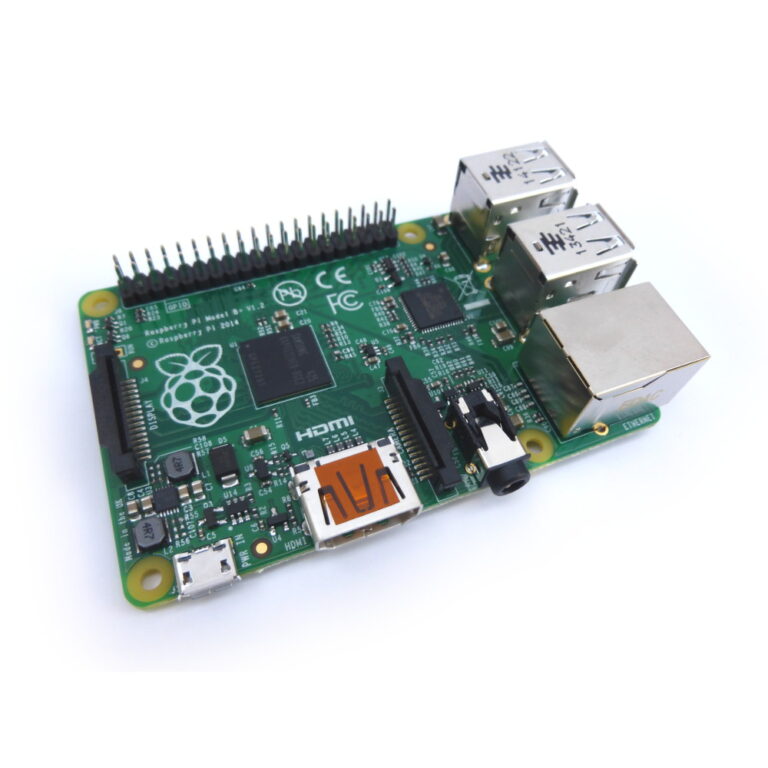
Most of the later Raspberry Pi models have mounting holes. These give users some extra options when it comes to mounting the Pi and depending on the design the Pi will have either two or four holes. I have created a Raspberry Pi mounting hole template that can be printed onto paper and used to drill holes in cases or other materials for attaching a Pi to.
It also includes the Pi camera module which has four mounting holes. This template is the quickest and easiest way to put holes in the right place, first time.
Mounting Hole Template Compatibility
The template supports the following Pi models :
- Original Model A and Model B
- A+,B+
- Pi 2 Model B
- Pi 3 Model B and Pi 3 Model B+
- Pi Zero
- Pi Zero W
- Camera module
Download Mounting Hole Template
Here is the PDF template which can be downloaded, printed out and used in your projects :

Printing the Template
Ideally the template should be printed on a laser printer as they tend to be more accurate but an inkjet will work as well.
Your printer options may attempt to scale or “fit” the design to the paper and this can cause the shapes to be the wrong size. To ensure the items on the paper are the correct size the PDF includes a “calibration square”. When printed it should measure 30x30mm. If it does not measure 30x30mm after printing the templates will be the wrong size.
Always double-check the spacing of the template marks before drilling or cutting anything. Measure twice cut once!
Raspberry Pi Hole Sizes
The Raspberry Pi holes accept 2.5mm (M2.5) screws or bolts. My local DIY store didn’t sell bolts this small so I ordered some off the internet. I went for plastic bolts as these are light and easy to cut shorter if required.
For the camera module I ordered 2mm bolts.
Care should be used to avoid putting the PCB under unnecessary stress especially if using metal fixings.
Direct Mounting Hole Template Links
Finally here are direct links to the A4 and US Letter versions of this template :


9 Comments
We had no trouble finding suitable mounting screws at Ace Hardware in the U.S. See this week’s Nerd Vittles article in which a Raspberry Pi is mounted inside the desktop stand of Grandstream’s new GXP2200 IP phone.
Nylon 4-40 machine screws work. Its a bit of a tight fit but not too tight.
This is a useful template but a full mech drawing would be more useful. For instance I need to know the coordinates of pin 1 of the GPIO connector.
Cliff
I made a A4 printout based on an Eagle project (link in PDF). The positions of everything are exact (also the port offsets and SD card). Enjoy :).
https://dl.dropbox.com/u/93551/RPi/RPi_rev2_pcb_print.pdf
Why the password on the PDF? The lines are so light, they weren’t showing up when output by my laser printer. I wanted to darken/thicken them in Adobe Illustrator, but it seems that kind of access is restricted.
Try it now. Should be no restrictions.
If you move the tip of a screw driver around a few times inside the mounting holes, you’ll be able to use standard 3M screws.
Hi,
Thank you very much for taking the time to post this template. I found it very useful for a project I am building.
Finding this in 2024 and used it successfully in my project with a Raspberry Pi 5! Thanks! I posted my use-case here: https://mastodon.theshowshow.tv/@robbie/113239769991308641