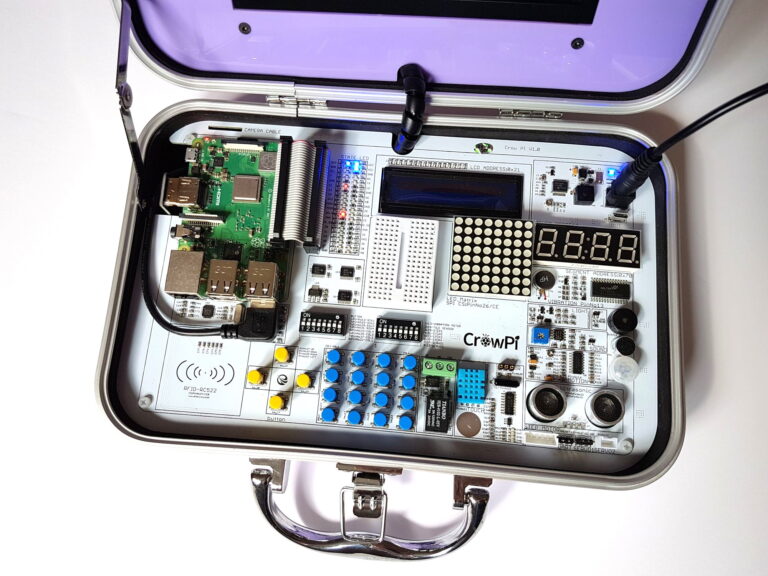
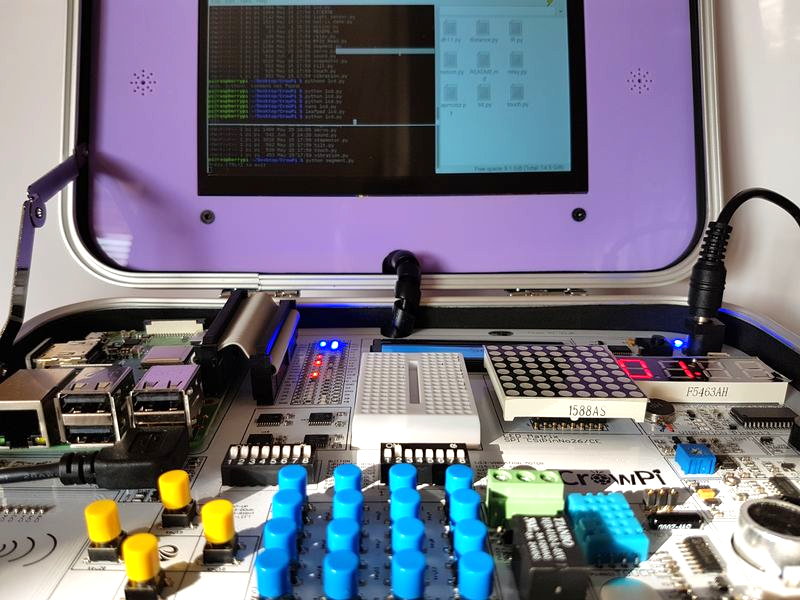
The CrowPi is a portable Raspberry Pi project kit that launched on Kickstarter in May 2018. It consists of a small hinged case, a 7-inch touch screen and an extensive set of buttons, displays and sensors. Connectors are provided to allow servos and stepper motors to be attached. The product has been designed to allow you to experiment with software and hardware without the associated mess of wires.
Elecrow sent me a pre-production unit to take a look at. They asked for a review and here are my honest thoughts on their product.
Kickstarter Campaign
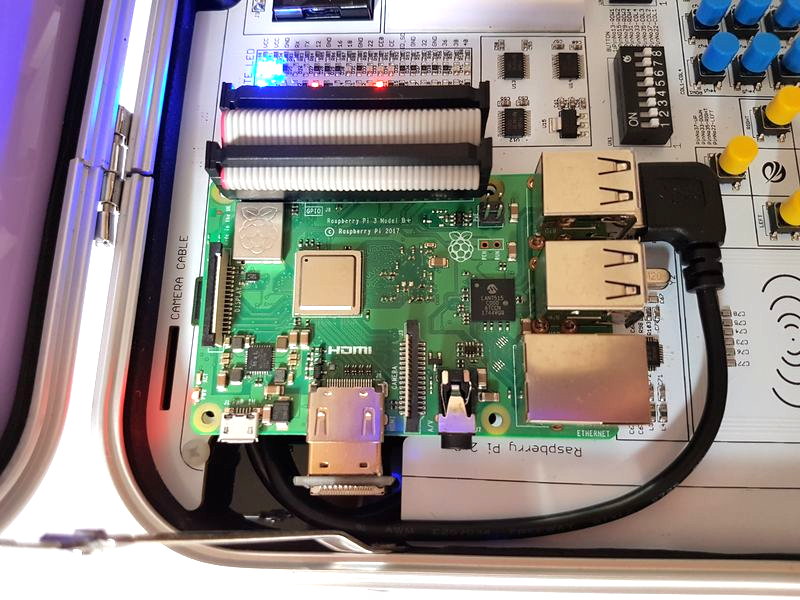
The campaign was launched in early May and the 50 early bird kits were snapped up within days. It has reached its initial funding goal but is still seeking backers to hit its stretch goals. The basic kit is available for for £111 ($149) but does not include a Raspberry Pi. Other pledges are available that add additional accessories such as an IR remote control, a servo and stepper motor. The CrowPi is compatible with the Raspberry Pi Zero, 2B, 3B and 3B+ and I decided to connect up a Raspberry Pi 3B+ to do my testing.
You can visit the official Kickstarter project via this campaign link : http://kck.st/2jmfHBK
The Main Board
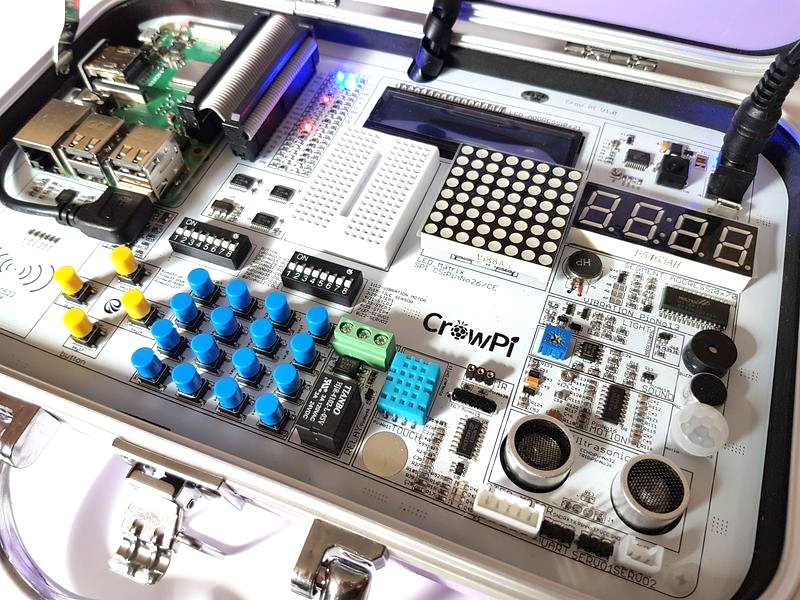
The main CrowPi board is finished in white and is home to huge array of switches, displays, sensors and connectors. Here is a diagram showing the layout :
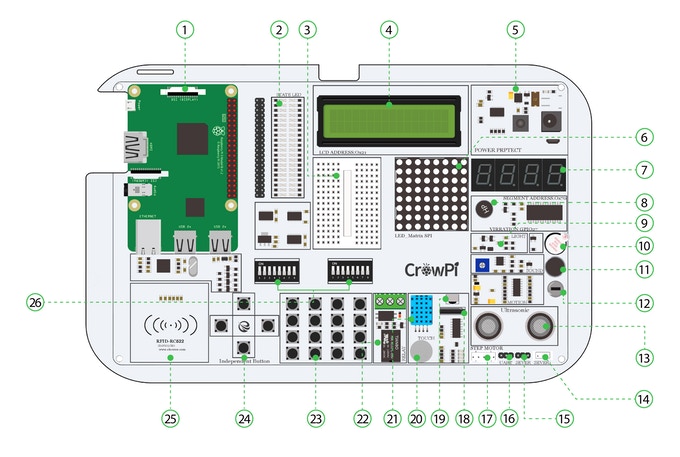
- Raspberry Pi
- GPIO LED Indicator
- Breadboard
- LCD Module(MCP23008)
- Power Circuit(5V)
- Matrix LED(MAX7219)
- Segment LED (HT16K33)
- Vibration Motor
- Light sensor(BH1750)
- Buzzer
- Sound Sensor
- Motion sensor(LH1778)
- Ultrasonic sensor
- Servos interface
- Servos interface
- UART
- Step motor(ULN2003)
- Tilt Sensor(SW-200D)
- IR Sensor
- Touch Sensor(TTP223)
- DH11 Sensor
- Relay
- Matrix Buttons
- Independent Buttons
- RFID Module(MFRC522)
- Switches
These are all items you could buy separately and play with in isolation but the beauty of the CrowPi is that you get it all in a nice tidy package.
User Manual
The user manual explains how to get the system working and I found it to be useful and well written. There is an essential reference to the GPIO pins used by all components including I2C addresses.
SD Card Image
An official CrowPi SD card image is available and is based on Raspbian with all the appropriate libraries and screen config options ready for use. My only issue was that the image had been created on a 16GB card and not all 16GB cards are exactly the same size. This meant Etcher couldn’t write the image to my SanDisk cards and I had to use a 32GB card instead. This is easily solved by the CrowPi team creating a 15GB image instead which will fit on all 16GB SD cards. An auto-sizing 8GB image would be even better.
Keyboard
To get the most out of this kit you really need to connect up a keyboard. It’s easy to plug in a standard USB keyboard but I connected my Perixx Bluetooth keyboard. I didn’t bother with a mouse and simply used the touch screen to select icons and press dialog box buttons etc. The touch screen was adeqaute for opening applications and switching windows.
DIP Switch Banks
In order to fit so many devices onto the Pi’s set of GPIO pins there are a couple of switch banks to enable/disable certain devices. This means not all devices can be used at the same time. The user manual explains which devices require these DIP switches to be set before use. This adds a layer of complexity to the kit’s operation but is unavoidable given the number of devices and the number of available GPIO pins.
Example Python Scripts
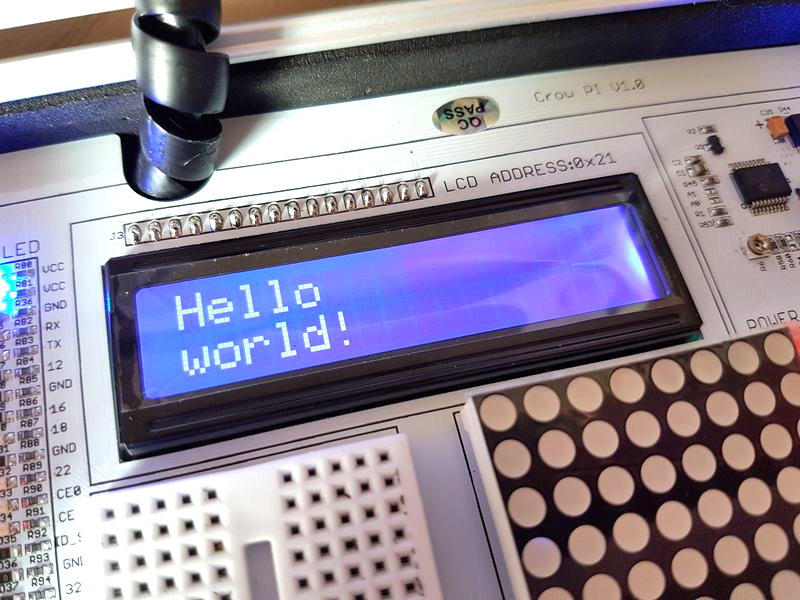
Elecrow provide a decent set of example Python scripts to demonstrate all the components on the main board. This includes the sensors, LEDs and LCD display. So once the Pi was connected and power applied I was able to get things working straightaway. Obviously the first things I wanted to see light up was the LED matrix, LCD and 7-segment display.
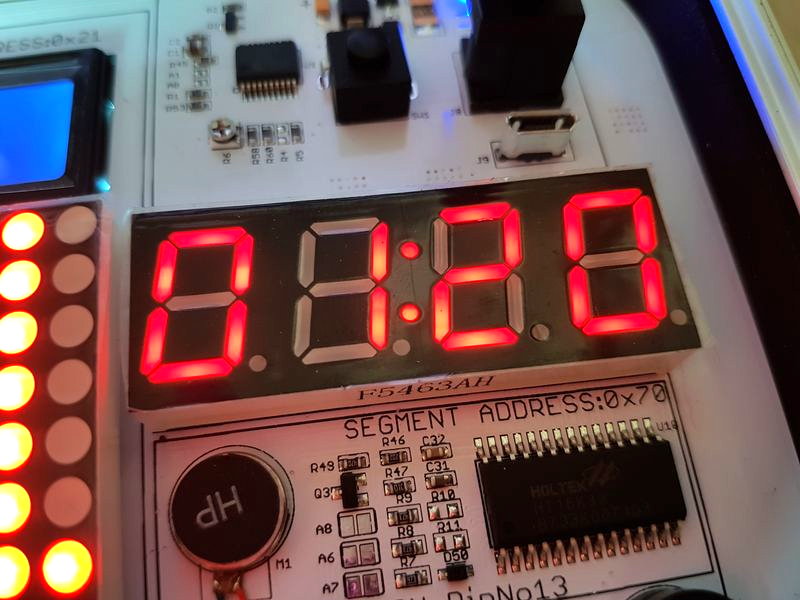
From this point you could start creating new projects using these examples as building blocks.
Pi Camera
There is advanced version of the case that has hole above the screen for mounting a Pi Camera. The ribbon cable is then routed though a slot in the main board to the Pi. For some this will add a whole new set of project opportunities. I will probably attempt to retro-fit a Pi Camera myself although I will need to a drill a hole. Using the on-board PIR and sound sensors it would be possible to make some nice security related projects.
Potential Areas for Improvement
There are a few thing I think could be improved in future iterations of the design.
At the top of this list is the Pi mounting hole dimensions. The mounting points really should accept 2mm bolts rather than 3mm given the holes in the Pi’s PCB are 2.5mm. You can force 3mm bolts through these but I wasn’t happy doing this to my Pi. This is really the only criticism I’ve got on the design that could be changed without impacting anything else. For my CrowPi I simply didn’t fit the bolts as the cables hold the Pi in place well enough.
The documentation is very good and I’m sure will be tweaked over time. One improvement would be a table of the devices making it clearer which ones can not be used at the same time due to the DIP switch configuration.
The Good Stuff
There is lots to like about the CrowPi. Here is a list of the things that made me smile :
- In general I love the idea of a self contained Raspberry Pi development system.
- It has a huge array of items to play with that allows lots of Pi projects to be created.
- Touch screen works well but obviously you have to make allowances for the size of the screen and the elements on the desktop.
- The CrowPi looks cute and comes in four different colours. I received the Lilac version.
- In the future I think an obvious upgrade for owners will be the addition of a camera. I would like the option of buying a new screen surround with the camera hole/mount so I can add my own camera. This would make using the CrowPi as a temporary security device really easy.
Conclusion
In conclusion I really like the CrowPi. It competes in the same space as the Kano, PiTop and RasPad. All these products offer something slightly different and given the shear number of included devices there is certainly room for the CrowPi.
It’s functional and has lots of potential to either help someone learn new skills or aid in the development of Pi projects. I can see myself using it to develop new blog tutorials on the sofa rather than having to setup on my desk upstairs.
CrowPi Resources
You can download CrowPi resources from the following links :

