Shutting down RetroPie usually requires the use of a menu in the Emulation Station interface. This tutorial explains how you can do this via a shutdown button connected to the Raspberry Pi’s GPIO header. All you need is a basic momentary action switch, some wiring and a simple Python script. It’s probably the most useful upgrade you can make to a Pi gaming system.
Why Bother With a Shutdown Button?
I decided to implement a shutdown button on my IKEA arcade table to make it easier for kids to correctly shutdown the system without needing to mess around in the menus. Using a separate switch on the side ensured it wasn’t accidentally activated while playing games with the main player buttons.
Although this guide is especially relevant to RetroPie systems it could be used in any Raspberry Pi project.
The Shutdown Button
You can use any momentary action switch for this project. This allows you to hold it down and only trigger the shutdown if it has been held for a certain number of seconds. This avoids any accidental shutdowns especially if the system is being used by curious children.
The switch/button I used was an automotive momentary action device with an illuminated power symbol.
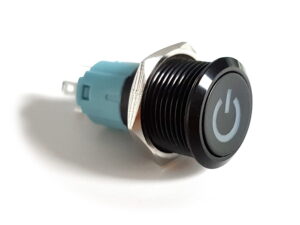
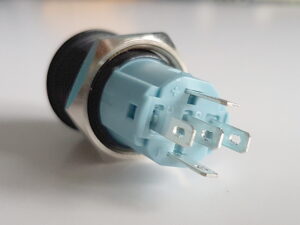
It was designed for 12V but the red LED inside works fine with 3.3V or 5V. Two connections were required for the LED and two for the switch which is used to change the state of a GPIO pin.
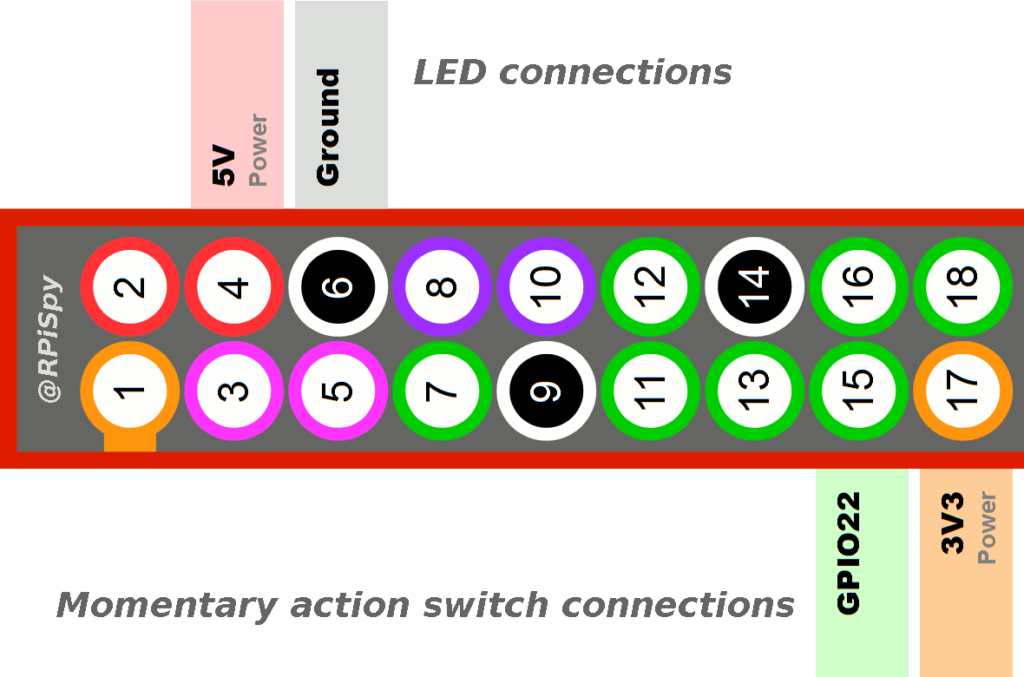
Remember that GPIO numbers are different to physical Pin numbers. GPIO22 is Pin 15.
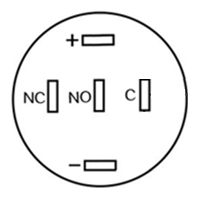
| Switch Pin | Pi Header Pin |
|---|---|
| LED + | Pin 4 (5V) |
| LED – | Pin 6 (Ground) |
| NO (Normally Open) | Pin 15 (GPIO22) |
| C (Common) | Pin 17 (3.3V) |
The LED is powered from the Pi’s 5V supply. The GPIO pins should never be connected to anything higher than 3.3V. Double check the wiring to make sure you do not ever connect the GPIO pins to 5V. If your switch is not an illuminated type you can ignore the LED references in the table above.
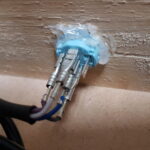
Miniature spade terminals were used to attach wires to the switch. This avoided soldering anything to the switch and gave me the option of removing or replacing the switch at a later date.
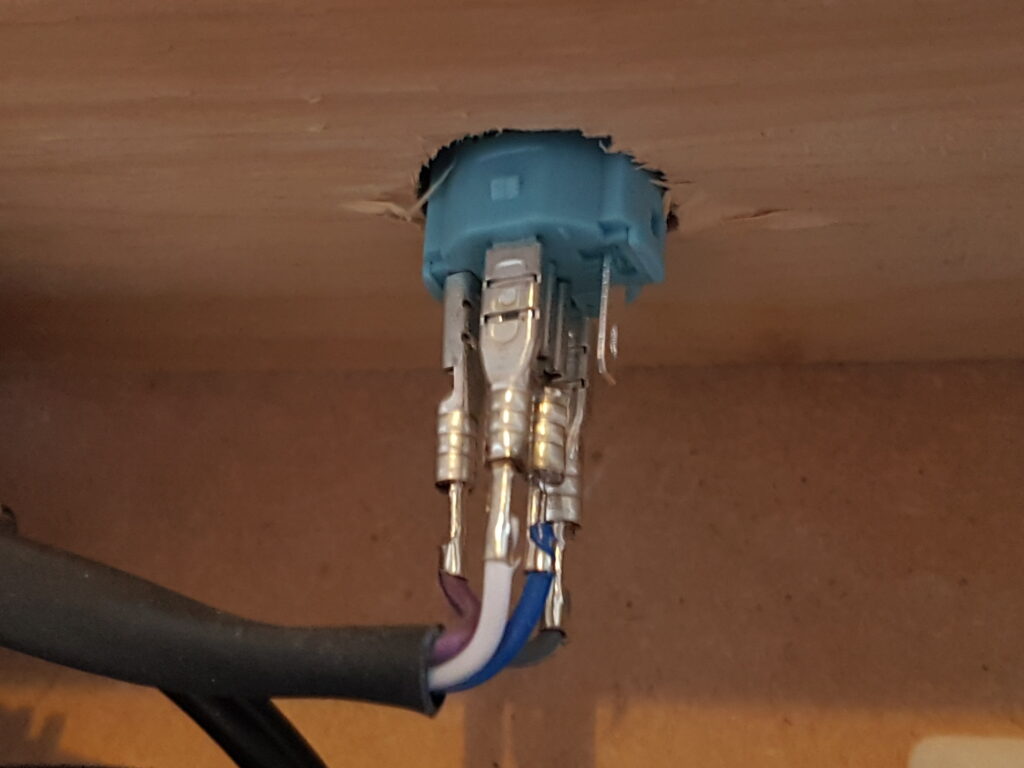
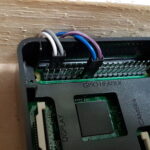
Female “Dupont” style connectors allowed the wires to be easily connected to the GPIO header :
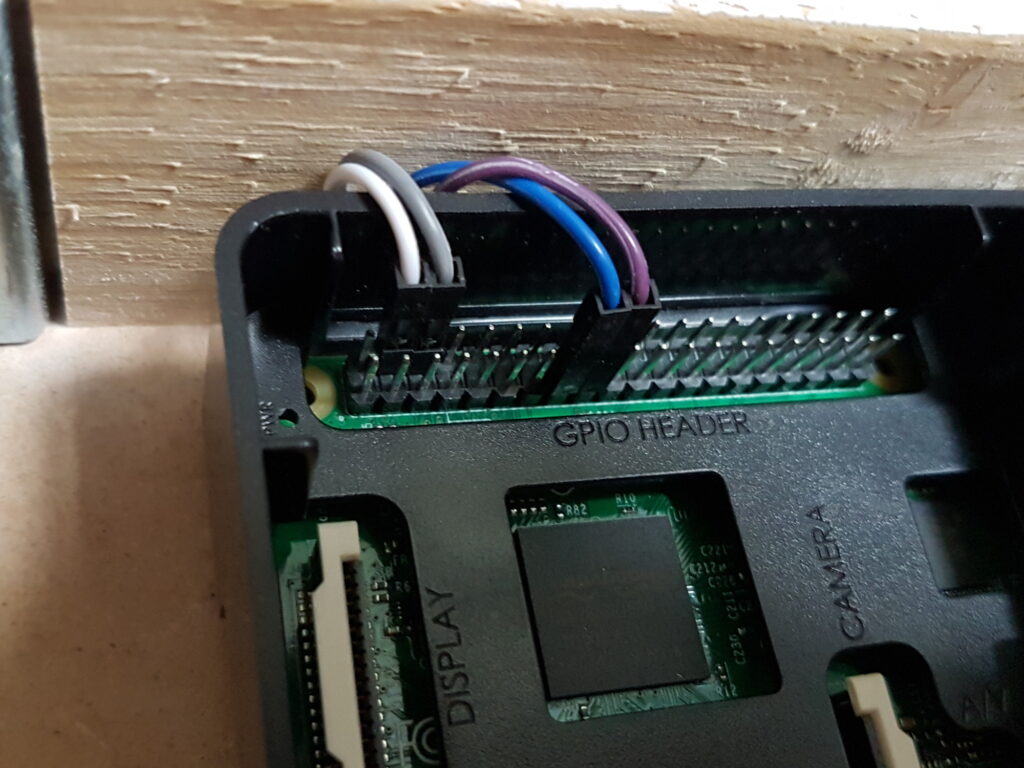
The diagram below shows how these wires were attached to the GPIO header. I used the pins shown below because they were next to each other and made the wiring a bit easier.
Getting to the Command Line
In order to setup the script you will need to use the command line. There are two methods you can use to do this.
Method 1
If you connect a keyboard to your RetroPie system you can press F4 to bring up the command line. When you need to return to EmulationStation you simply run the command “emulationstation”.
Method 2
You can also connect to the Pi via SSH. Please see the How To Enable RetroPie SSH Interface tutorial for details on enabling SSH. Once enabled you can connect using any SSH client on your PC, such as “Putty”.
Install GpioZero
In order to check the status of the button you need to install the GpioZero library. This is installed by default on the Raspbian image but for RetroPie it needs to be installed manually.
Run the following command :
sudo apt-get -y install python3-gpiozero
Add Shutdown Script to RetroPie
In order to perform the shutdown when the button is pressed you will need a simple Python script. The script is launched when the Pi boots and monitors the state of the GPIO pin. This can be downloaded directly to your Pi user’s home directory. I usually do this by connecting to the Pi via SSH from my PC. You can enable SSH by following the How To Enable RetroPie SSH Interface tutorial.
When connected to the Pi you can download the script using the following command :
cd ~
wget https://bitbucket.org/MattHawkinsUK/rpispy-misc/raw/master/python/retropie_shutdown.py
Now edit crontab so that the script is started when the Pi boots :
sudo crontab -e
If prompted to choose an editor select option 2.
Add the following line :
@reboot python3 /home/pi/retropie_shutdown.py &
Your crontab should now look like :
# For more information see the manual pages of crontab(5) and cron(8)
#
# m h dom mon dow command
@reboot python3 /home/pi/retropie_shutdown.py &
Press CTRL-X, y and ENTER to save the crontab.
You should be returned to the command line. Check the contents of crontab using :
sudo crontab -l
Make sure the name of the script matches the script you downloaded and that you included the “&” symbol at the end.
Finally with the button connected to the GPIO header and the script ready you can reboot using:
sudo reboot
or using the RetroPie system menu and selecting “Quit” > “Shutdown System”.
First Start
When the system reboots you should see your RetroPie interface as expected. Press and hold the RetroPie Shutdown button for six seconds and the Pi should start shutting down.
You are now free to turn off the power.
Customising the Python Script
Editing the script will allow you to easily change the number of seconds that the button must be held before it triggers a shutdown. The default is 6 seconds. You can also change the GPIO number if your switch is connected to a different header pin.
Simply edit the script using your favourite text editor and change the “myGPIO” and “myHoldTime” variables.
For example, using nano type :
nano retropie_shutdown.py
make your changes and then use CTRL-X, Y and ENTER to save and exit. Don’t forget to reboot for the changes to take effect.
sudo reboot
My Arcade Table Shutdown Button
Here are some photos of my arcade shutdown button which I fitted to my arcade table.
An illuminated switch is a nice touch as it makes it easier to find in a darkened room.
Troubleshooting
Finally if the button isn’t working as expected here are some things to consider :
- Check the button wiring. Are you connecting the correct GPIO pin through the switch to 3.3V?
- Did you install GpioZero?
- Is the script located in the /home/pi directory?
- Did you modify and check the crontab entry? Is it pointing to the script in the correct directory?
- If you are not using GPIO22 did you edit the script and update the GPIO reference?




6 Comments
Very nice!!Exactly what I was looking for. How would you turn the pi back on using the same button?
Same question as John. It works great to shut it down but is there an alteration that could be made to use the same button to turn the unit back on again?
Installed yesterday, it’s simple and works great! Now my son can shutdown the bartop easily, no more sd corrupted ! Thanks
it work but is posible to turn on with the same button?
Hi
I just made the tutorial and i got warnings launching the shutdown.py command on GPIO3 and wasn’t working
I just change this line and works perfectly,
original: button=Button(myGPIO,pull_up=False,hold_time=myHoldTime)
edited: button=Button(myGPIO,pull_up=True,hold_time=myHoldTime)
I hope it can help other people
I am new to RPi and have not tried it yet, but this looks awesome!