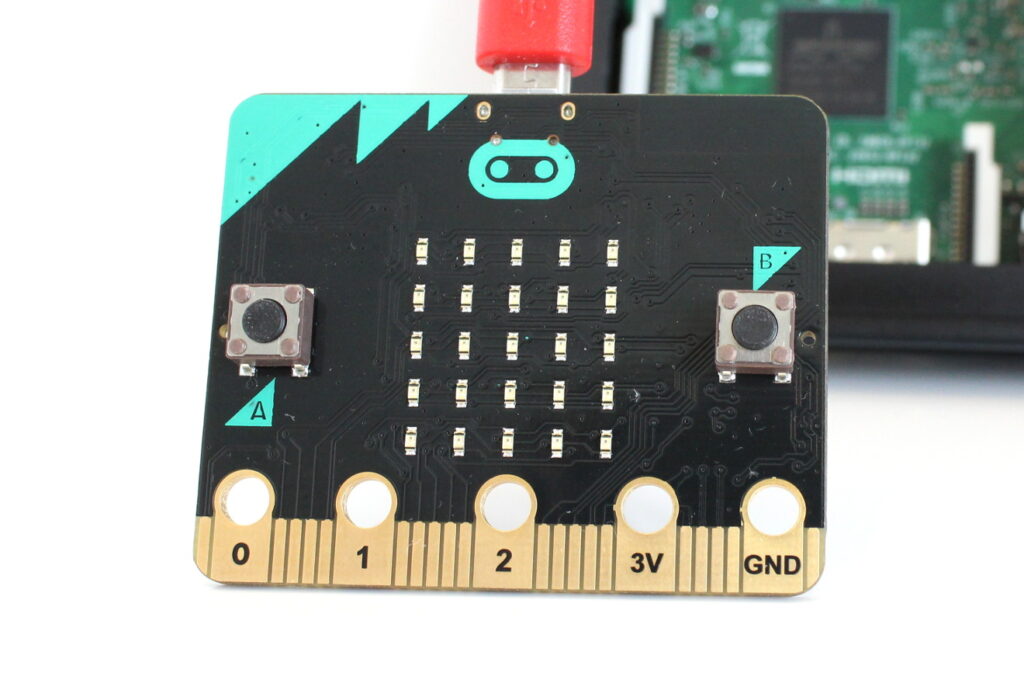
The BBC Micro:bit is a small programmable computer that aims to help teach child how to experiment and play with technology rather than just use and consume it. It is manufactured by Farnell Element 14 and has finally been rolled out to UK schools for Year 7 (11 year olds). For obvious reasons people have wondered if it is a rival or alternative to the Raspberry Pi and whether it will fight for the attention of teachers and kids.
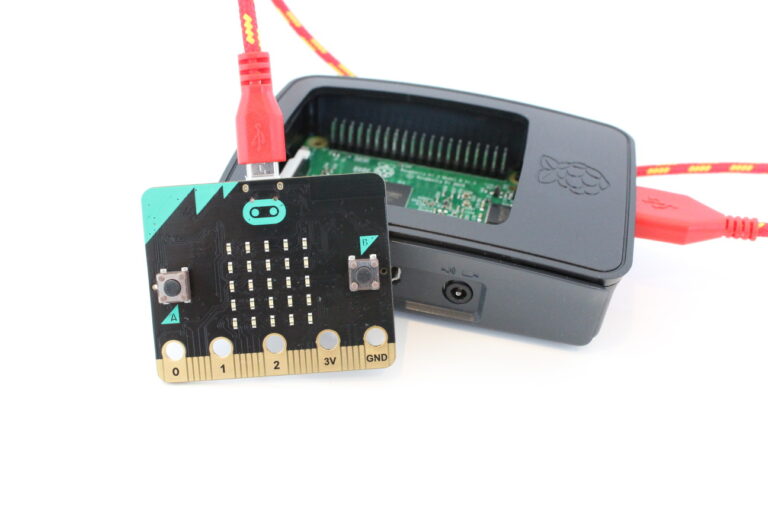
Farnell were kind enough to send me one to try out. I’m clearly a fan of the Raspberry Pi so was interested to see how I would feel about the new kid on the block. I wouldn’t normally try to write about non-Pi related devices on this site but the great thing with the Micro:bit is that it is so easy to actually use with the Pi. For some users it can almost be considered a Raspberry Pi accessory.
Quick Specification
- Size : 40mm x 50mm (1.6 inches x 2 inches)
- Weight : 8g
- Microprocessor : 32-bit ARM® Cortex M0 CPU
- 3 axis Accelerometer
- 3D Magnetometer (Compass)
- Bluetooth
- 2 buttons
- 20 pin edge connector
- Capacitive sense pins
The full specification can be found on our sister site microbit-spy.co.uk.
Using with a PC
The first thing that hit me was just how simple the concept is. All you need is the board and a USB cable. I plugged it into my laptop, fired up the official site and clicked “Create code”. I’m not sure you could get a simpler start. I was expecting a bit more Googling or installing of drivers but plug it into a laptop or PC and it just works.
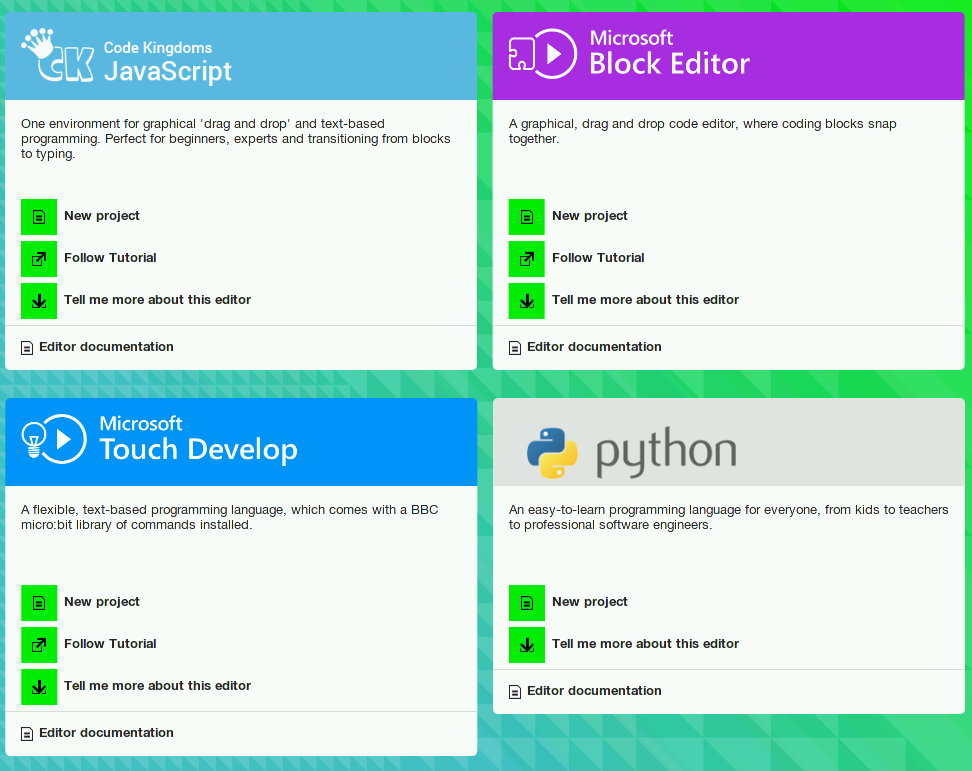
When you click “Create code” you are presented with four options and this is the only point I had to stop and think! The site gives you a choice of environments to start your experimenting.

Exactly what option you choose is really going to depend on what you are trying to do, who is your audience and what is their level of experience. Due to my experience of the Pi I opted for the Python editor. This is perhaps the more traditional option but even this route is easy to dive into and get quick results.
Using with a Pi
Using it on the Pi wasn’t quite so simple as the laptop. The web based Python editor doesn’t work in the Epiphany browser so I installed “mu” using this really easy worksheet instead.
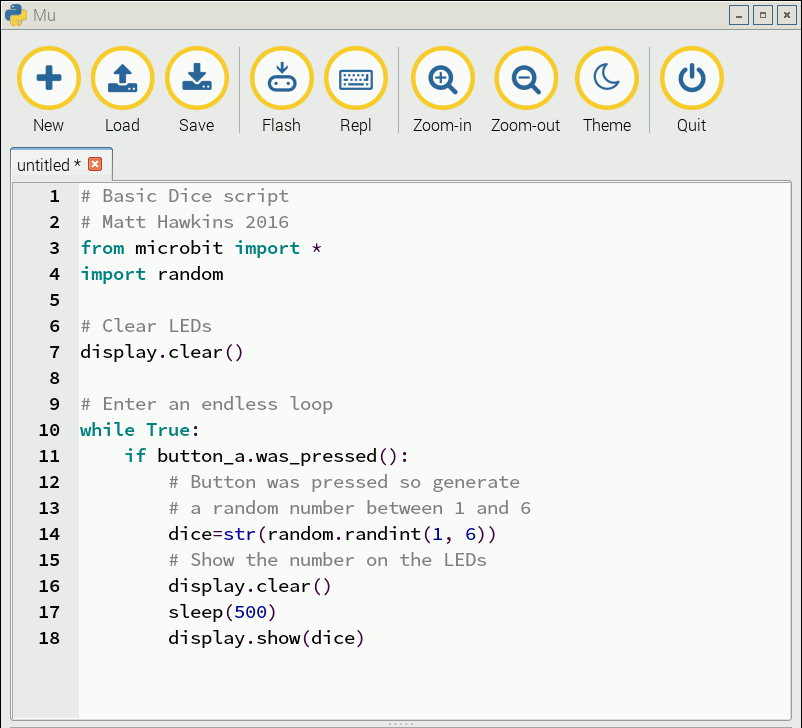
When I first tried the Microbit I was on the sofa so opted for the laptop approach and decided to create a basic “dice” simulator. The script I created works regardless of what method you use to write it. The browser version or mu still allow you to write a script and use a one-click to transfer it to the device. Once the yellow lights stop flashing you are ready to go. Here’s what the script looks like in mu :

In the browser editor your scripts are stored in the browser. In mu you can load and save your scripts as a file. Saving in the browser works fine but does seem to limit you to using the same device to access that script at a later date. With mu you would be free to save and transfer files between devices.
Here’s a clip of my Dice script in action. You press the left button and it generates a number between 1 and 6.
https://vine.co/v/iIMOw59vJuZ/
There are loads of examples and details of the commands you can use to make use of the Microbit’s hardware on this site : http://microbit-micropython.readthedocs.io/en/latest/
Once you’ve started it all starts to become quite intuitive.
Battery Power
You only need to connect the Micro:bit to a computer to update the stored code. Once loaded you can power it up using two AAA batteries and your script will run. There is no messing around with SD cards, booting up or even shutting down. You can just connect and disconnect the power. I found playing with the Micro:bit was quite relaxing because of this simplicity.
Micro:bit Resources
There are a growing number of resources fueled by the device’s long list of technical partners and shear number of teachers who now have one. The official site has an excellent resources page for parents and teachers. Even the Raspberry Pi Foundation has some projects listed in their “make resources” section so you can get started straight away.
Not More Coding?
OK, isn’t this just another device trying to force kids to code? Haven’t we had enough of coding? Short answer, no. Although “coding” or “teaching kids to code” often appears to be the goal the truth is that it is about creating. You can teach kids to code on a PC in a computer lab. The Pi and the Micro:bit are about getting people to create themselves rather than waiting for someone else to do it. Coding is part of that. These devices and their software are often the brain but can be combined with plenty of other skills :
- Electronics
- 3D printing
- Wood work
- Metal work
- Design
- Robotics
- …. the list goes on
Micro:bit vs Raspberry Pi
Back in July 2015 I wrote this Raspberry Pi vs BBC Micro Bit article. It was a bit of fun really but I wanted to address the “friend or foe” issue. Having now used both they are clearly friends. You can choose one over the other but they can cover different ground so I can’t see why you wouldn’t want both. I’m going to guess that educators will end up using the Micro:bit to get the kids started and they can progress onto the Pi. The Micro:bit’s small size, low cost, simplicity and low power consumption make it perfect for some applications where the Pi is just too big or too power hungry.

They will both find a place in the educational and hobbyist landscapes. There is a lot of overlap but the differences between the two tiny computers mean they will both happily co-exist. It took a while for the Micro:bit to end up in the hands of it’s users but it has hit the ground running. The volume of resources available is impressive and there is no shortage of project ideas.
At the time of writing the Micro:bit isn’t available for the public to buy from Farnell but when it is I would recommend that any young Pi owners buy one. Hobbyists and slightly older students will find plenty of use for it if only for the LED grid and switches as part of more elaborate projects.


1 Comment
Great article – with all these free devices coming to UK schools, there’s lots to think about here.