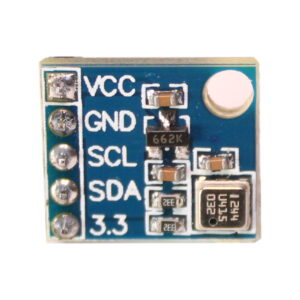
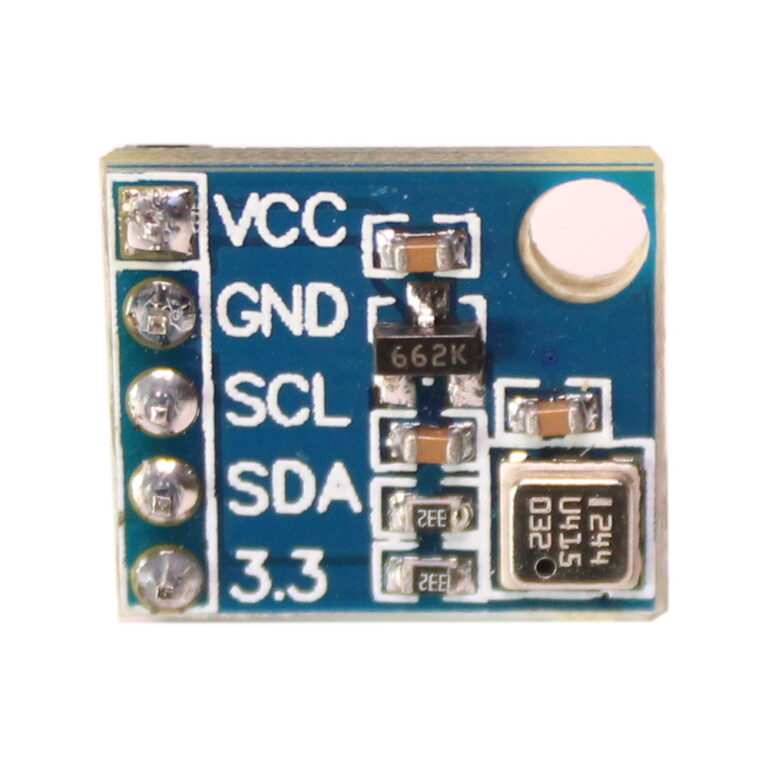
The BMP180 device is a digital barometric pressure sensor. This is available on a small module which provides access to the sensor via the I2C interface. This allows us to easily connect it to the Raspberry Pi with a minimum of wiring.
My module is a small pcb measuring 15x13mm with a 5 pin header. The order of the pins may vary on other modules so keep an eye on the labels so you connect up the correct wires from the Pi.

The BMP180 is made by Bosch and the official BMP180 datasheet includes all the technical details.
Configure I2C Interface
In order to use this module you must enable the I2C interface on the Raspberry Pi as it is not enabled by default. This is a fairly easy process and is described in my Enabling The I2C Interface On The Raspberry Pi tutorial.
Connecting Hardware
The table below shows how the module is connected to the Raspberry Pi’s GPIO header (P1). Please refer to my GPIO header guide for a diagram.
| Module PCB | Desc | GPIO Header Pins |
|---|---|---|
| VCC | 3.3V | P1-01 |
| GND | Ground | P1-06 |
| SCL | I2C SCL | P1-05 |
| SDA | I2C SDA | P1-03 |
| 3.3V | – | – |
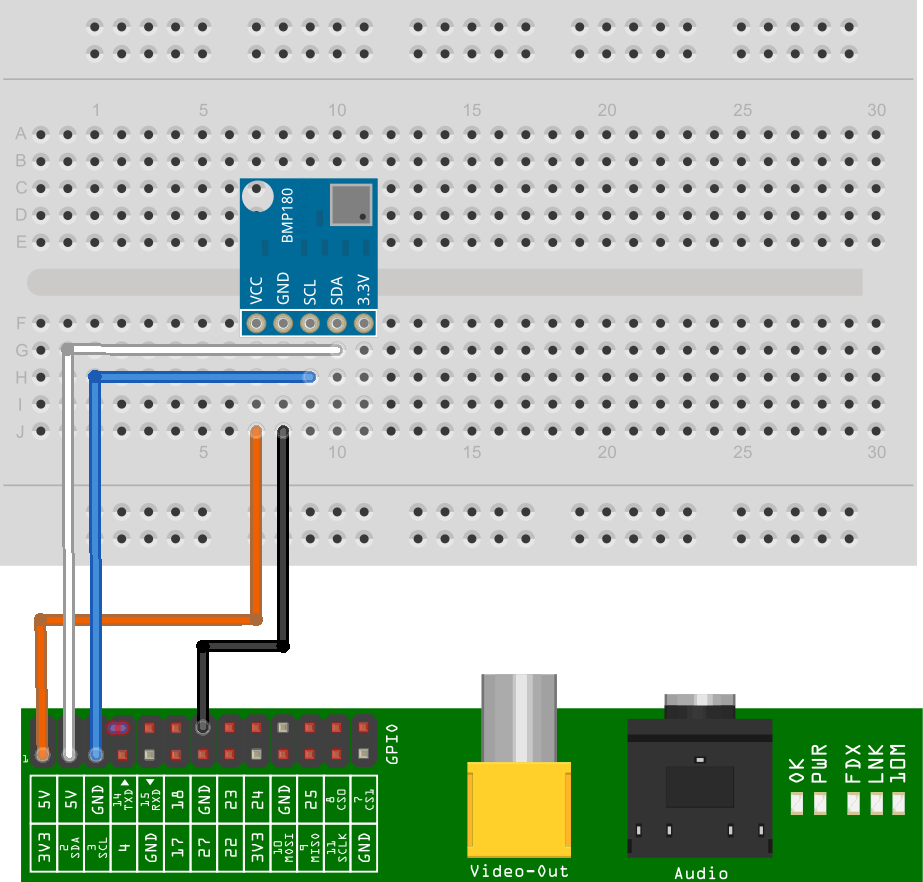
Here is a diagram of a breadboard setup. If you are connecting the module’s four pins directly to the Pi you only need four female-female wires.

The breadboard diagram uses a custom part I defined in Fritzing. Other modules are available which have different pin arrangements so make sure you are connecting the correct pins to the Pi if yours is different to the one shown in this tutorial.
With the device connected and the Pi powered up the “i2cdetect” command should show the device with address 0x77.
Example Python Script
My example script to read pressure and temperature data from the sensor can be downloaded directly to your Pi using the following command :
wget https://bitbucket.org/MattHawkinsUK/rpispy-misc/raw/master/python/bmp180.py
or use this link in a browser.
In order to run it you can use the following command :
sudo python bmp180.py
The output looks something like this :

The module is available from Amazon and many other online electronics shops. You can also find .


10 Comments
This looks really nice to make, I think I will give it a go at porting it to C as a afternoon project 🙂
Very interesting! And together with your other article
https://www.raspberrypi-spy.co.uk/2015/06/basic-temperature-logging-to-the-internet-with-raspberry-pi/
I think I have found *the* way to log temperature!
By the way. the sensor specs link seems to have been moved to
https://www.bosch-sensortec.com/en/homepage/products_3/environmental_sensors_1/bmp180_1/bmp180
Great tutorial! Works a treat, though a couple of the Python lines have become concatonated while transferring to the webpage: 22 and 72.
I’ve since discovered the Bosch BME280 that also includes a humidity sensor(!) and has both I2C + SPI interfaces. Can be obtained cheaply from a well-known auction site.
Thanks Aidan. I’ve corrected those lines.
Whats wrong with my sensor BME280 (not 180).
I am trying it on Pi3. the SDA and SCL pins are connected to same pins on Pi as you have shown. But gound and Vcc are different and that shouldnt matter.
when i run i2cdetect it shows at 76
pi@raspberrypi:~/Desktop $ sudo i2cdetect -y 1
0 1 2 3 4 5 6 7 8 9 a b c d e f
00: — — — — — — — — — — — — —
10: — — — — — — — — — — — — — — — —
20: — — — — — — — — — — — — — — — —
30: — — — — — — — — — — — — — — — —
40: — — — — — — — — — — — — — — — —
50: — — — — — — — — — — — — — — — —
60: — — — — — — — — — — — — — — — —
70: — — — — — — 76 —
pi@raspberrypi:~/Desktop $
So i changed line 6 of the code, like this
DEVICE = 0x77 # Default device I2C address
My output is like this
pi@raspberrypi:~/Desktop $ sudo python pressureBMP280.py
Chip ID : 88
Version : 0
Temperature : 82.7 C
Pressure : -43958.91 mbar
The BME280 has different registers to the BMP180 so requires different code. I’ve just written a draft blog post for the BME280 which I will publish within the next few days. I just need to write a few more paragraphs. UPDATE: New BME280 post here > https://www.raspberrypi-spy.co.uk/2016/07/using-bme280-i2c-temperature-pressure-sensor-in-python
Did you follow the Enable I2C Interface on the Raspberry Pi guide as stated above? The i2c setup on the latest version of Raspbian is different to Wheezy so whatever process you are using for that is probably out of date.
Matt, Thanks for the code – works right out of the box.
My question : How is the pressure being calculated:
I live in Bangalore and current official “air pressure” is 1018 mbars, but the python code comes up with 913 mbars instead of something close to 1018.
https://www.worldweatheronline.com/bangalore-weather/karnataka/in.aspx
The ALTITUDE I’m in is 920 meters.
There is something called “Absolute” pressure and “relative” Pressure.
The absolute pressure I believe is 913 mbars and the relative pressure is “1018” approx and I think your code is represnting just the absolute pressure” If I am not mistaken.
Appreciate if both can be displayed.
But thanks for the ready made code. So much helpful for starters like me.
Dear,
Where did you find the fritzing part for the bmp180 and is it posible to share with us?
Thanks!
Hello, it was back in 2015 but I think I drew the component from scratch. I’ve upload the Fritzing part to : https://bitbucket.org/MattHawkinsUK/rpispy-misc/src/master/misc/BMP180%20Module.fzpz