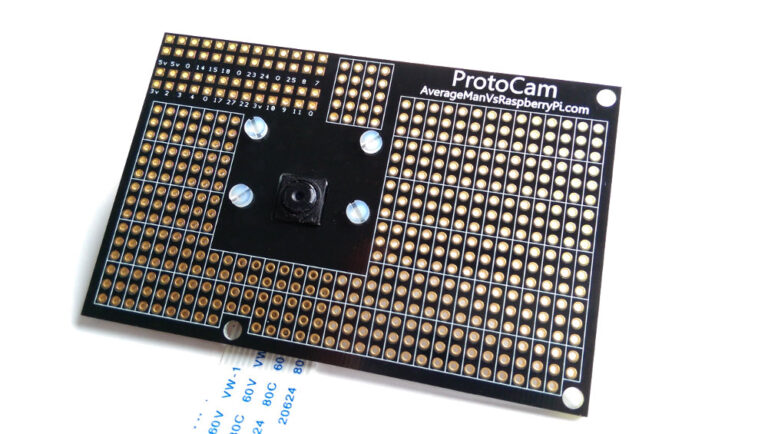
Richard from AveragemanVsRaspberryPi has kindly sent me a preview version of his new camera module prototyping board. This board aims to make it even easier to create camera based projects on the Pi.
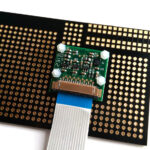
The camera is attached to the board using nylon bolts and the prototyping area allows you to add whatever LEDs, sensors, screens and components your project requires.
The board has been launched on Kickstarter and I’m hoping it will meet it’s goal. The board in front of me as I write this is very nice quality and does exactly what the project claims it can.
Some people are going to look at this project and think to themselves “but can’t I just use a piece of strip-board and do this myself?”. The answer is yes you can. However this board makes it so much easier and quicker for less than £10.
Why spend your precious time cutting and drilling strip-board when you can get one of these mounted on your Pi in minutes?
The attraction of this board to me is that I could get a neat looking camera project started and have more time to concentrate on the other stuff.
Ultimately it’s a personal choice but having done similar things with strip-board I think this is a great option to have available.
Advantages
- Low cost
- Reduces clutter
- Saves time
- All GPIO pins available
Disadvantages
- Camera in fixed position
The board has been designed to fit the Model B but it does fit on the B+. Due to the GPIO header being in a slightly different position on the B+ it means the board is offset slightly to one side. Whether this makes a difference depends on your project.

Once the 26-way header is soldered on attaching the camera module is simply done with four nylon bolts. The rest is up to your imagination.
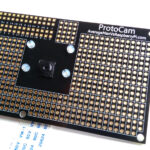
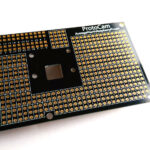
Here are some other photos I took of my board :
Overall I really like this board. It’s definitely worth having in your Pi accessories collection as it makes assembling a camera based project quick and easy. When I made my first Raspberry Pi based digital camera I spent a long time mounting the camera and this board would have been a great time saver.
Visit Richard’s ProtoCam page to see more photos including a shots of the board mounted on a Model B and example applications.
Other ProtoCam articles :
- ProtoCam – RasPi.tv : Alex has a video showing how the board can work nicely with the Model B+.


