In a previous post I told you how you could capture screenshots on the Raspberry Pi using “scrot”. That method worked fine for most applications but like many screen capture techniques resulted in a black rectangle when used with Minecraft. This has led many bloggers to simply photograph the screen with a real camera in order to get a screenshot of their Minecraft adventures.
There is a solution and it comes in the form of “raspi2png” by Andrew Duncan. His raspi2png utility can capture the Minecraft window and is available from his Github page.
Setting up raspi2png is easy so keep on reading!
Step 1 – Install libpng12-dev
This is installed by default in the latest Raspbian image so we can move onto the next step.
Step 2 – Download raspi2png
Now we can download the project files from Github :
git clone https://github.com/AndrewFromMelbourne/raspi2png/To make it easier to use from any location we can copy the raspi2png executable into a location that the operating system will find it :
sudo cp -a raspi2png/raspi2png /usr/local/bin
This will copy the executable in the raspi2png directory to the /usr/local/bin directory while preserving the file’s attributes.
Step 3 – Capturing the screen
Capturing the screen is simply a case of running the following command :
raspi2png
The screenshot is saved as “screenshot.png” in the same directory as the raspi2png files. This can be copied to a USB stick or transferred via SSH.
There are some command line options you can use for some added functionality :
Usage: raspi2png [-p pngname] [-v] [-w ] [-h ] [-t ] [-d ]
-p - name of png file to create (default is snapshot.png)
-v - verbose
-h - image height (default is screen height)
-w - image width (default is screen width)
-t - type of image captured
     can be one of the following: RGB565 RGB888 RGBA16 RGBA32
-d - delay in seconds (default 0)
The most useful are d and p. For example :
raspi2png -d 5 -p "mysnapshot_01.png"
This creates an image file called “mysnapshot_01.png” after a delay of 5 seconds.
The delay is useful if you need time to arrange your windows before the screen capture takes place. Being able to specify the image file name is useful if you want to capture a series of images without re-using the default “snapshot.png” file.
When taking Minecraft screenshots you will need to use the following process :
- Launch a LXTerminal window
- Run Minecraft and decide what you want to capture
- Press TAB to release the mouse
- Use the mouse to click in your terminal window
- Type the raspi2png command as above with a delay of 5 seconds
- Press Enter
- Click the Minecraft window to return to the game
- Wait for raspi2png to take the screenshot
Repeat steps 3-8 using a different file name as required.
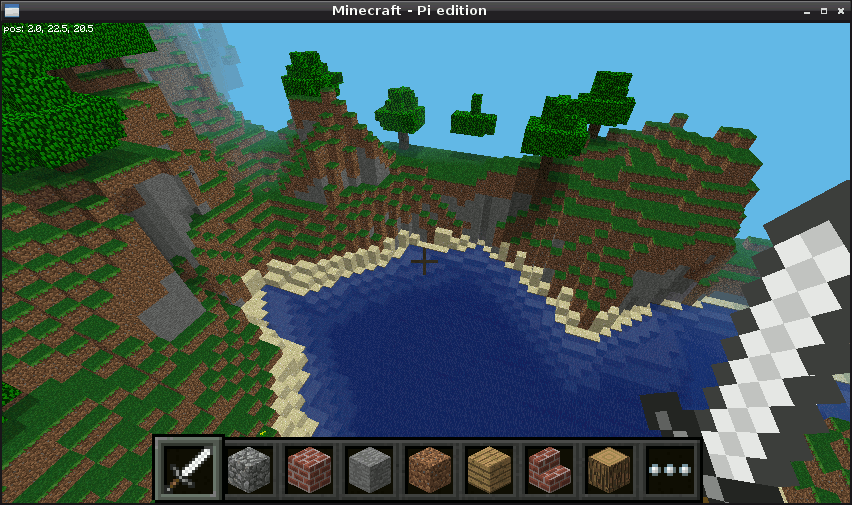
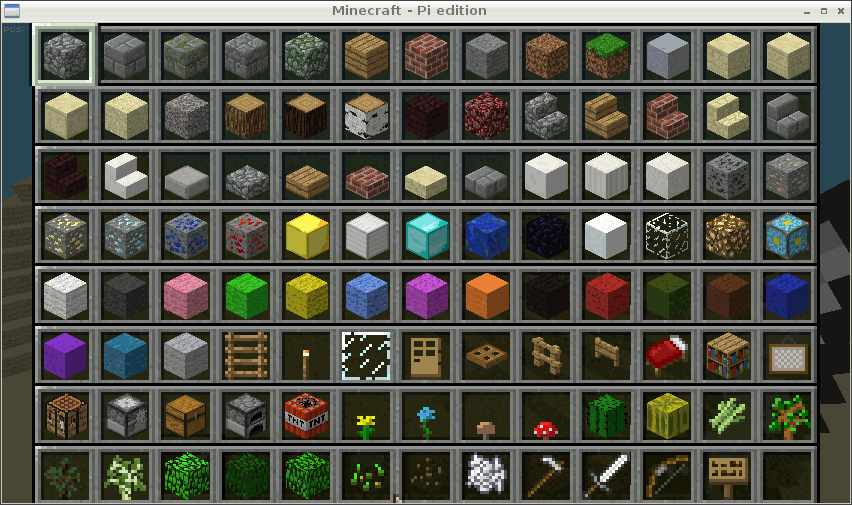
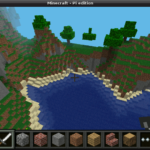
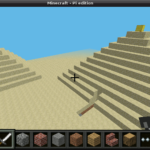
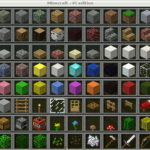
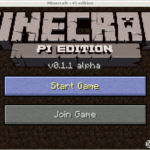
Here are some shots I took. I have cropped the images (using Gimp) to just focus on the Minecraft window :
Although I originally discovered raspi2png while looking to capture Minecraft images you can use it for your other screen capture needs as well.

4 Comments
This would have been so useful when I was writing workshops about Minecraft on the Pi for Computeractive and the Ultimate Guides! Thanks for sharing.
Tim
Awesome… I’ve found your work very handy as a reference and it’s inspired me to want to tinker. I’ve linked you into my own website if you’re happy with that. Thank you.
(As user, not root) “vi ~/.config/openbox/lxde-pi-rc.xml”
and add:
”
~/raspi2png/raspi2png
”
in the keyboard section.
then
3) “openbox –reconfigure”
Now you get a screen capture when you hit the “SysRq\PrintScreen” key.
For brownie points, someone could add either some C to make the filename YYYY-MM-DD_HHMMSS, or kludge it in lxde-pi-rc.xml perhaps.
Me? I’m just passing through. Nice program dude! 🙂
Ok.. Firstly I’ll post it /right/ this time (or try to!) and also I’ll sweeten it a little.
To make the whole thing more useable “sudo chmod ugo-w raspbi2png”, then “sudo chmod ugo+x raspbi2png” and “sudo mv raspbi2png /usr/local/bin/raspbi2png” will make it system-wide useable.
Then “sudo vi /usr/local/bin/screenie”, hit “a” to “append” the following text to the new file and copy in the stuff between (but not including) the quote marks.
“raspi2png -p ~/`date +%Y%m%d-%H:%M:%S`_Screenshot.png”
and “sudo chown ugo-w /usr/local/bin/screenie” to secure it a little, and “sudo chown ugo+x /usr/local/bin/screenie” so it’s executable by all. 🙂
Then to get the “SysReq/PrintScreen” key to use it. “sudo vi ~/.config/openbox/lxde-pi-rc.xml” and add
”
screenie
”
at the end of the keyboard (just before ) section.
After saving this, do openbox –reconfigure, and, if all has copied ok from my keyboard to your screen, via our various fingers and web pages, hitting “Printscreen” should get you a screenshot with a name like “20150222-18:41:32_Screenshot.png”.
Which is all we want, right? 😉