 Back in 2013 I purchased a Pi-Lite at the Cambridge Raspberry Pi Jam.This is a 14×9 matrix of red LEDs mounted on a PCB that can be attached to the Pi and controlled via the GPIO header. The 126 LEDs can be turned on individually or used to display scrolling text.
Although there was plenty of help material available from the Openmicros.org site (no longer available) I found it a little bit confusing. Information was spread over a mixture of pages and it was easy to get lost in the more advanced detail while looking for a gentle introduction.
So here is my simplified version. My objective was to configure the SD card, connect my Pi-Lite and get some of the example Python scripts working. Nothing fancy just a quick setup before deciding how to move onto something more complicated.
UPDATE : This article was updated to work with the latest Raspbian release. The Openmicros.org site no longer exists but I still got my device to work and the Github libraries are still available.
Step 1 – Prepare SD Card and Configure Operating System
To start the setup I always use the latest version of the Raspbian SD card image which is available from the RaspberryPi.org download page.
Boot the Pi using this fresh SD card without the Pi-Lite attached
Step 2 – Disable Serial Port Login
By default the Raspbian operating system allows input and output on the serial port (header pins 8 & 10). This would interfere with the Pi-Lite which uses the serial port to receive its data so we need to disable this functionality.
This can be done using the “raspi-config” utility either from the Pixel desktop or the command line.
sudo raspi-config
Then :
- Select “Advanced Options”
- Select “Serial”
- Select “No” to disable the login shell over serial
- Select “OK” when it says the serial interface has been disabled
When you exit raspi-config decline the offer to reboot.
Step 3 – Enable UART
Edit the config.txt file using :
sudo nano /boot/config.txt
At the bottom of this file there is a line containing “enable_uart=0”. Change this to “enable_uart=1”.
Then press “CTRL-X”, then “Y” and finally “Enter” or “Return” to save. You should be returned to the command line. Now we’ve made the configuration changes it’s time to shut-down..
Step 4 – Shutdown and attach hardware
Shutdown the Pi using :
sudo halt
Wait for the Pi to shut-down completely. Disconnect the power and attach the Pi-Lite to the GPIO header making sure the connector is correctly aligned.
Connect the power and allow the Pi to boot.
Step 5 – Install Minicom and Test
To test the Pi-Lite we can install a small utility called Minicom which will allow us to send data across the serial port to the Pi-Lite. This data should be displayed on the Pi-Lite.
To install Minicom use the following command :
sudo apt-get install minicom
Press “Y” when asked if you want to continue.
Once installed you can use Minicom to send data to the Pi-Lite using the following command :
minicom -b 9600 -o -D /dev/serial0
Pressing keys on your keyboard should result in them appearing on the Pi-Lite!
To exit Minicom press “CTRL-A”, then “X” and finally press “Return” to select “Yes” from the prompt.
Step 6 – Download Example Python Scripts
Since Ciseco are no longer in business I added the original Python example scripts to my BitBucket repository. This was so I could update the serial port reference to “/dev/serial0”. This enables them to work with all Raspberry Pi devices including the Pi 3.
First we need to install the Python serial package :
sudo apt-get install python-serial
Install “git” if it isn’t already installed using :
sudo apt-get install git
Now we can download the examples from BitBucket :
cd ~
git clone https://bitbucket.org/MattHawkinsUK/rpispy-pi-lite.git
This will download the files into a folder called “rpispy-pi-lite”.
Step 7 – Download Official Files (optional)
The original official files are held in a Git repository on Github.com. I’ve left this section here in case you want to look at them but you don’t need them.
Install “git” if it isn’t already installed using :
sudo apt-get install git
Now create a directory which Git can use to store data we pull from Github.com :
cd ~
mkdir git
cd git
Now we can pull the examples from Github into our new directory :
git clone git://github.com/CisecoPlc/PiLite.git
Next we need to install the Python serial package :
sudo apt-get install python-serial
Typing the following command will browse to the Python examples folder :
cd PiLite/Python_Examples/
Typing “ls” will list the available files in this directory.
Step 8 – Run Basic Python Example Scripts
To find the scripts navigate to /home/pi/rpispy-pi-lite/Ciseco_Examples/
cd ~
cd rpispy-pi-lite
cd Ciseco_Examples
The following Python examples should now run without any other additional installations or tweaks :
Pacman.py    - displays a Pacman image complete with munching mouth
BarScroll.py - scrolls a bar graph
BarUpDown.py - grows a set of bars then reduces the size of them
VUSample.py  - an example VU meter
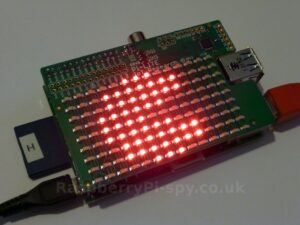
Run them using the following command as an example :
python Pacman.py
This script displays an animated Pacman symbol.
Some scripts will end after a few seconds but you may need to use “CTRL-C” to exit the examples that run in a continuous loop.
Step 9 – More Python Examples
Some of the other scripts require a few more Python libraries to be installed.
sudo apt-get install python-setuptools
sudo easy_install pip
sudo apt-get install python-requests
sudo pip install arrow
When that has finished installing you should be able to run the “PiLiteWorldTime.py” example. This should give you the time in various capital cities including London, Cairo and Paris.
For some reason I was getting an “Error:’dict’ object is not callable” error when trying to run “PiLiteWeather.py” and “PiLiteStock.py”. To solve this I ran :
sudo pip install requests --upgrade
which seemed to solve the problem by re-installing the requests package.
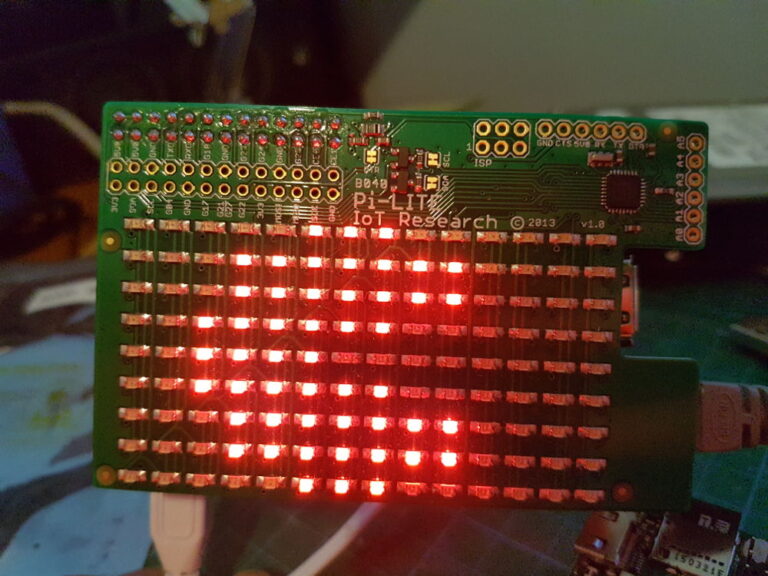
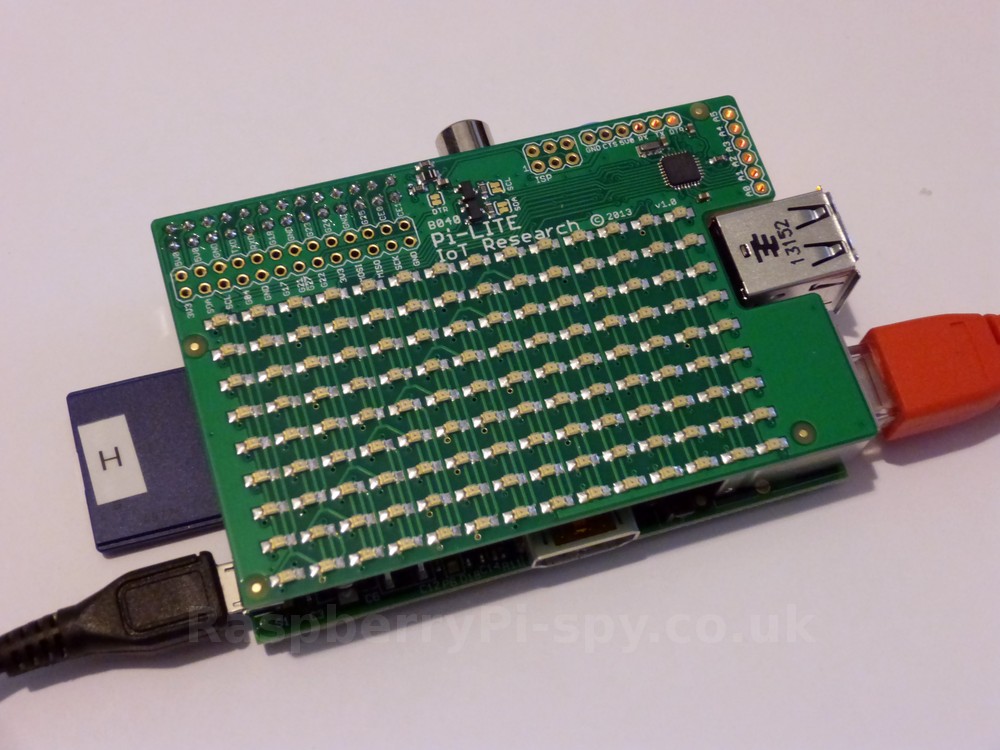
Here are some photos.
It isn’t very easy taking photos of bright LEDs!
Additional Information
The official website no longer exists but here is the last available user guide :
Pi-Lite User Guide (April 2014)
My Pi-Lite BitBucket Repository is here : https://bitbucket.org/MattHawkinsUK/rpispy-pi-lite/
The Ciseco Github Repository is here : https://github.com/CisecoPlc/PiLite/




28 Comments
Very nice; all worked for me. Thanks.
Mike
Although, what I would have hoped OpenMicros would have produced is a very very simple Python example showing you how to write scrolling text to the Pi-Lite. So the Python Pi-Lite equivalent of “Hello World”.
Mike
There are more Pi-Lite examples listed here : https://www.raspberrypi-spy.co.uk/tag/pi-lite/
I bought a red Pi-Lite at the last CamJam too! 🙂 Haven’t got round to doing much with it yet though, been busy with other pi-projects.
Steps 2 and 3 in your instructions above can both be automated with this script I wrote:
https://github.com/lurch/rpi-serial-console
14×9 what a strange size does it have 🙁 Most matrices are multiples of 8 (i.e. 16×8).
Hi!
Thanks for your site and your guides, you rock!
I am new to Linux and Python so I would be very grateful if you could tell me how to change the displayed times in the world clock example.
Thanks,
PiNoob
You might find the website above to be of some help.
Thanks for making the setup so pain free. All working properly in 35 minutes – great.
I’ll try the next post tomorrow.
When I try running the example Python scripts I get erratic results. The pacman example displays lots of BBBBBBBsss !!!!(((( ????
Anyone else got this. I am running the lastest version of Raspian, updated, upgraded and distro-upgrade.
Suggestions?
I tried running the ‘sudo pip install requests –upgrade’ command, it didn’t make any difference! 🙁
I can’t get the minicom command to work. Any ideas?
Is it giving any error messages when you run it?
302 moved temporarily. Refers to mirrordirector.raspian.org lrzsz and minicom. Very frustrating!!!
when i tried the first steps then when i tried too reboot it all went wrong and i cant reboot. got the pi lite for my birthday yesterday and i have been wanting to use it for ages 🙁
Unplug the pi-lite. Rewrite your SD card with latest Raspbian image and get the Pi to boot normally. Then try the tutorial again and see how you get on.
Nice add-on for my PI, use it to display the statistics of my Solar Panel system.
is there a maximum characters because, it stops displaying in the middle of the last s.write.
i read a bunch of text files and display the text inside on the pi-lite. the last one does not complete. just stops, if i shorten the text in the files before, i shows some more characters. Seems like i bump into a maximum character value
script look like:
s.write(“descr1:\r”)
s.write( file1)
time.sleep(3)
s.write(” descr2:\r”)
s.write( file2)
time.sleep(3)
s.write(” descrip3:\r”)
s.write( file3)
time.sleep(3)
s.write(” descrip4:\r”)
s.write( file4)
time.sleep(3)
s.write(” descrip5:\r”)
s.write( file5)
time.sleep(30)
Not sure but if you know where the file stops you can count how many characters came before.
maybe someone can test this. when is send this string, it stops after about 65 charaters.
normal behavior ?
mmmmmmmmm10mmmmmmmm20mmmmmmmm30mmmmmmmm40mmmmmmmm50mmmmmmmm60mmmmmmmmm70mmmmmmmm80mmmmmmmm90mmmmmmmm100mmmmmm110mmmmmmmmm120mmmmmmm130mmmmmmm140mmmmmmm150mmmmmmm160
Hello,
The inittab has been replaced and I cannot procede from there. What do I do? Please help!
Hi
I have found these instructions no longer work with Jessie, something to do with the serial tree being changed??? (I am not a programmer). I have a version of NOOBS 1.4.1 so I tried that instead and it worked fine. Maplins are still selling these but all the official links are down as the manufacture is no longer in business.
I have found this too and gutted as I cant get mine to do anything 🙁
I’ve just updated this article and my Pi-Lite works OK now under the latest version of Raspbian.
Thank you Matt, and happy new year. Now I can get scrolling!
Thanks for this guide. Hugely useful when my son and I tried out his Pi-Lite yesterday on his new Raspberry Pi 3.
We discovered the Pi 3 addresses the GPIO header differently to previous versions.
You must use /dev/ttyS0 rather than /dev/ttyAMA0 as described above.
All of the sample scripts needed editing in a python editor to ‘fix’ the above issue – but after that, they all worked perfectly for us.
Also the our GPIO header has 40 pins, rather than 26. But we found that the first 26 pins of the set are exactly equivalent to the older format.
Well spotted! It seems in the newer Raspbian you can use “/dev/serial0” and it works for all Pi variants. I’m going to add the Ciseco examples to my BitBucket repository and update the serial port reference. Thanks for the feedback. Hopefully we can keep those Pi-Lites working!
I just create a symlink if I need to use the example code: sudo ln -s /dev/ttyAMA0 /dev/serial0
This negates the need to edit any of the code examples as serial0 now points to ttyAMA0. The only caveat is that /dev/ is a virtual directory, so anything you put there is lost as soon as you power down the Pi.
Thanks for this, it’s been invaluable! I was bought a Pi-Lite and had no idea how to get it working with Ciseco gone. So grateful. You may have covered this but are there any tutorials on programming my own text to scroll along the matrix – a sentence, for example?
Hi Dom, give this article a try : https://www.raspberrypi-spy.co.uk/2013/09/pi-lite-led-matrix-board-python-hello-world-example/
Also if you use this link https://www.raspberrypi-spy.co.uk/tag/pi-lite/ you’ll find my other Pi-Lite articles. I still need to test them but I’ve made some initial updates to bring them into line with the current release of Raspbian.
Hi,
I know these boards are a little long in the tooth but picked up a load at a CPC clearance sale so finding these guides were a godsend. I did, however, find that I was getting unpredictable results. It looked a lot like there was something wrong with the baud rate getting odd characters etc. After much head-scratching and googling I found this link which solved my problem.
https://www.abelectronics.co.uk/kb/article/1035/raspberry-pi-3–4-and-zero-w-serial-port-usage
I thought I would post it here in case someone has a similar issue.
I’m running on some old PI3 Model A’s