If you are interested in monitoring the RetroPie temperature you can add a custom option to your RetroPie menu. This will display the RetroPie temperature on the screen for a predefined number of seconds.
You will need to have a keyboard attached to your RetroPie system or have SSH access.
Step 1: Create RetroPie Temperature Script
You’ll need to get to the command line. If you are using a keyboard connected to the Pi then within RetroPie press F4 to enter the command line. If using SSH connect using your preferred client.
At the command prompt navigate to the RetroPie menu directory:
cd /home/pi/RetroPie/retropiemenuThen create the script using:
nano Check_Temperature.shThis will open the nano text editor.
Type or paste the following script:
!/bin/sh
vcgencmd measure_temp
sleep 5
Then press CTRL-X, Y and ENTER to confirm the changes and exit back to the command line.
Step 2: Make Executable
Now the script needs to be made executable using the command:
chmod +x Check_Temperature.shStep 3: Return to Emulation Station
If you are using a keyboard connected to the Pi return to Emulation Station by typing:
emulationstationIf you are using SSH then quit the session by typing:
exitStep 4: Run RetroPie Temperature Script
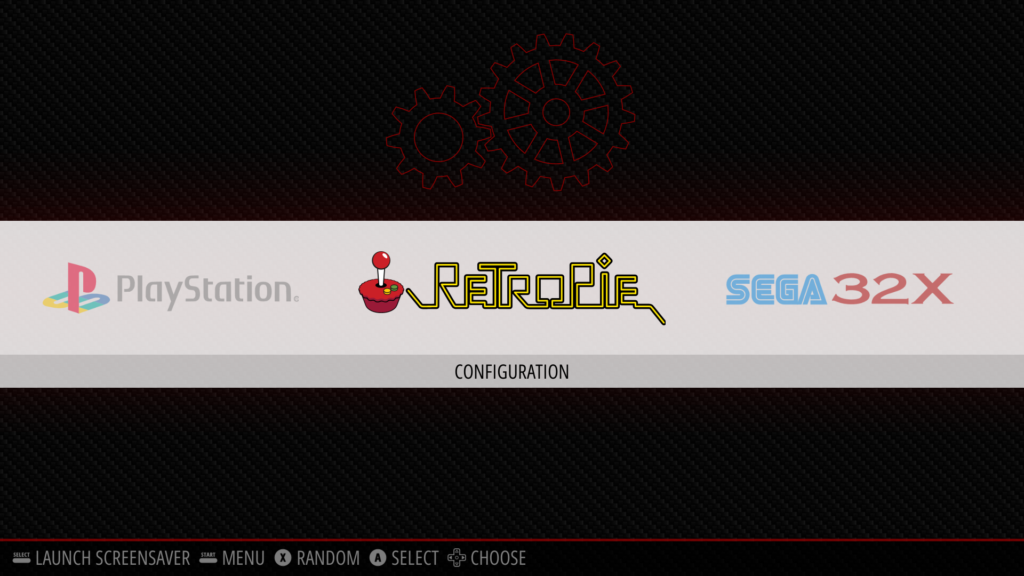
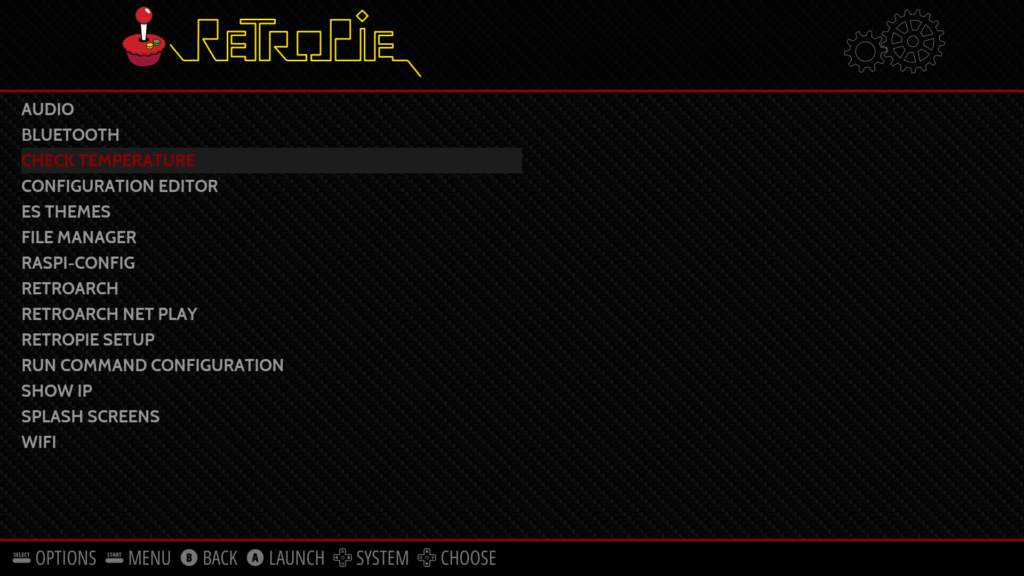
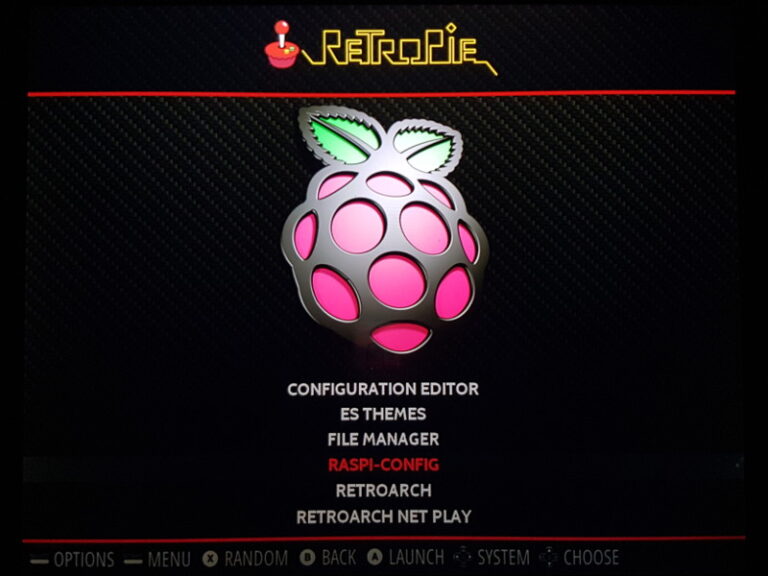
Once EmulationStation has reloaded navigate to the RetroPie configuration menu.

You should see a new entry for “Check_Temperature”.

Select this new option and the current temperature will be displayed for five seconds and then return to Emulation Station.
Removing RetroPie Temperature Script (optional)
To remove the new entry from the RetroPie menu you just need to delete the script. To do this return to the command line (using F4 or SSH). Navigate to the RetroPie menu directory using:
cd /home/pi/RetroPie/retropiemenuand then delete the script using:
rm Check_Temperature.shFinally return to Emulation Station as before by either typing:
emulationstationor:
exitOnce EmulationStation has reloaded navigate to the RetroPie menu and the “Check_Temperature” option should be gone.

