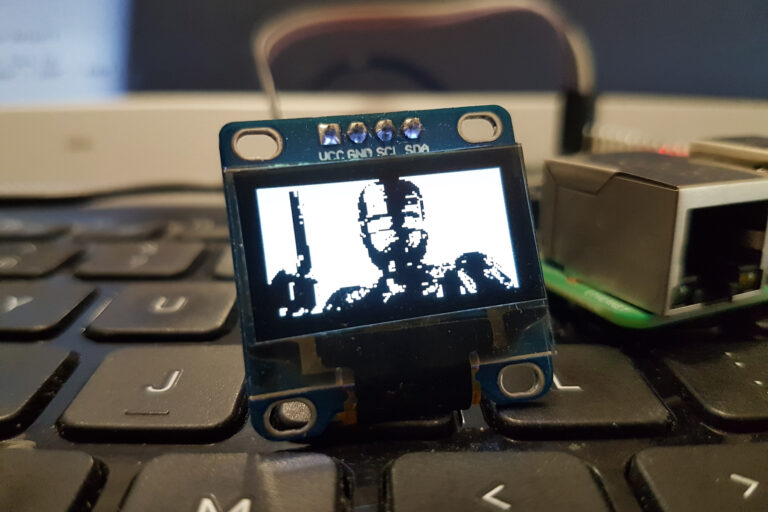
Once I got my miniature OLED display working on the Raspberry Pi I decided to create a Python script to generate an image slideshow. The script I came up with reads images from a directory which it then resizes and converts before displaying on the screen.

0.9 Inch OLED Display
In order to use the slideshow script you should have the OLED screen connected to your Pi via the I2C interface and check it is working using the Adafruit example scripts.
Full details of the display setup can be found in my Using an I2C OLED Display Module with the Raspberry Pi.
Download Slideshow Python Script
Ensure you are in the home directory :
cd ~
Create a directory to store the script and images :
mkdir slideshow
and navigate to this new directory :
cd slideshow
Now the slideshow script can be downloaded from my BitBucket repository directly to your Pi using :
wget https://bitbucket.org/MattHawkinsUK/rpispy-misc/raw/master/oled/oled_slideshow.py
Let’s simplify the script name and rename it using :
mv oled_slideshow.py slideshow.py
Populate Directory with Images
You can find your own images but to get you started you can download these example images to your Pi :
wget https://bitbucket.org/MattHawkinsUK/rpispy-misc/raw/master/oled/terminator.pbm

wget https://bitbucket.org/MattHawkinsUK/rpispy-misc/raw/master/oled/robocop.pbm

wget https://bitbucket.org/MattHawkinsUK/rpispy-misc/raw/master/oled/cyberman.pbm
Use the following command to list the files in the slideshow directory and check the images are in the same place as the slideshow script :
ls -l
You should see the following files listed :
- slideshow.py
- terminator.pbm
- robocop.pbm
- cyberman.pbm
Run the Example Script
The script can be run using Python 2 or Python 3.
Running under Python 3 is done using :
python3 slideshow.py
You can change the delay between each image by specifying the delay on the command line as an integer :
python3 slideshow.py 4
Increase I2C Bus Speed
This is optional but to improve the refresh rate of the screen you can increase the bus speed of the I2C interface. This can be done by following the Change Raspberry Pi I2C Bus Speed tutorial.
The Slideshow in Action
The slideshow should look something like this :
https://www.instagram.com/p/BkFoOjQncAp/
Image Resolution Tips
The script looks at the image resolution and resizes it if it does not match the display size.
Resizing images takes longer so with smaller delays the increased processing time may be visible. This is especially true if the images are all different sizes and will take slightly different amounts of time to process. For this reason you may wish to resize all your images to a common size before they are placed in the directory with the script.
There are plenty of modifications that can be made to this script. Perhaps the images could be created automatically by the Pi camera and the slideshow script would then display them on the screen?
Troubleshooting
Finally if you are having problems here are some things to consider :
- Did you successfully setup the screen and get the Adafruit examples working?
- Did you download the oled_slideshow.py script to the same directory as your images?
- Try running the script with only a few images

