RC522 RFID modules are a simple add-on you can connect to a Raspberry Pi to read MIFARE tags and cards. This is potentially a great feature to include in a security system or any application where you need to identify an object or person without them pressing buttons, operating switches or other sensors. The contactless tags can be carried on a key-ring and the cards fit nicely in a wallet. Both of them can be hidden inside other objects to give them a unique ID that can be read by the Pi.
The obvious application is a security system where you use a tag to activate or deactivate an alarm but other applications include time and attendance systems and games.
Supported Protocols
Modules that use the RC522 chip should support all tags that use the following standards :
- MIFARE Mini
- MIFARE 1K
- MIFARE 4K,
- MIFARE Ultralight
- MIFARE DESFire EV1
- MIFARE Plus RF
It is possible to buy additional cards and tags but you should make sure they support one of those standards.
These RFID modules can not read contactless bank cards. They can read an ID from a smart phone but the ID is different every time so not very useful in most circumstances.
The Module
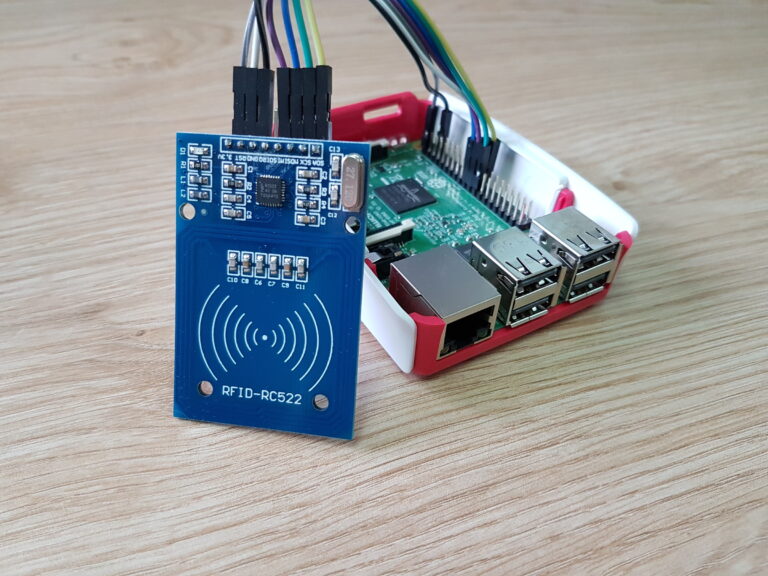
There are different modules available from the usual sources but mine is a blue PCB with eight connections. The antenna track can be seen on the PCB and it is this that communicates with a nearby tag.
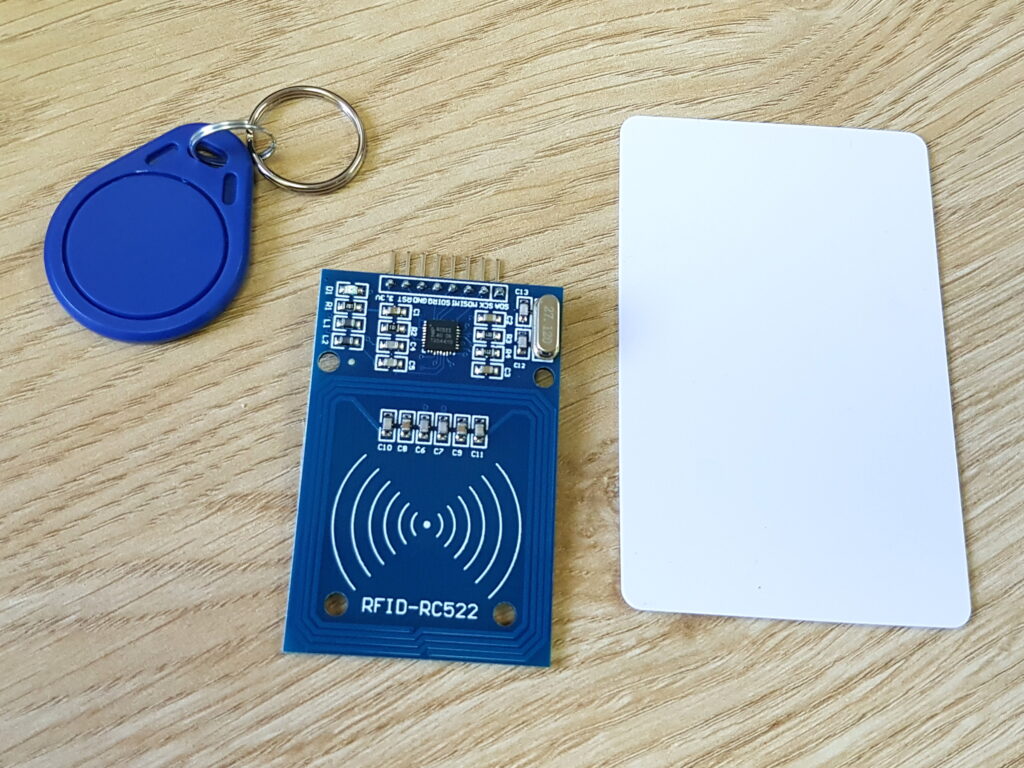
My module came with two different styles of header pins, one of which needed to be soldered onto the PCB. I soldered on the right-angle header so that the cable would be inline with the PCB. One keyring style tag and one plain white “credit-card” style card were also included.
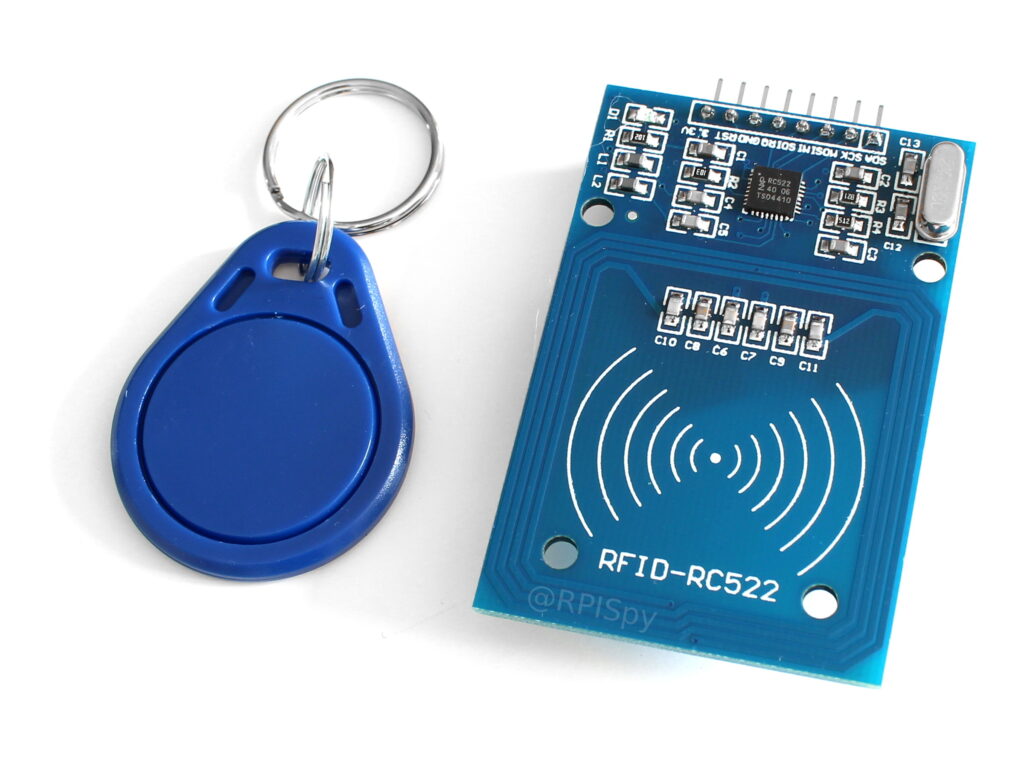
Each of these devices has a unique code (UID) which it is possible to read using a Python script.
The modules do not normally come supplied with jumper cables so you will need seven female-female jumper cables to connect it directly to the Pi.
Hardware Setup
The RC522 module has eight pins but we only need to connect seven of then to the Raspberry Pi’s GPIO header. The pins are labelled on the PCB but the markings are quite squashed.
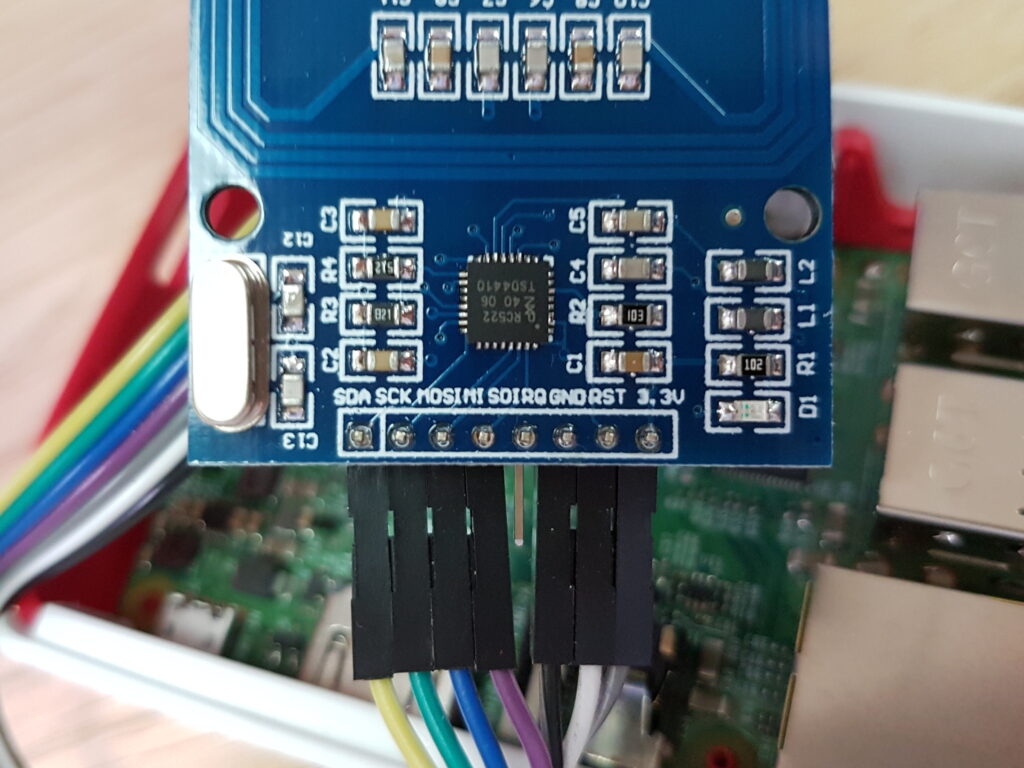
I used a 7-way female-female jumper cable to connect the module to the Pi.
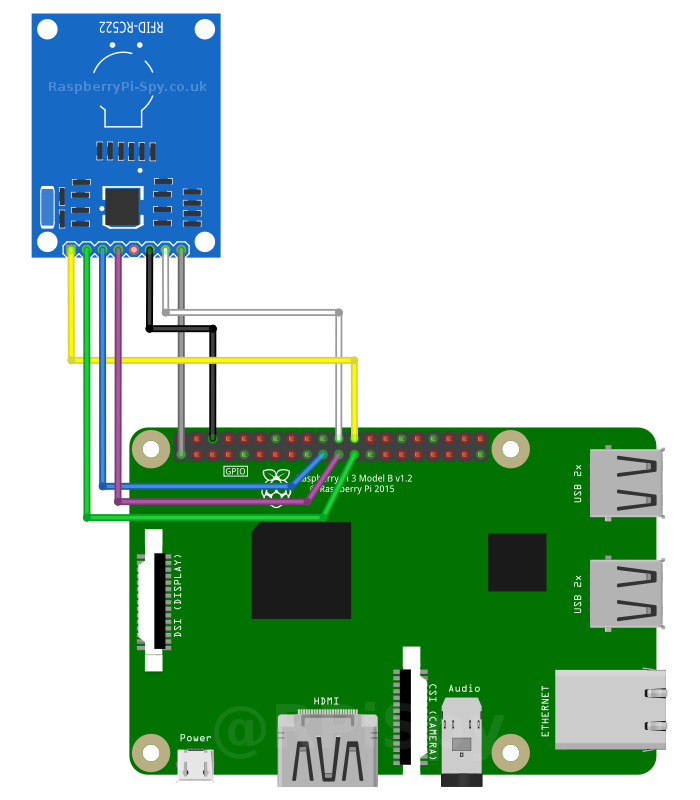
The wiring details are also shown in the table below :
| RC522 Header | Diagram Colour | Pi Header | Notes |
|---|---|---|---|
| 3.3V | Grey | 1 | 3.3V |
| RST | White | 22 | GPIO25 |
| GND | Black | 6 | Ground |
| IRQ | – | – | Not connected |
| MISO | Purple | 21 | GPIO9 |
| MOSI | Blue | 19 | GPIO10 |
| SCK | Green | 23 | GPIO11 |
| SDA | Yellow | 24 | GPIO8 |
Please refer to the Raspberry Pi GPIO Header page for details of the Pi’s header pin layout.
Enable SPI
The RC522 module uses the SPI interface to communicate with the Pi. The SPI interface has to be enabled as it is disabled by default. This is explained in more detail in my Enable SPI Interface on the Raspberry Pi tutorial.
If you don’t want to read that then simply run :
sudo raspi-configfrom the terminal or “Raspberry Pi Configuration” from the desktop and enable SPI under the “Interfacing Options” section.
Install SPI Supporting Libraries
Next install the spidev library using :
sudo apt-get install python-spidev python3-spidevThis installs it for both Python 2 and Python 3.
Although I tend to use “py-spidev” to drive the SPI interface in Python for this application I used “SPI-Py”. This can be installed using the following sequence of commands :
cd ~
git clone https://github.com/lthiery/SPI-Py.git
cd SPI-Py
sudo python setup.py install
sudo python3 setup.py install
This installs it for both Python 2 and Python 3.
Download RC522 Python Library
Finally download a library that helps talk to the RC522 module over the SPI interface. It relies on the SPI-Py library installed in the previous step.
The following commands will download the required library :
cd ~
git clone https://github.com/mxgxw/MFRC522-python.git
Example Python Script
In the “MFRC522-python” directory there are some example scripts. You can navigate to these using :
cd MFRC522-python
Run the “Read.py” script using the following command :
python Read.py
The script waits for a tag to be detected by the RFID module. When it finds a tag it reads the UID and displays it on the screen. The script runs in a loop and will keep waiting and displaying any detected UIDs.
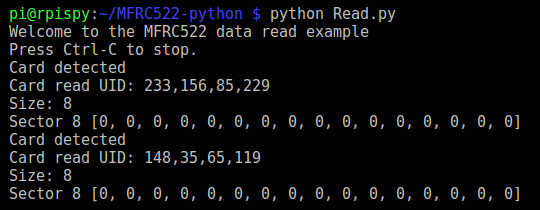
Running this script allows you to determine the UID of the tag or card that was supplied with the reader.
Python 2 or Python 3
By default the MFRC522 library only works with Python 2. However it is easy to modify to work with Python 3. Simply edit the “MFRC522.py” file in a text editor and convert all nine of the print statements to Python 3 friendly syntax. For example,
print "Authentication Error"
becomes :
print("Authentication Error")Everything after the print statement should be wrapped in ( ) brackets.
The example script will now run under Python 3 without any errors :
python3 Read.py
My Example Python Script
In order to simplify the output I created a modified example script. It reads a card, prints out the ID and waits for 2 seconds so you don’t get the same ID printed twice unless you hold the card in place for more than 2 seconds.
import time
import RPi.GPIO as GPIO
import MFRC522

# Create an object of the class MFRC522
MIFAREReader = MFRC522.MFRC522()

# Welcome message
print("Looking for cards")
print("Press Ctrl-C to stop.")

# This loop checks for chips. If one is near it will get the UID
try:

  while True:

    # Scan for cards
    (status,TagType) = MIFAREReader.MFRC522_Request(MIFAREReader.PICC_REQIDL)

    # Get the UID of the card
    (status,uid) = MIFAREReader.MFRC522_Anticoll()

    # If we have the UID, continue
    if status == MIFAREReader.MI_OK:

      # Print UID
      print("UID: "+str(uid[0])+","+str(uid[1])+","+str(uid[2])+","+str(uid[3]))

      time.sleep(2)

except KeyboardInterrupt:
  GPIO.cleanup()
You can download this script directly to your Pi using :
wget https://bitbucket.org/MattHawkinsUK/rpispy-misc/raw/master/python/rc522_read.py
and run it using :
python rc522_read.py
It will run under Python 3 if you have modified the MFRC522.py print statements as mentioned previously.
The output looks something like this :

This script is a bit closer to the code I would actually use if I wanted to read a card and take action if it had an ID stored in a list. For example, to open an electronic door lock.
The UID is a four element array named “uid” and the script combines each element into a comma separated string. You don’t need to use the commas and the 4 elements of the array could be combined to give a plain number. For example my tag UID would become “1483565119” rather than “148,35,65,119”.
Final Thoughts & Security Considerations
Hopefully this will get you to the point that you can read the UID from your MIFARE tags. If you are using this sort of mechanism in a security system then be aware that it is possible to clone these cards and give them a new UID. So your system would only be secure if you prevented an attacker from discovering your UID or having physical access to your tags.
The NXP Semiconductors Datasheet provides all the detailed technical information about the RC522 chip and the protocols it supports.

2 Comments
Hello
Thank you for your tuto,
works great, if I can ask you, how can modifies the code to add different tags(10). do you have any site or idea?
Thank you in advance.
The following may be useful to people coming across this page.
This page is a great starting point, but unfortunately SPI-Py has been rewritten and has a new interface which is incompatible with MFRC522-python.
There’s another library based on MFRC522-python which is independent of SPI-Py which you can download from https://github.com/ondryaso/pi-rc522 and install. It works with the RFID module described on this page.