This post introduces my RetroPie IKEA Arcade table based on a Raspberry Pi 3.
I’ve always wanted an arcade machine. I had admired Spanner Spencer’s PIK3A project and those that followed it but I didn’t think I had the time to create anything as interesting. Then fate decided to give me a helping hand. A number of years ago we owned an IKEA kids “Gulliver” table which we eventually gave to a friend when our son out-grew it. Her kids got older and no longer needed it so I got it back.
It was just the right size to make a table style retro games machine based on the Raspberry Pi. It had a solid MDF top and would be perfect for modifying. All it would take is a bit of cutting and drilling. Plus a few bits and pieces to attach to the underside. The thing I wasn’t sure about was where to put it when finished but that was a problem I would worry about later on.
The RetroPie IKEA Arcade Table
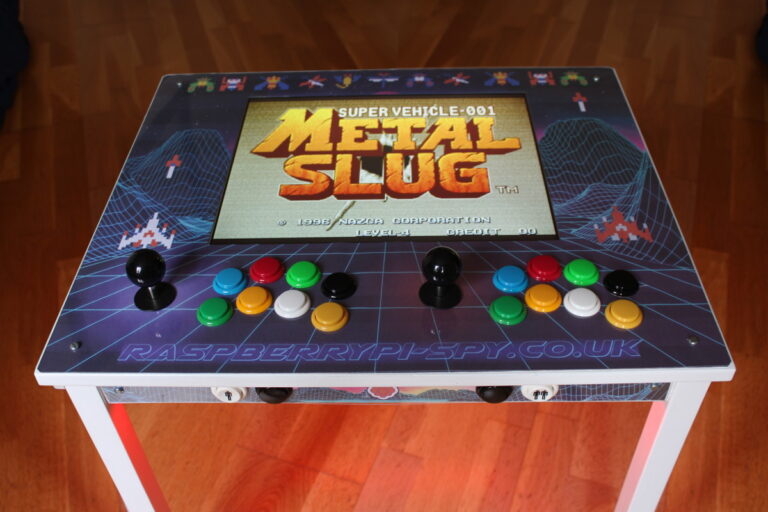
Here is how it turned out :
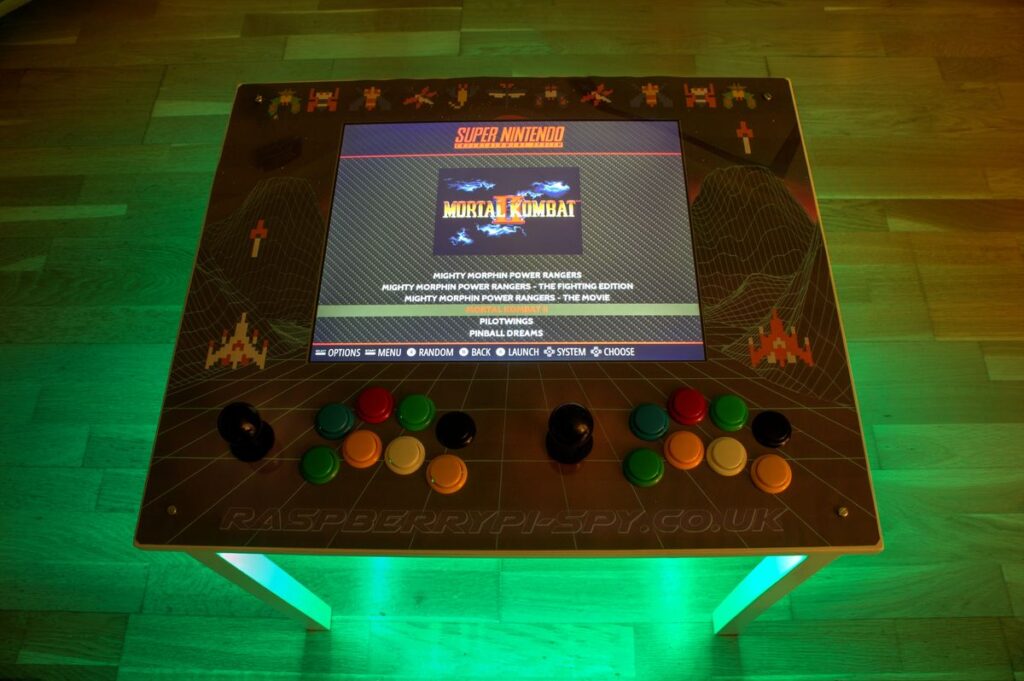
Underneath the table is a Raspberry Pi 3 running the RetroPie image. It provides emulators for all the common games console systems I was interested in. This included the Super Nintendo, Megadrive, Gameboy, Neo Geo and MAME systems.
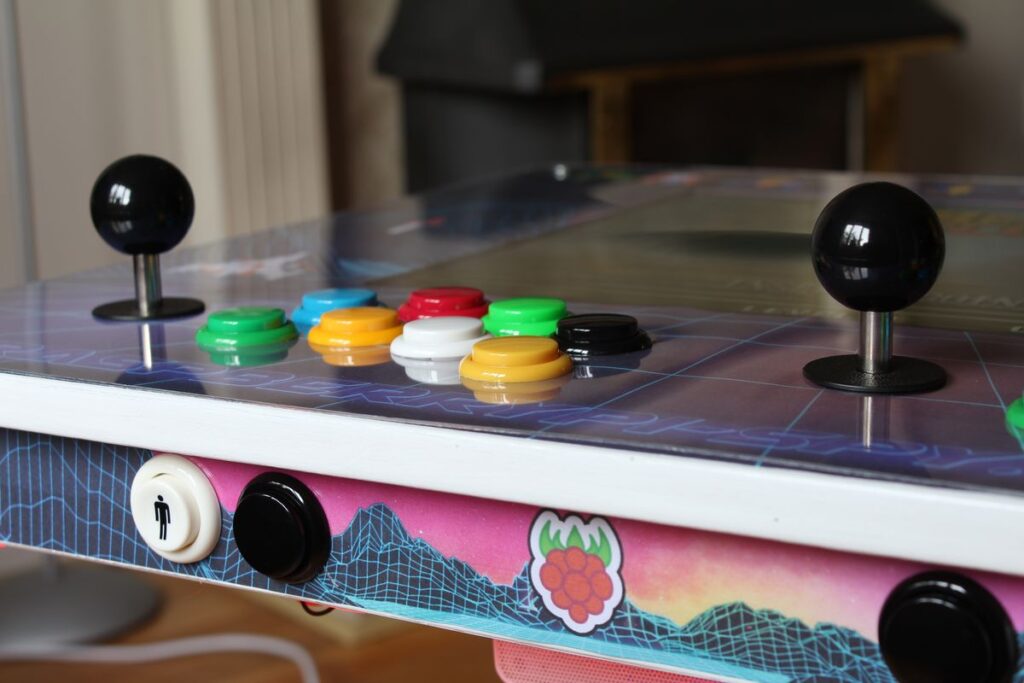
Joysticks and Buttons
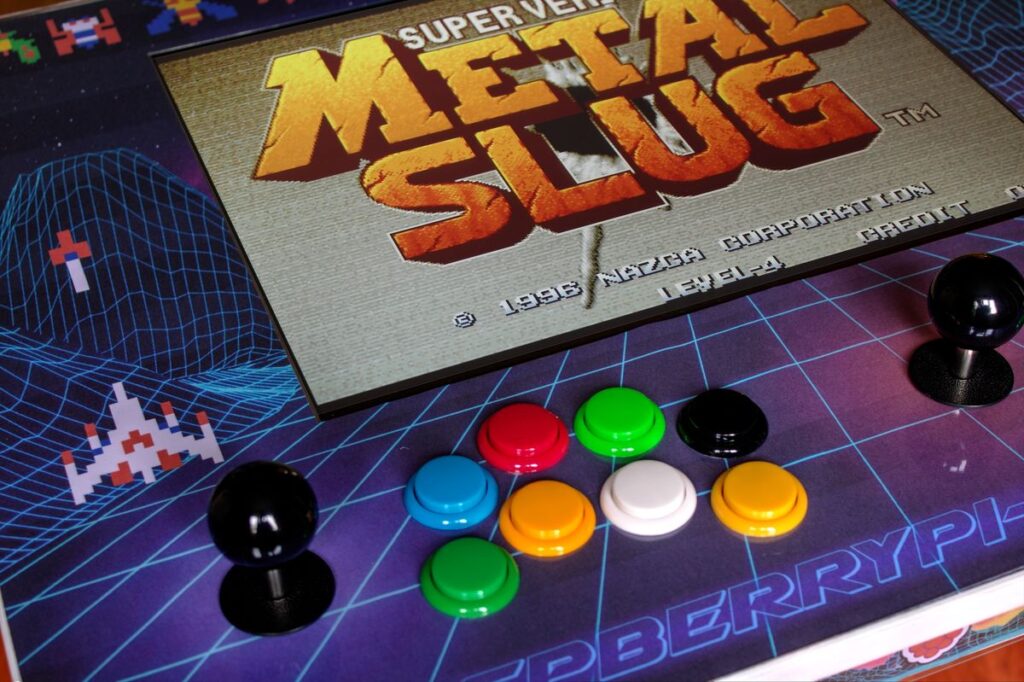
I decided to make the table two player and give each player 8 buttons. Most games don’t need this many but I thought it was better to build it with 8 than regret it latter. There are 4 buttons on the front edge which act as Select/Start or Start/Coin depending on the emulator in use. Two of these buttons have 1/2 player symbols on them which my wife kindly suggested were similar to the signs on public toilet doors.
The Monitor and Plastic Covering
The monitor is an older DELL E177 17″ display which I found secondhand on Facebook Marketplace. It cost £5, was the ideal size and it was really easy to remove the case and bezel. The 4:3 aspect ratio was perfect as that is closer to the ratio of most of the games I intended to play on it. It has a VGA interface but works fine with a cheap HDMI-to-VGA adapter.
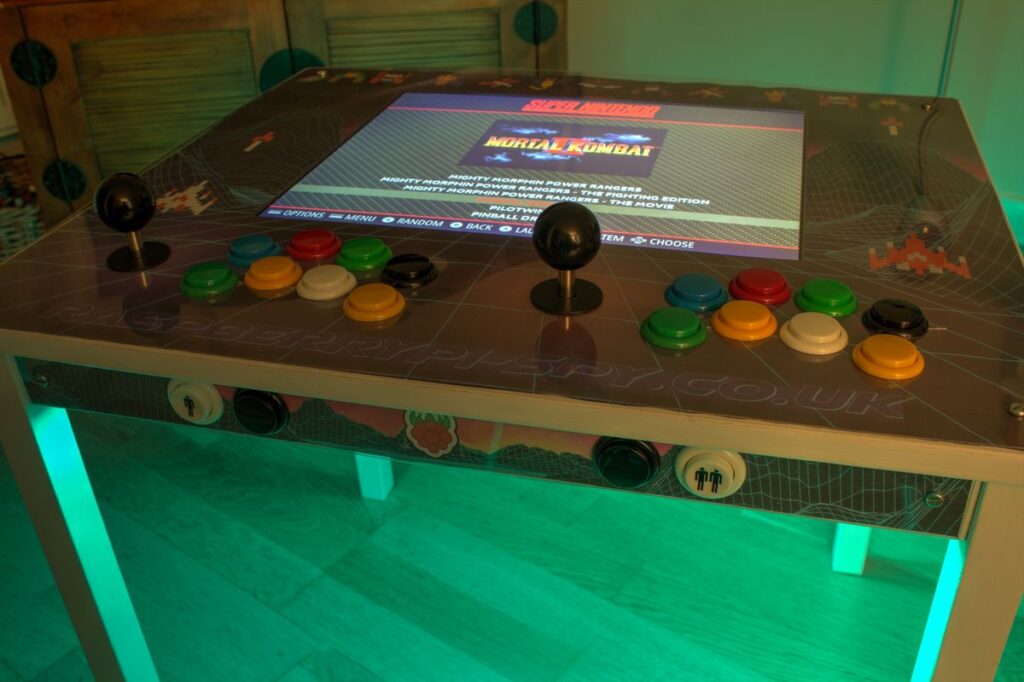
Using LibreOffice I designed a graphic to place on the table before covering in a thin layer of clear plastic. I struggled to find a cheap source of perspex so settled for the plastic from a cheap IKEA “FISKBO” picture frame.
RetroPie IKEA Arcade Lighting
The finishing touch was a set of remote controlled multi-colour LED lights to give the whole underside a nice glow. The colour can be changed or a number of light sequences can be activated. “Teenage Mutant Ninja Turtles” obviously looks better with a green glow whereas “Joust” calls for yellow.
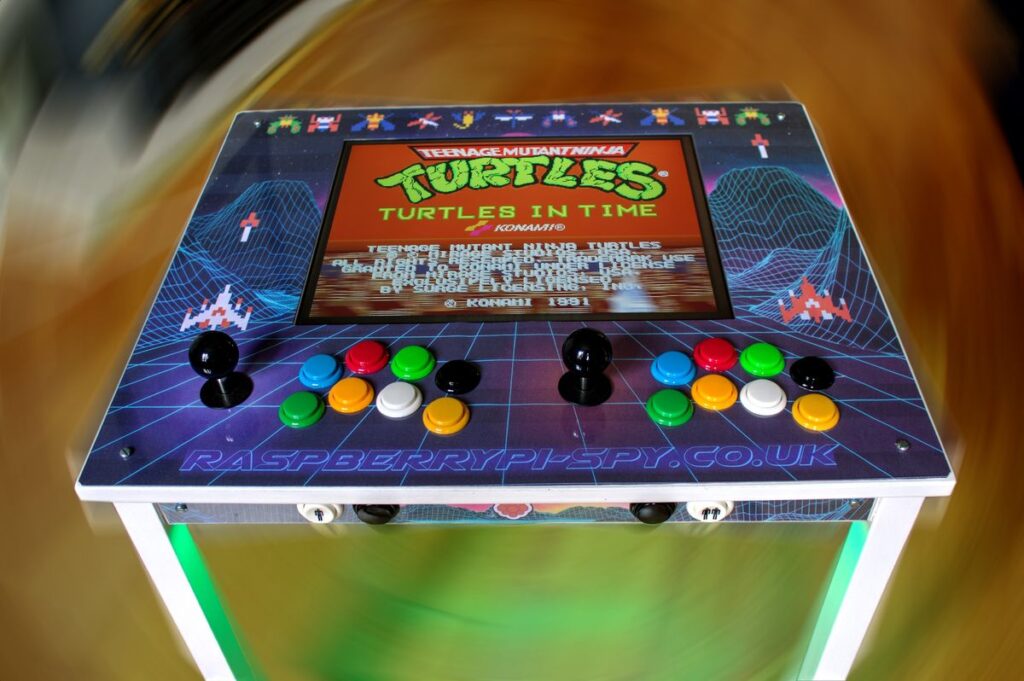
Overall I’m very pleased with how this project turned out. Some games are simply more fun to play with a joystick and buttons to hit. In my household popular games include Metal Slug, Robocop, Galaga, TMNT, Joust and Final Fight. Despite having RetroPie available on my TV with USB controllers the arcade table is far more popular.
Update : Read the follow-up post that explains how I built this arcade table. It includes plenty of photos and a video slideshow.

4 Comments
i would love to see the technical follow up to the post. this looks really great!!
I’ve got most of the follow up written I just need to sort out the photos.
Any news on this?
Thanks for sharing, it looks truly AWESOME – so much that I would like to build one soon. Could be a great Christmas project!
I’ve just completed the blog post on the table build. I will be publishing soon!