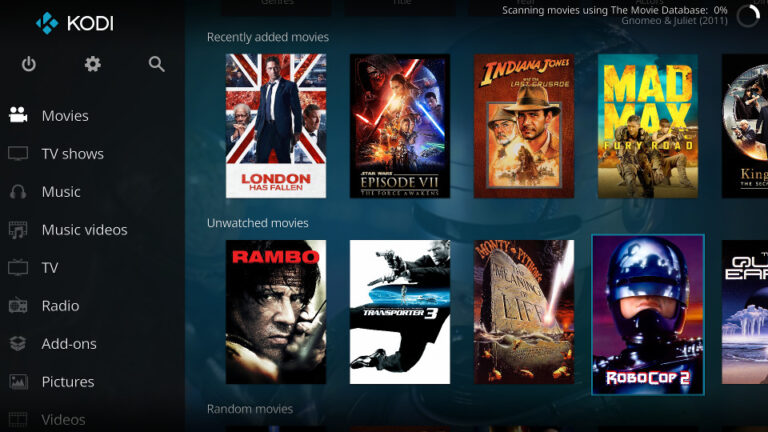
Although I’ve used the Pi since 2012 I’ve only recently used it as a media player. I had a spare Pi so decided to stick it behind the TV, connect it with HDMI and hook it up to my video and MP3 collection.
Many years ago I used an original Xbox running XBMC. For playing media from a network this was an unbeatable combination. It played everything. Then HD content became more common and I retired the Xbox. The XBMC project spread its wings and was renamed Kodi and now supports a range of platforms including Windows, Linux, Amazon Firesticks, Android boxes and the Raspberry Pi.
For Pi users there are a number of SD card images you can use that require almost no configuration. Two of the most common Kodi images for the Pi are OSMC and Libreelec. These are both available from the Official Raspberry Pi download page. I chose to use OSMC and wasn’t disappointed.
Hardware
You don’t need much to turn your Pi into media player but here is the list of hardware I used :
- Raspberry Pi 3 Model B
- HDMI cable
- 5V Power supply
- Official Raspberry Pi Case
- 16GB SanDisk Ultra SD Card [Amazon]
- 2.4G Mini Wireless Keyboard [Amazon]
 Keyboard
Although some TVs can control Kodi via HDMI I opted for a mini wireless keyboard. This is a much better choice as it allows you to quickly type text into search boxes. It comes with a USB dongle and works straight out the box without any configuration. Mine is branded “eSYNIC” but others are available.
You could of course plug in a standard USB keyboard to get the system working and perhaps treat yourself to a smaller device later on. I tend to use a normal keyboard to do the initial setup.
SD Card
I would recommend a minimum of an 8GB SD card. If you plan on storing media on the Pi you may choose to use a larger card. I used a 16GB card to give me plenty of options later on. Kodi will also support USB flash drives so it’s easy to play additional media by simply plugging a memory stick into a spare USB port on the Pi.
Download
For OSMC you can either download an installation wizard for your PC (Windows,OS X or Linux) or download a raw SD card image. These can be obtained from the Official OSMC download page.
Install Option 1 – SD Card Image
The images are organised by hardware platform. Download the appropriate image for your Pi and extract the img file from the gz archive. On Windows this can be done using 7zip. Once extracted it can then be written to an SD card using Etcher.
Install Option 2 – Installation Wizard (Recommended)
For Windows/OS X/Linux users I would recommend the excellent Installation Wizard. This option is preferred as it gives you a chance to specify your WiFi details if you want to use wireless instead of Ethernet. The wizard will also take care of writing the image to your SD card. Download the installer for your platform from the OSMC Download page.
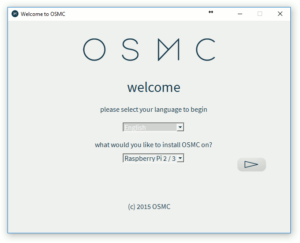
Run the installer and you can select your language and hardware platform. I selected “Raspberry Pi 2/3” :
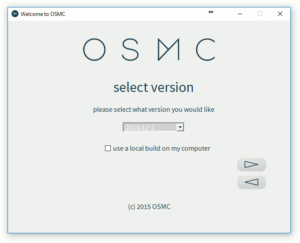
 The next screen asks you to select the version to install. Select the latest version :
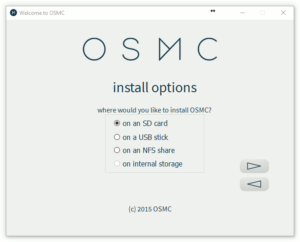
 Next you need to select “on an SD card” :
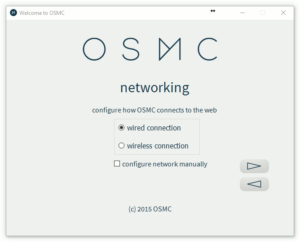
 The next option will depend on how you want to connect your Pi to your network. I selected “wired connection” but if you select “wireless connection” you get the chance to specify your SSID and WiFi password :
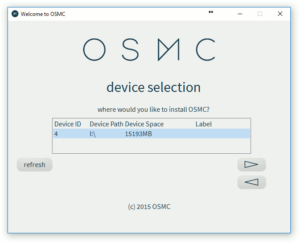
 At this point you are asked to select your SD card. Double check the list and select the correct item. In my example I was using a 16GB card which is correctly shown in the “Device Space” :
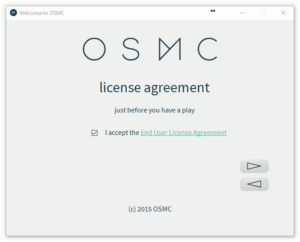
 Now you just need to accept the license agreement :
 You will get a final chance to check you selected the correct device :
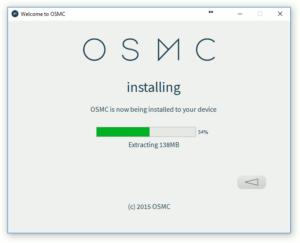
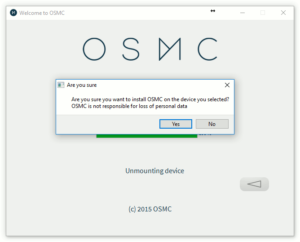 The image will now be written to the SD card. It will take a few minutes :
 When you see the “congratulations” message you are all finished!
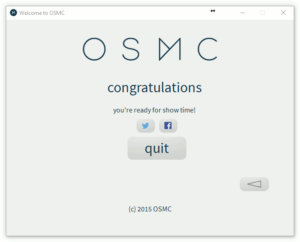
You can click “quit” and remove the SD card from your PC.
First Power Up
The initial setup is easy. Connect the Pi to the TV using the HDMI cable, insert the keyboard dongle (or a USB keyboard), insert the SD card and finally plug in the power supply. On your TV you may need to select the appropriate HDMI input.
A number of initial setup tasks will be automatically performed.
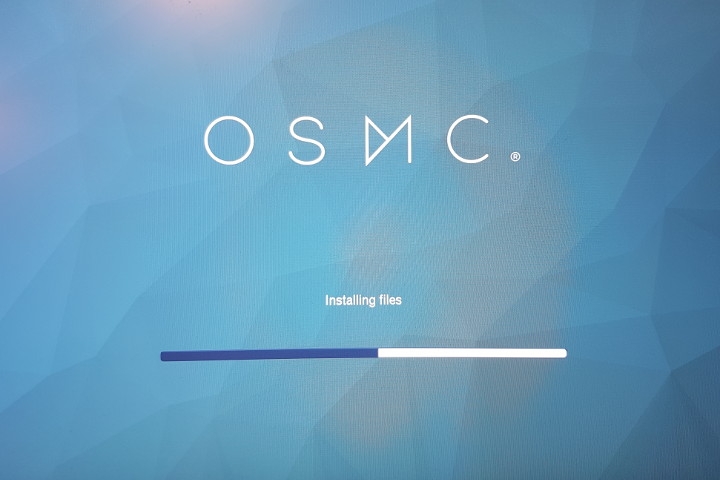
These may take 10-15 minutes but only need to be done the first time you use this fresh installation. The Pi may reboot during this so you may need to re-select your TV/monitor input.
Initial Configuration
After a short delay Kodi will launch the initial settings page :
[IMAGE SETTINGS PAGE]
You will be asked to select some settings which include :
- Language
- Timezone (Continent & City)
- Hostname (default : osmc)
- SSH Enable (default : enabled)
You can use your keyboards arrow keys to select an option and Return to accept. As you work through the settings the left-hand menu will contain the section headings so you can go back and change your selections.
You will then be asked to agree to the license and select “Continue”.
Skins
OSMC includes two skins named “OSMC” and “Classic”. These determine the overall look of the Kodi interface.
I suggest using the “Classic” skin as it will give you the default Kodi setup. This is more likely to be used in tutorials and will be easier to get up and running while you become familiar with Kodi. You will be able to change skin later on if you want to. At the time of writing the default Kodi skin has changed from “Confluence” to “Estuary” but usually the menu options are very similar to previous interfaces.
Finishing Up
Finally you can choose if you want to sign up for the OSMC newsletter. Make your choice and select “Exit”.
The Pi will restart and when the system has fully booted you should be looking at the Kodi home screen.
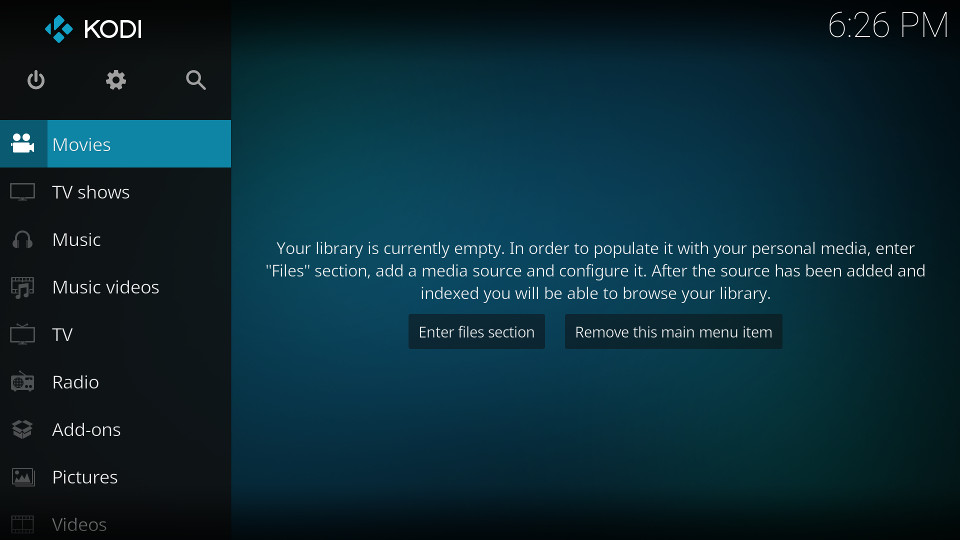
A message in the bottom right should indicate some updates occurring.
Keyboard Controls
The controls are fairly intuitive but here are the basics to get you started :
- Arrow keys – move around the interface
- Enter – Select
- C – context menu for currently selected item
- P – play
- X – stop
- S – shutdown
- Backspace – back
- Space – pause/play
- Esc – previous menu or Home screen
- F8 – mute
The full list of keyboard controls can be found on the Kodi Wiki Keyboard Reference.
Add Media Sources
In order to browse your library of videos, photos and music you need to tell Kodi where they are. This involves “adding sources”. It’s the same process for Pictures, Videos and Music.
- Select “Videos”
- Select “Files”
- Select “Add videos…”
- Select “Browse”
Then find your local video source. This might be an SMB Windows shared folder or a UPnP Media Server. Exactly what technique you use depends on the source. When have the source selected click “OK”. Name the source in the text box and select “OK”.
Depending on the protocol used you may be prompted to “Set content”. This allows you to tell Kodi what type of content the source contains
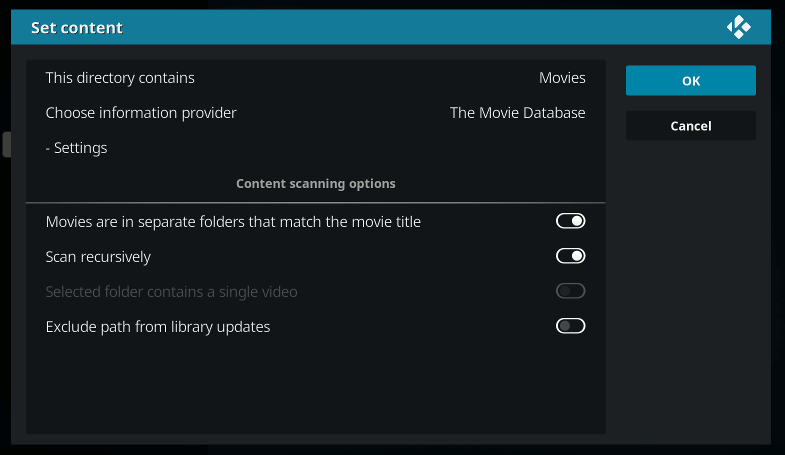
All my films are in separate folders that match the movie name so I set the appropriate option. When asked allow Kodi to refresh the files and it will gather posters and other film data.
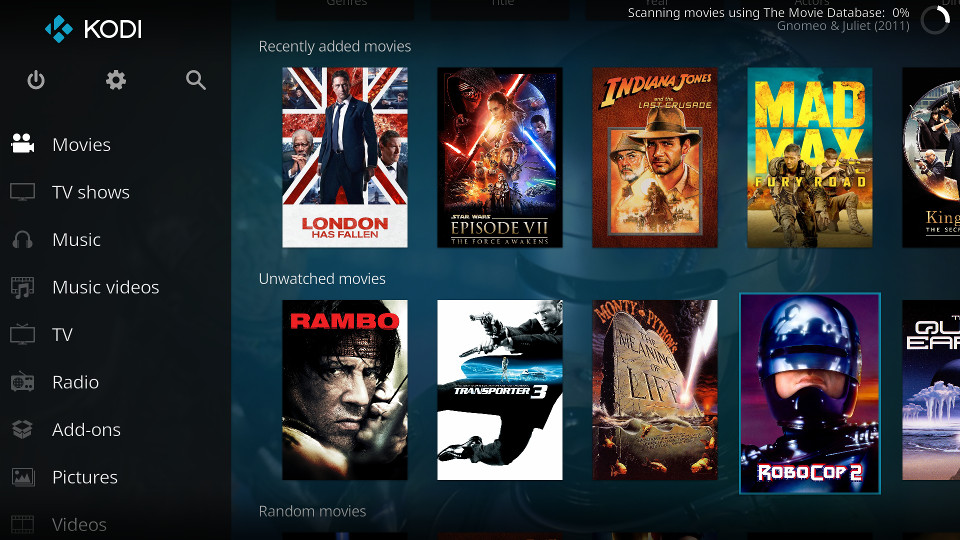
When finished the media will appear in the Movie section and your home screen should look a bit more interesting :
You can repeat the same process for TV shows and music.
There is loads more detail available on the Kodi Wiki Adding Video Sources page which you should take a look at. It’s worth reading as it also gives guidance on how to name your files and folders.
Streaming Video Plugins
One of Kodi’s best features is the ability to add plugins. This add additional functionality and a good example is the YouTube add-on.
- Select “Videos”
- Select “Video add-ons”
- Use the left-arrow key to bring up the side panel. Select “Get more…”
- Select “YouTube” from the list
- Select “Install”
- Wait for “Enabled” to appear next to “YouTube”
- Press ESC to return to the previous page where “YouTube” should now be listed.
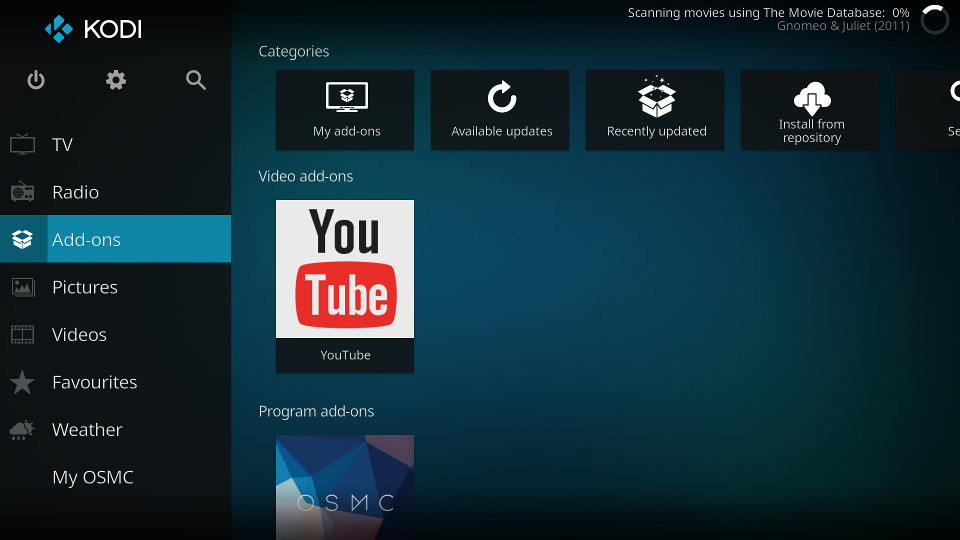
On first run it will ask you for your language and region. The plug-in lets you search or browse YouTube channels.
By this point you should have a basic system up and running. There is lots of good info on the Official Kodi Wiki that will enable you to custom your system so it is worth a visit.

