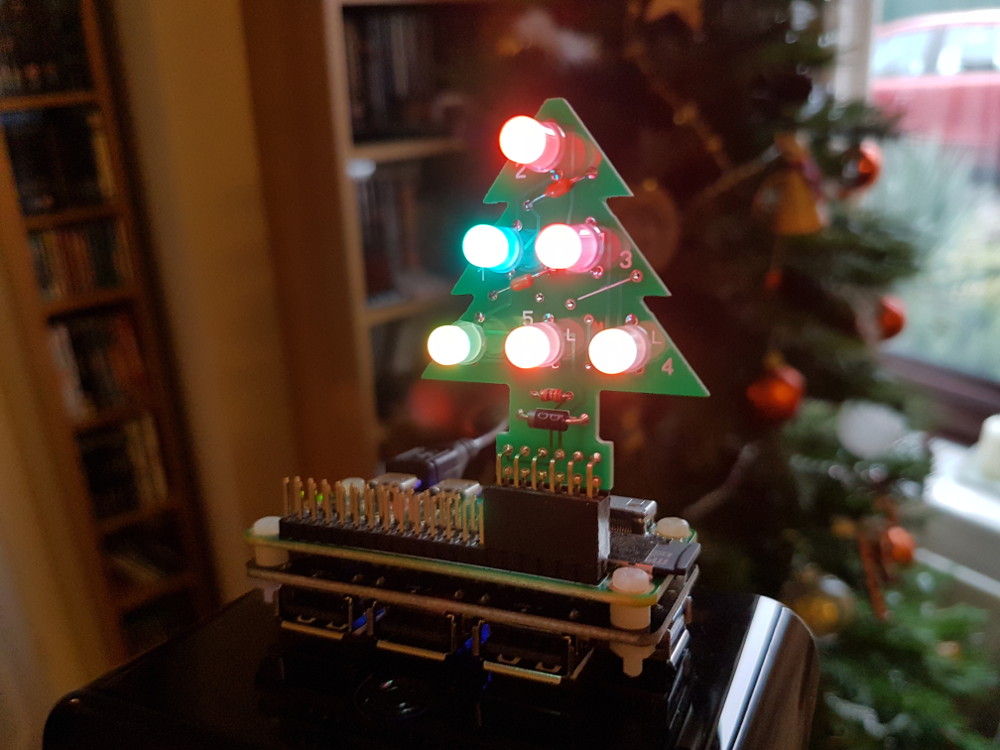
A few years ago I wrote about his previous “Raspberry GPIO Xmas Tree Add-on” so Andrew Gale from PocketMoneyTronics.co.uk sent me his latest Christmas Tree kit for the Raspberry Pi. This version includes RGB LEDs which allow the tree to display a much larger range of colours with the benefit of adjustable brightness.
To deal with the added complexity Andrew recommends using the libraries provided by Pimoroni which are usually used with their Unicorn HAT.
Soldering the Tree
The official setup guide can be found on the PocketMoneyTronics RGB tree page. This explains how to solder the components onto the PCB. Make sure the 4 leg LEDs are soldered in the correct position. I soldered my kit with the help of my nine year old son and we used some masking tape to hold the PCB in place while we worked.
Installing Unicorn HAT libraries
We started by writing the official Raspbian Lite image to an 8GB SD card. The library installation process was fairly straightforward and was completed with one command :
curl -sS get.pimoroni.com/unicornhat | bash
You may be asked for confirmation with a few y/n prompts. Answer yes until the process is completed.
Downloading Example Script
We used Andrew’s example Python script to test the tree after we had soldered it. The example was downloaded using :
wget http://www.pocketmoneytronics.co.uk/downloads/rgb_tree_example.py
and then run using :
sudo python rgb_tree_example.py
This created a number of sequences that lit up the LEDs and changed their colour.
It’s hard to film LEDs but this video clip will give you an idea of the patterns and sequences that are possible.
Brightness
You may want to adjust the brightness of the LEDs. This can be done by editing the MASTER_BRIGHTNESS variable in the script. The default is 100 but I changed it to 50 when taking photos.

Creating a stand alone Christmas decoration
We wanted to create a simple system that would allow us to use the tree as a Christmas decoration. We decided to mount it on a Pi Zero, power it from a USB battery pack and use a new Python script to randomly change the LED colours in a loop.
We got the tree working on a Pi 2 connected to my network with an Ethernet cable. This let us install the Unicorn HAT libraries and download the example script. We then created a new script that would randomly change the LED colours in an infinite loop. It also made sure no LED ever appeared to be completely off.
You can download this script using :
wget https://bitbucket.org/MattHawkinsUK/rpispy-misc/raw/master/python/xmastree2.py
and then run it using :
sudo python xmastree2.py
As it runs in a while loop you can press CTRL-C to stop it.
The final step was to autorun this script using “systemd”. To do this we followed the “How To Autorun A Python Script On Boot Using systemd” tutorial but just changed the ExecStart line to :
ExecStart=/usr/bin/python /home/pi/xmastree2.py
When the Pi was powered up the lights randomly changed.
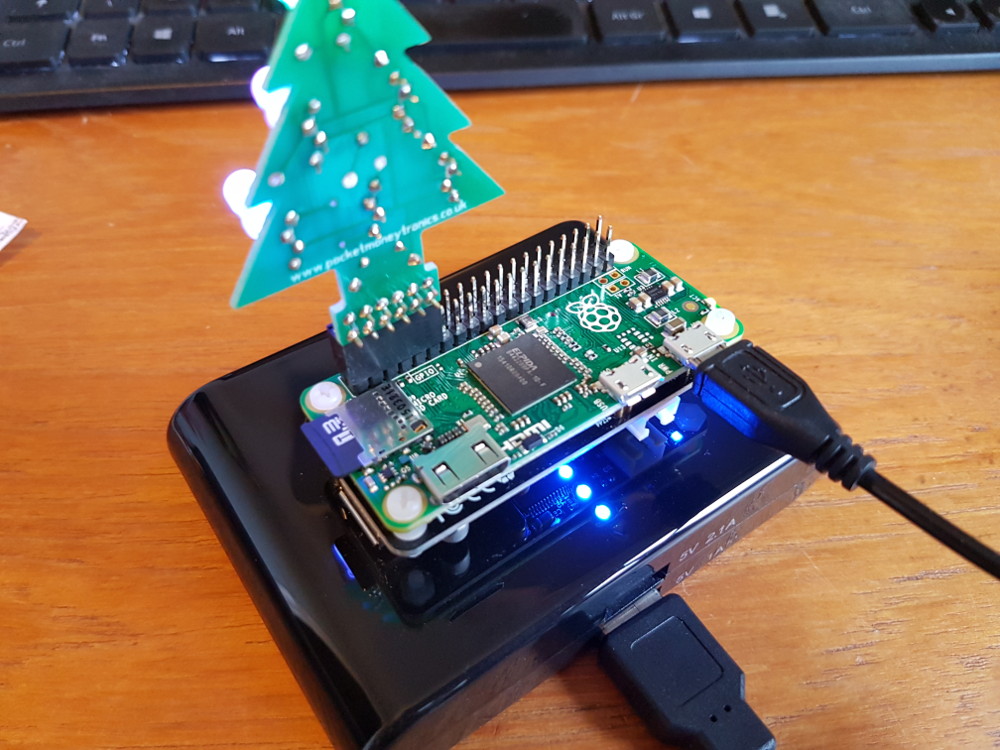
We then put the SD card in a Pi Zero and attached the tree. The Pi was then stuck to a USB power bank with sticky pads.

It’s now sitting on the mantlepiece!

Power Down
There is no fancy method to gracefully shutdown the Pi. Given how simple this project is I just turn it off using the battery pack. This isn’t the best way to handle Pi projects but it’s only a decoration so SD card corruption isn’t a major worry. Having said that I’ve never corrupted an SD card yet!
Happy Christmas!

