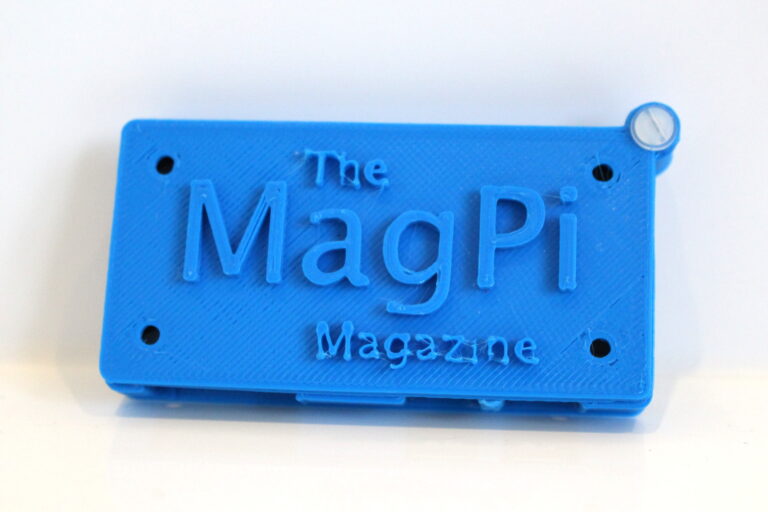
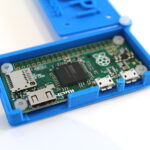
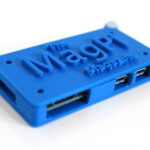
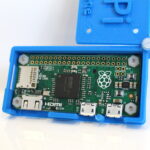
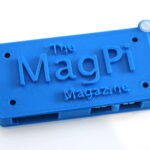
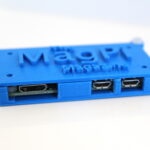
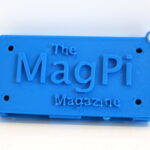
Once the dust had settled and I had a Pi Zero to play with I decided to 3D print a few cases. The most successful one so far has been the design mentioned in The MagPi Issue #40. That’s the one that made history by sticking a free computer on the cover.
My printer is a RepRapPro Fisher delta. Despite being the beta model it works great but recently it’s been busy printing giant Lego figures. This week was the time to try out a few Raspberry Pi focused projects.
I tried a few other designs but they didn’t seem to work very well. The only case that seemed to be designed alongside a real Pi Zero was the MagPi Keyring case. So I loaded up my trusty spool of eSun blue PLA and started the print …
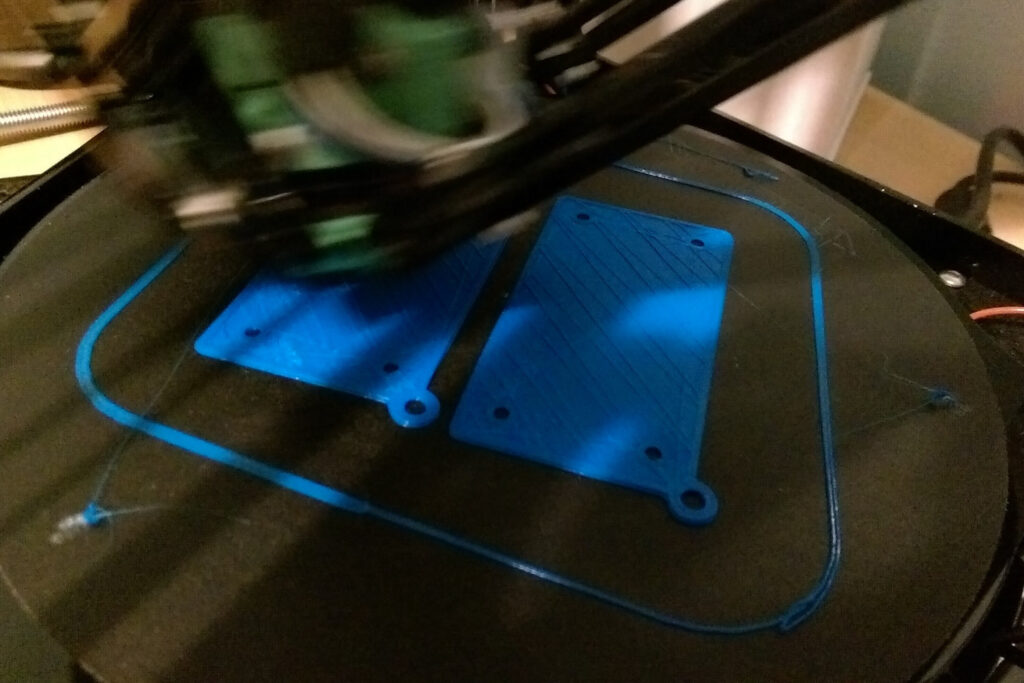
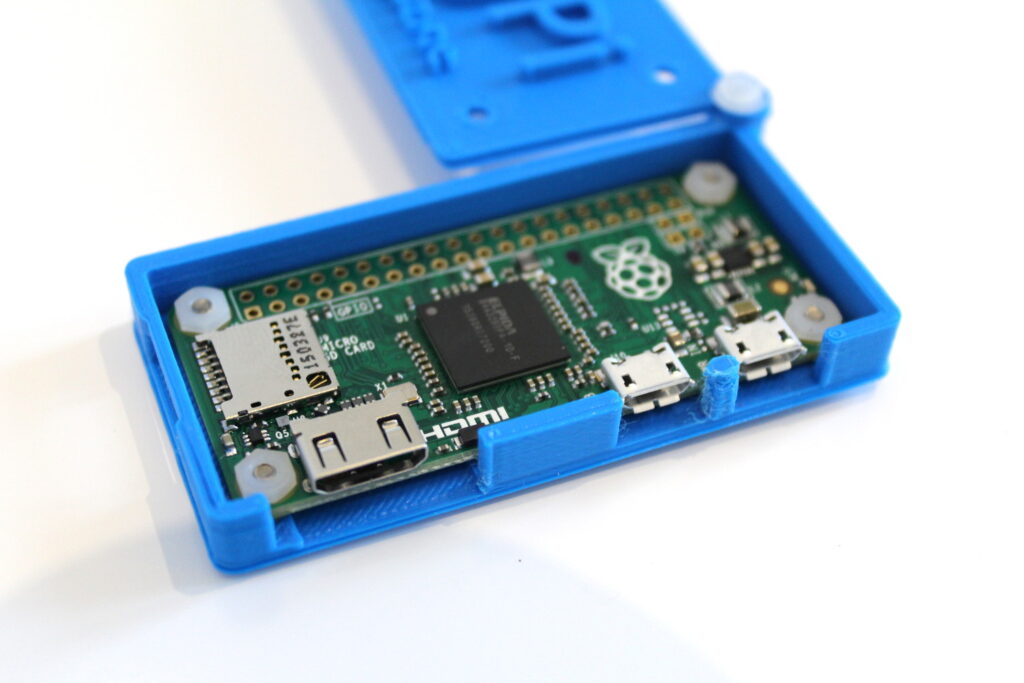
I tend to print items one at a time but I decided to throw caution to the wind and print both parts simultaneously. I forgot to add any support material under the SD card slot “bridge” but luckily it printed just fine without it. The centre column between the two microUSB connectors isn’t great but overall I was happy with the results.
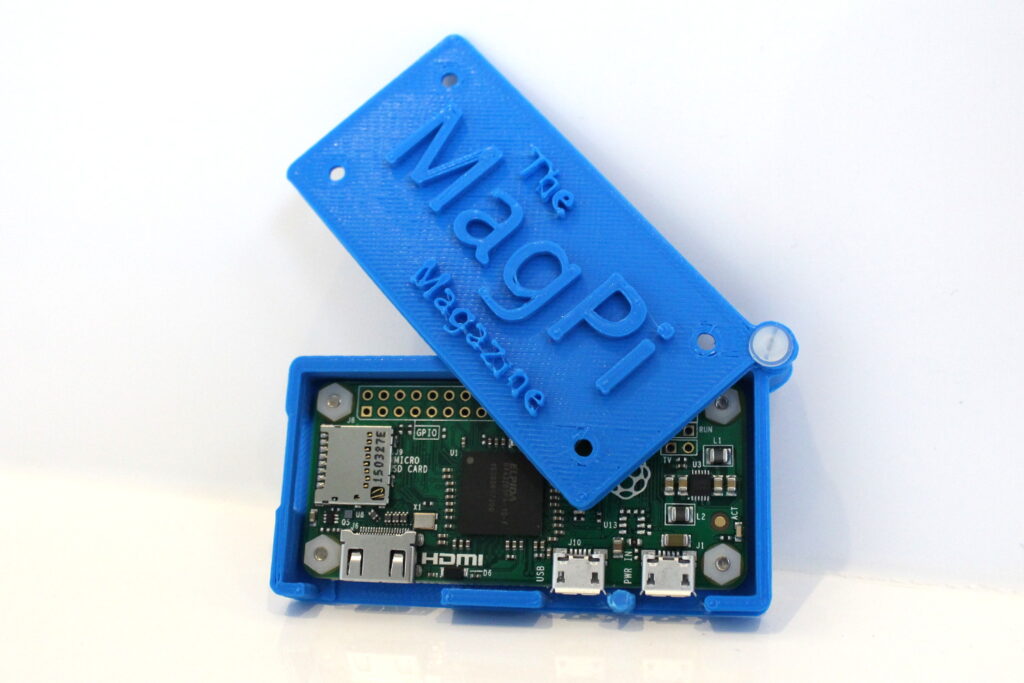 The case is really designed to have four bolts inserted through the lid, the Pi Zero and the base but I wanted to see my baby Pi. I added a 2.5mm nylon bolt through the keyring loop so I could swivel the lid open. Nylon bolts are great because you can easily cut them to size. The Pi Zero is held in place with some 2.5mm metal screws with nylon nuts.
The Pi Zero fits perfectly. I placed some nylon washers between the board and the case as the HDMI connector lifts the left hand side slightly.
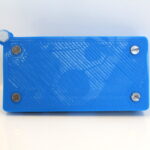
Here are some additional photos :
I didn’t have time to remove some of the “fluff” around the lettering. The strange white marks on the underside are where the plastic was in contact with the printer’s bed. It’s actually an impression of the previous object I printed. Fisher printer owners may recognise it as a spare carriage!
The source files are available from https://github.com/topshed/MagPiCase. They include the STL files for the top and bottom sections as well as the original Sketchup files.

