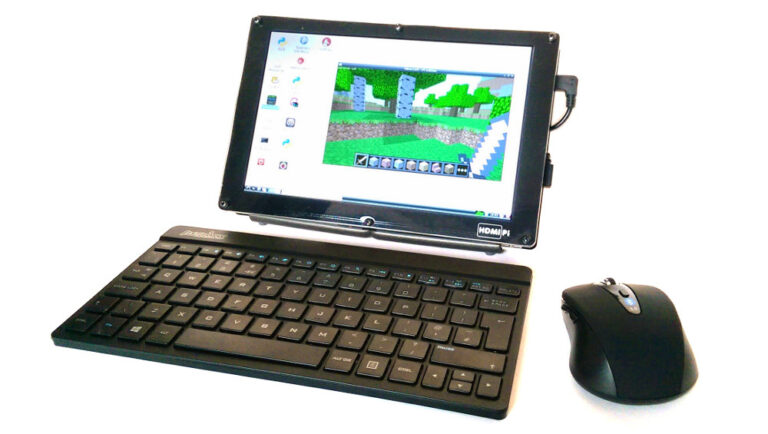
In my previous “My Portable Raspberry Pi HDMIPi Build – Part 1” article I presented my portable Pi system based around an HDMIPi screen. It had various features and I wanted to create a record of everything I configured and installed on it in case I needed to re-create the SD card at some point in the future.
As this information may be useful to others I present it here for reference.
Initial Setup
As with most of my projects I started by formatting the SD card with SD Formatter and writing a fresh copy of Raspbian to it using win32diskimager . I used the Ethernet port to connect the Pi to my network and connect remotely via SSH.
Display Setup
To get the best out of the native resolution I followed the advice on HDMIPi.com and edited the config.txt file …
sudo nano /boot/config.txt
… and pasted the following at the bottom :
hdmi_ignore_edid=0xa5000080
hdmi_group=2 # HDMIPi for 1280 x 800
hdmi_drive=2 # for alternative modes get sound
hdmi_mode=28 # 1280 x 800 @ 60 Hz Specifcations
Then I ran :
sudo raspi-config
and used the “Expand File system” and “Overclock (medium)” options.
Command Line Font Site
In order to make the command line a bit easier to see on the screen I used my “How to change the command line font size” article to make the console text larger.
Bluetooth Setup
To get the Bluetooth drivers installed I used the “Install drivers for your bluetooth dongle” instructions from my Connecting a Bluetooth Keyboard to the Raspberry Pi post.
This allowed me to get the mouse and keyboard connected. Then I disconnected my SSH session and switched to the HDMIPi screen.
WiFi Setup
Setting up the WiFi was simply a case of following my own How To Configure WiFi On The Raspberry Pi guide.
Applications
In order to be able to access websites from the command line I installed the Lynx text browser.
sudo apt-get -y install lynx
Some sites work better than others but it a useful application it the information you are after is largely text based.
For taking the odd Minecraft screenshot I also followed my “How To Capture Minecraft Screenshots On The Raspberry Pi” guide.
This gave me a nice portable system with a mouse, keyboard and WiFi which I could use wherever and whenever I liked.

