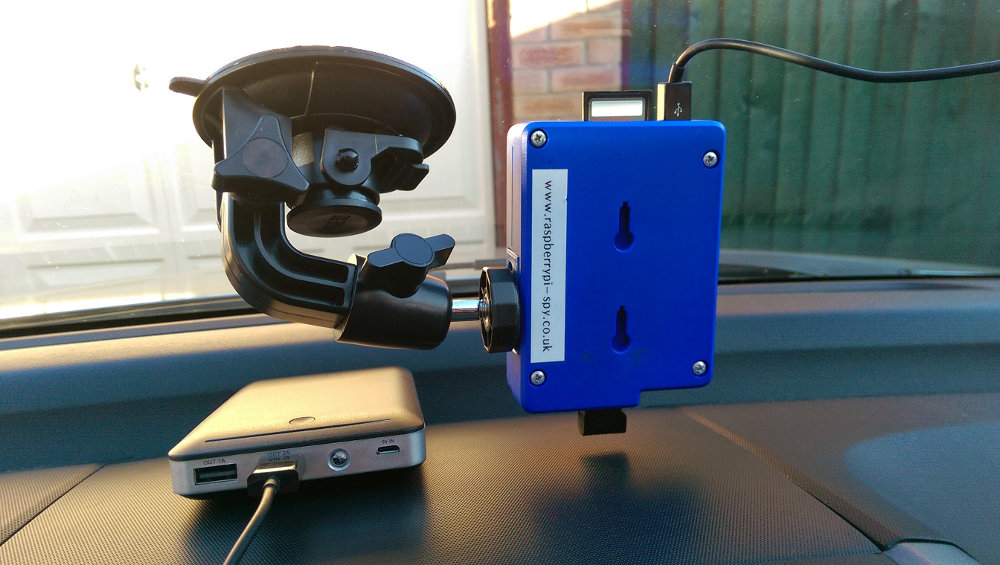
In Part 1 and Part 2 of this set of articles I explained how I made a simple video recording device with the Raspberry Pi, a camera module and a plastic case. It’s simple enough to be mounted wherever you need a video camera.
In this final part I will explain how I extract the resulting video files from the unit and convert them to MP4 files. This makes them easier to play on other devices and media software.
Converting The Files Directly On The Pi
To convert the files using the Pi you can use the “prepare_mp4.sh” script. Plug the Pi into a network and power it up. We do not want the Pi to start recording video but the main script will not run if a network connection is detected.
The script uses MP4Box to do the conversion. If you haven’t installed it previously you can do so using :
sudo apt-get install gpac
Now you can navigate to the location where your video files are and check a copy of the script is present. Run the “prepare_mp4.sh” script using :
./prepare_mp4.sh
It may take a while but the h264 files in the directory will be converted to MP4. You will need to make sure there is sufficient space available to do this as you will end up with a h264 and MP4 file for each clip.
Once the script has finished you can transfer the resulting video files via SSH or FTP to another computer.
Converting On A Windows PC
My preferred method is to write the video to a USB drive. This can then be plugged into a PC and the “prepare_mp4.bat” script will then convert the h264 files and give you a set of MP4s. In order to use this method you will need to :
- Install MP4Box from http://gpac.wp.mines-telecom.fr/downloads/gpac-nightly-builds/
- Create a “d:\temp” temporary directory for the video files
- Insert the USB drive into your PC
- Run (double click) the “prepare_mp4.bat” script
Your MP4 files will be prepared and saved in the “d:\temp” directory. You can use a different directory but you will need to update the batch file appropriately.
Your video capture unit is now ready for another adventure!

Example Video Footage
Here is a two minute compilation I created from footage I filmed while the camera was attached to my windscreen :
The camera resolution was set to 1280×720 although the YouTube video was exported as 1920×1080. The video isn’t very exciting but shows how the camera deals with the varying daytime lighting conditions it comes across.


11 Comments
Nice tutorial but why not record as an MP4 file instead of h264?
I would if I could but the PiCamera library only supports recording direct to h264. I would much prefer MP4!
Thanks so much for putting this together.
I am having problems with the old files not deleting, the card is filling up and then stops recording. How can you make the size of the file 70 minutes in length. How can you add a current date and time for the recording, I am having problems trying to sort the multiple files chronologically when I am trying to watch them later.
I had to figure out what a wind screen was and then in the video it was a little scary when cars coming at me were on the right. After I un Americanafied everything I was OK. Great video and tutorial, the quality was really good. What lens did you use for the video, standard or and add on?
Matt,
Thanks for a great tutorial, this was a great introduction to the Raspberry Pi & Linux.
I have made my own VCU using my brother’s old Raspberry Pi and my own soldered switch & LED.
Everything has worked fine, recording to the SD card but I have fallen at the last hurdle after changing the storage to ‘media/usb’.
The files have recorded to my USB stick, but as a relative noob to Linux & command line instructions I cannot follow your last step –
“Converting On A Windows PC”
After plugging in my USB stick containing the .h264 file into my Windows PC (Drive G: in my case)
I am unsure how & where to run the .bat script file.
MP4Box will run in a command window, so I think the program is working OK.
Sorry for all the questions… and thanks again
How do I stop the recording.
I do not have the led and button combo board. Just using jumper wires but cannot get it to stop.
Were do I put the Jumper wires too. And also it still starts to record when I have eth0 cable connected.
Great Project love it.
Dear,
How do you handle the IR camera ?
I have some wrong color when using NoIR Pi Camera ?
The PiNoIR camera will have a slightly distorted colour range when used in daylight.
Thanks for an excellent tutorial Matt!
I have installed it on my Pi3 and it’s running very well.
Do you have any thoughts on superimposing time and date on the video? I think that any videos taken to court (if they ever get that far) would carry more weight with a time and date in the corner.
Also do you know of any resources that document all of the extra configurable items as shown in the config.py file?
Cheers
Great write-up, Matt!
As you know, finding an enclosure which houses both Pi and camera is challenging. Is it possible for you to make the 3D printing file for your enclosure available?
All the best,
Mark
The enclosure is just a standard Cyntech Raspberry Pi B case with holes drilled in it.