One hundred and fifty posts later I decided I should really complete a project I’ve been thinking about ever since I got my first Pi. That is a simple video capture unit that would be able to record video, in a loop, with the minimum amount of hardware and setting up.
I wanted a standard setup I could quickly deploy around the house, garden, car or bike. The software needed to be easy to setup so I could use it at short notice. I also wanted it to be basic enough that someone else could use it as a basis for their own Pi camera projects.
This sort of idea isn’t exactly unusual and there are plenty of Pi based camera projects out there but I wanted something I was happy with and did exactly what I needed without any fancy features. Re-inventing the wheel can be fun despite what other people might tell you!
Requirements
My requirements were something along these lines :
- Easy and quick to configure
- Basic Python script that is easy to follow
- Ability to define number and duration of video files to store
- Minimise hardware items
- Minimise wiring, soldering and construction time
- Provide a method to stop recording and correctly shutdown Pi
- Provide a quick method to attach to a tripod
- Provide a method to review footage on a PC
Although there are plenty of additional features I could have added I wanted to keep this simple. So you won’t see WiFi, Bluetooth or any web connectivity in this version.
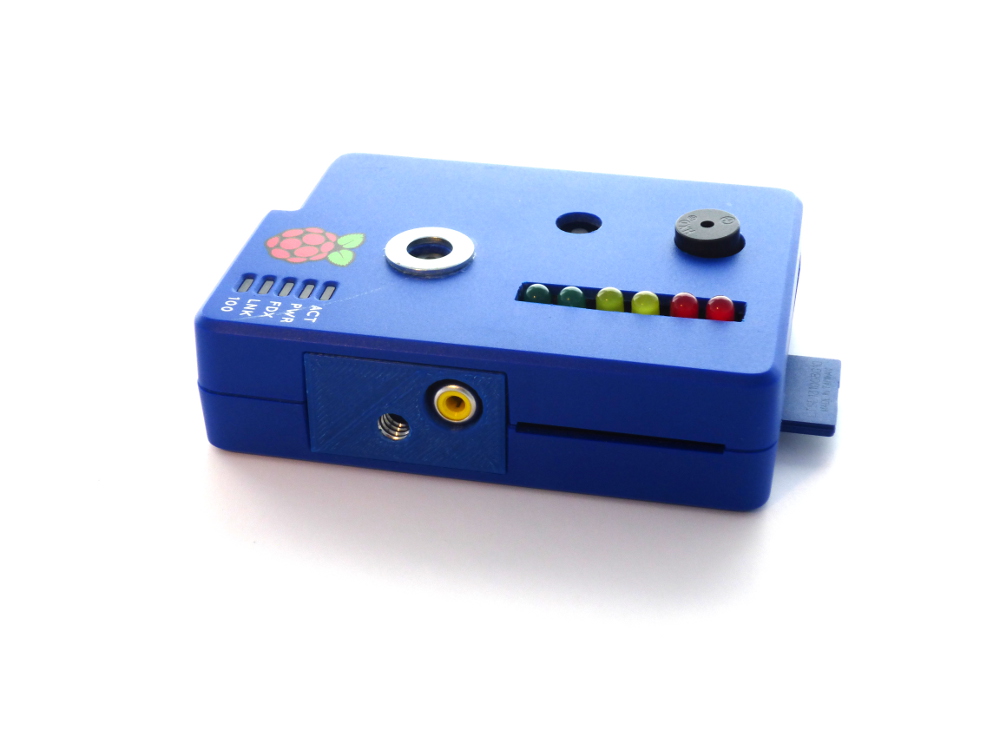
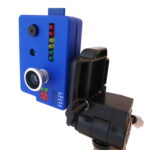
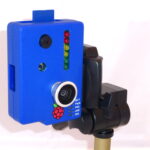
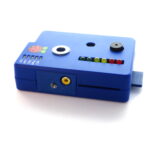
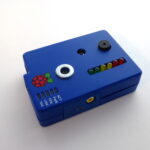
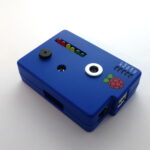
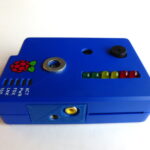
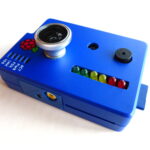
Here is a photo of my finished system :
Hardware
The hardware I used is listed below :
- Raspberry Pi (Model B)
- Cyntech standard case
- 8GB SanDisk SD card
- 32GB Kingston Flash Drive
- Camera module
- 8mm metal washer
- 3D printed tripod mount
- RAVPower RP-PB13 14000mAh USB power bank
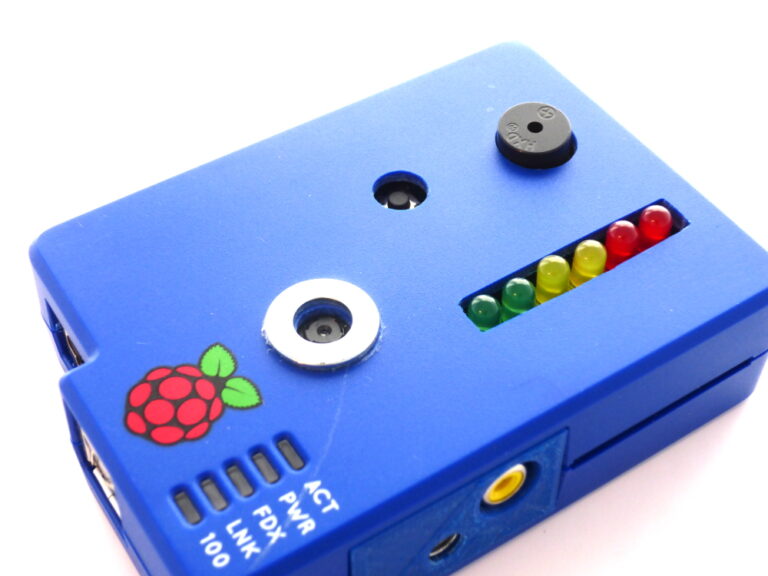
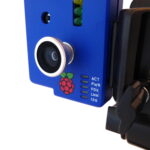
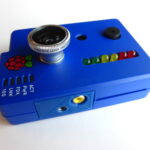
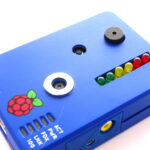 I needed 1 switch and 1 LED so used an already assembled BerryClip add-on board. This was a quick way of giving me an LED and Switch without me needing to do any additional wiring. You can easily complete this project with your own LED, switch and resistors wired up to the appropriate GPIO pins. In order to fit everything in the case I need to drill holes to accommodate the LEDs, buzzer and camera. The switch was recessed but still usable.
Sticky pads were used to secure the camera in place. The metal washer was glued in place on the outside to allow cheap magnetic lenses to be attached if required.
Tripod Mounting
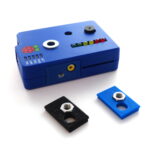
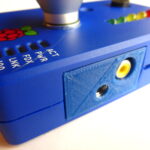
In this project I used the Cyntech case as it is good value, easy to modify and has a nice Raspberry Pi logo on it. My friend Graham 3D printed me a plastic insert which held a metal nut compatible with my tripod. This beautifully simple modification makes the whole unit easy to mount in a fixed position without having to balance it on piles of books.
Usage
When the Pi is powered up a cron job is started which looks for a network connection. If there is no network the main Python script is run. I didn’t want the script to start when connected to a network as this is when I wanted to download video without the camera being active.
The main script reads the configuration file and starts recording a video file. The files can be saved onto the SD card or a USB flash drive. When the pre-set duration is reached the file is closed and a new one is started. If the total number of video files reaches a pre-set limit then the oldest one is deleted. The device can continue recording over-writing files as required.
The configuration file let’s you set the total number of files to keep, the duration of each file as well as camera properties such as frame rate and resolution.
When you are finished you can hold down the button to quit the script and shutdown the operating system. The power can then be removed.
 Power
Power
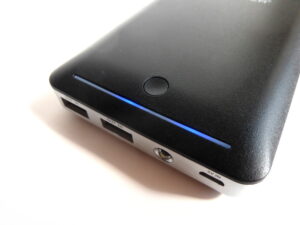
Around the house it is easy enough to use mains power but when I want to use the unit on the car or bike I just use my Ravpower RP-PB13 14000mAh USB power bank. I’ve had this battery for a while now and it has been in fairly regular use in my household.
Car Mounting
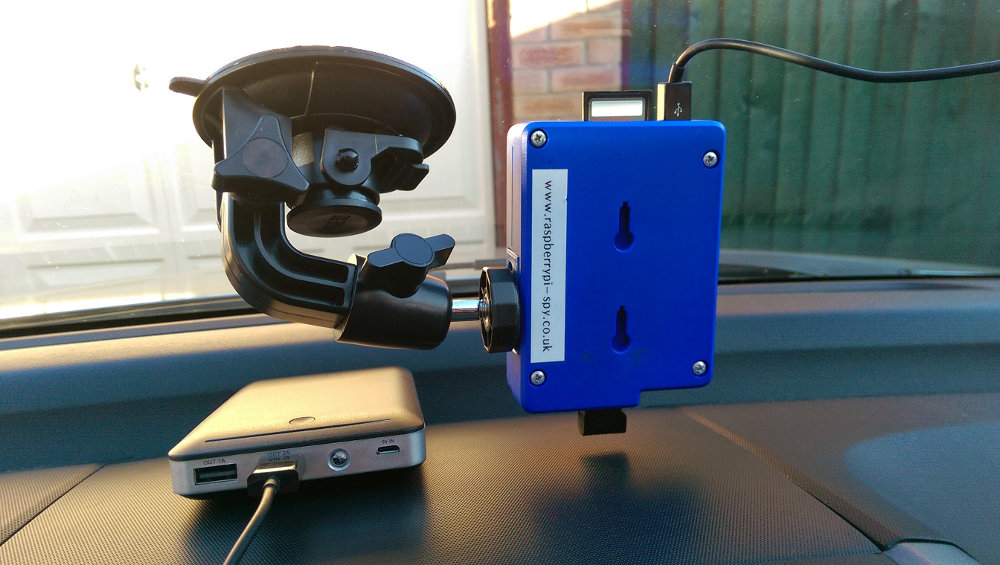
With a windscreen mount from eBay it’s easy to create a simple dash cam!
Here are some additional photos :
Part 2 details the installation and setup procedure if you are interested in creating your own version.

1 Comment
Very well done! I just saw this and im a newbie with the RPi and Linux. I learned a lot from this and I just want to say thank hou for posting this. BTW I was trying to save the video straight to my NAS but I cant seem to get it right. Can you pls share how to do this?