If you need to connect your Raspberry Pi to a network you’ve usually got two options. A wired connection to the Ethernet port or WiFi via a USB dongle. In this post I’ll show you how to configure a USB WiFi dongle and get your Pi connected in minutes.
There are two methods you can use to configure a dongle. One method involves a lot of text file editing but for a typical network you can use the WiFi Config utility provided on the LXDE desktop. This is much faster and easier than doing it by hand.
Start by powering up your Pi. Login and then launch the LXDE graphical environment using :
startx
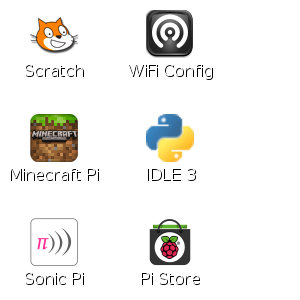
Once the desktop has loaded double-click the “WiFi Config” icon on the left hand side.
If there is no icon on your desktop open a terminal window (Menu > Accessories > Terminal) and type “wpa_gui”. Then press Enter.
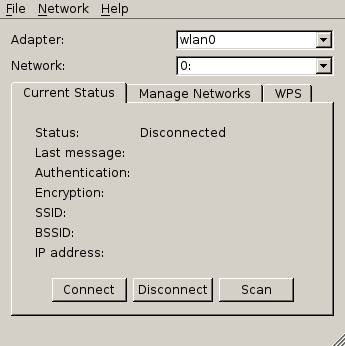
The utility window will open. Check the adapter dropdown as something in it. In general it will state “wlan0”.
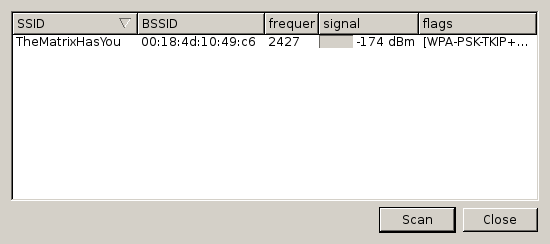
Press the “Scan” button. This will launch a window which will show all the local wireless networks. Hopefully you will see your network listed.
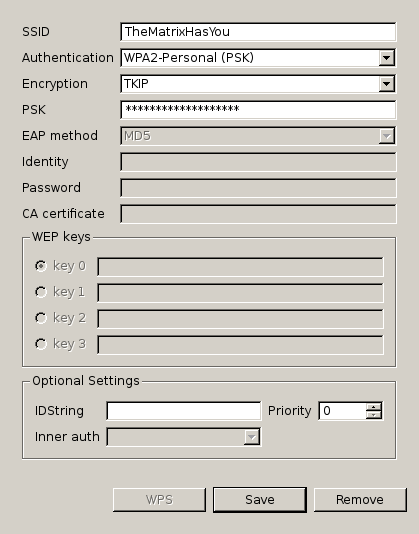
Double-click your network. This will open a new window with the network details. The SSID, Authentication and Encryption items should be populated. You will need to enter your WiFi password in the PSK box.
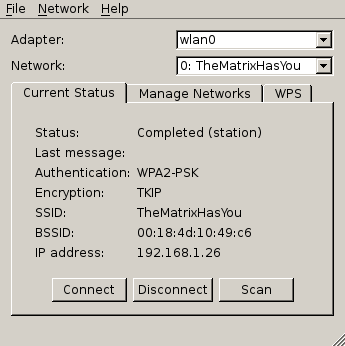
Click “Save”. You will be returned to the main screen but this time the connection details will be populated. What is important is that the Status is “Completed” and the network has allocated the Pi an IP address. In this example the address is 192.168.1.26.
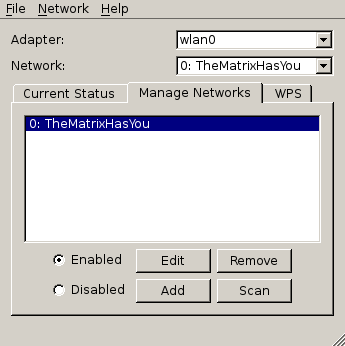
The “Manage Networks” tab allows you to list the networks you have configured. The “Edit” and “Remove” buttons can be used to edit existing settings.
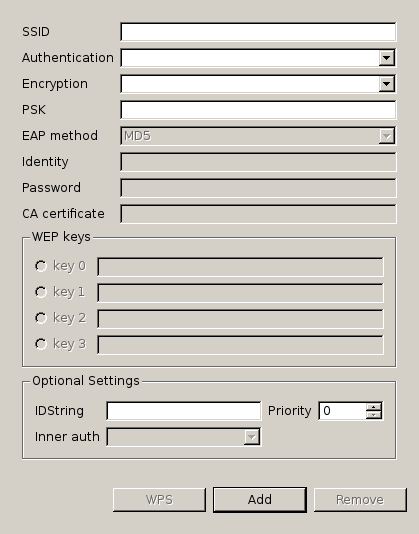
The “Add” button will allow you to add a network manually but you will need to supply all the information for the first four settings.
Hopefully you are now connected and you can exit the utility. To test your WiFi connection take a look at my How To Use Wavemon To Monitor Your WiFi Connection.
If you want to use the manual file editing method then take a look at the How To Set Up WiFi on the Raspberry Pi article on the Averagemanvsraspberrypi blog.

3 Comments
Using Raspbian wheezy. I had a “Wifi Config” icon as shown on your web page. When selected, it showed configuration choices such as encryption method. The “Wifi Config” icon is no longer there. How do I restore it?
Thanks.
They have removed the icon in the latest version of Raspbian. Open a terminal window (Menu > Accessories > Terminal) and type “wpa_gui”. Then press Enter. It should launch the WiFi config utility.
Thanks! Typing wpa-gui just worked fine for me.