There are now lots of Raspberry Pi add-on boards and some are more well known that others. Farnell asked if they could send me something to review and while browsing their site I came across a board that I hadn’t seen before. It’s the “Freescale Xtrinsic Sensor Board for Raspberry Pi and FRDM”. They popped one in the post for me.
It offers an accelerometer, temperature sensor, pressure sensor and a magnetometer all on one small board. This simply plugs onto your Pi’s GPIO pins.
It’s a sub-£9 product and doesn’t require any soldering so it is ready to go straight out of the box after a little bit of configuration. The Farnell product page provides a link to the userguide and datasheet where you can find more technical information about the on-board sensors.
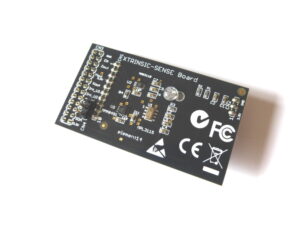 Features
- Raspberry Pi compatible connector
- MPL3115 – High-Precision Pressure Sensor (50 to 110kPa, 2.5v)
- MAG3110 – Low-power 3D Magnetometer
- MMA8491Q – 3-Axis, Digital Accelerometer
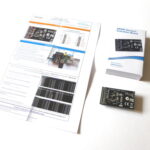
The kit contains :
- MEMS Sensor Evaluation Board
- Quick Start Guide
Farnell list the possible applications as :
- eCompass
- Mobile Phones/Tablet Computers
- Remote Control/Wireless Mouse
- Game Consoles
- Navigation Devices
- Medical Devices
A pre-configured SD card image is available according to the user guide but the quoted URL was broken when I tried it. I prefer to configure manually anyway as it doesn’t take long and it makes understanding what is going on easier.
So let’s get started.
Step 1 – I2C Configuration
The board communicates with the Pi via the I2C interface. So the first step is getting this enabled by editing the modules file :
sudo nano /etc/modules
and add the following line if it isn’t there already :
i2c-bcm2708
Use CTRL-X, then Y, then Return to save the file and exit. Then you need to edit the modules blacklist file :
sudo nano /etc/modprobe.d/raspi-blacklist.conf
and put a # symbol at the beginning of the i2c line so that it looks like this :
#blacklist i2c-bcm2708
Use CTRL-X, then Y, then Return to save the file and exit.
The I2C module will load automatically next time you reboot but to save rebooting at this point we can just load the module manually :
sudo modprobe i2c-bcm2708
Step 2 – Download Example Files
The example scripts are provided as a git repository. The easiest way to download these is to ensure you have git installed :
sudo apt-get update
sudo apt-get -y install git
and then clone the repository :
git clone http://git.oschina.net/embest/rpi_sensor_board.git
Step 3 – Test Sensors
Within the rpi_sensor_board directory there are some Python test scripts :
- mma8491q.py
- mpl3115a2.py
- mag3110.py (three-Axis, digital magnetometer)
- mag3110_calibrate.py
These can be run as you would any other Python script. For example :
sudo python mma8491q.py
The scripts will output data from the appropriate sensor. Press CTRL-Z or CTRL-C to quit. Hopefully you will see something like this :
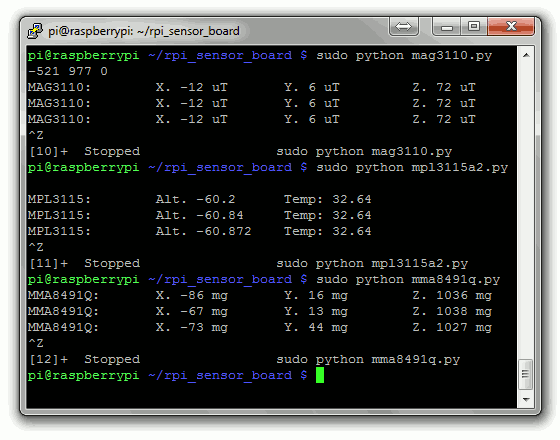
It is these example Python scripts that you can use to create your own Python scripts. For example you could modify mpl3115a2.py to log temperature readings to a text file. Or maybe modify mma8491q.py to log movement in a vehicle.
Step 4 – Web Set-up (optional)
If you want to view your sensor data via a web browser there are some test webpages available. In order to use these your Pi must be running a webserver so that PHP can be used to read the data and update the pages. This only requires ten minutes to setup as detailed in my How To Setup A Web Server On Your Raspberry Pi tutorial.
Once that is up and running all we need to do is copy the example web files to our www folder which can be seen by the webserver.
cp -r ~/rpi_sensor_board/Rpi_Xtrinsic_Sensors/rpi_sensors_web /var/www/sensors
In order for the text files within this directory to be updated they need their permissions changing :
sudo chmod 777 /var/www/sensors*.txt
From the rpi_sensor_board directory we can launch a Python script to update the web pages :
cd ~/rpi_sensor_board
sudo python3 sensor_website.py
You can now choose a sensor to update.
1 = Compass
2 = Temperature
3 = Accelerometer
0 = Exit
Accessing the three test pages is simply a case of putting the foll0wing URLs into your browser :
- Compass reading – http://192.168.1.35/sensors/compass.html
- Temperature reading – http://192.168.1.35/sensors/temper.html
- Car moving – http://192.168.1.35/sensors/gsensor.html
NOTE: You will need to use the IP address of your Pi. You can find this by using the “sudo ip addr show” command.
The Python script only updates one sensor at a time so you will need to enter a different number to update another sensor.
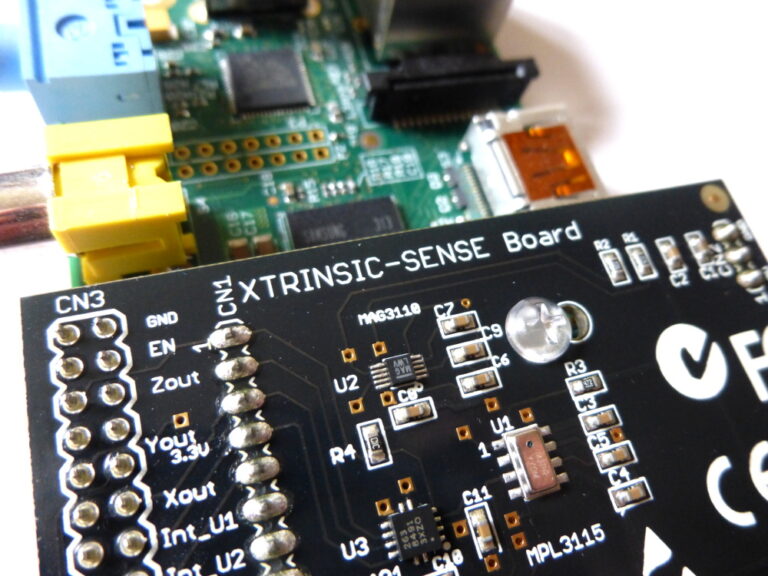
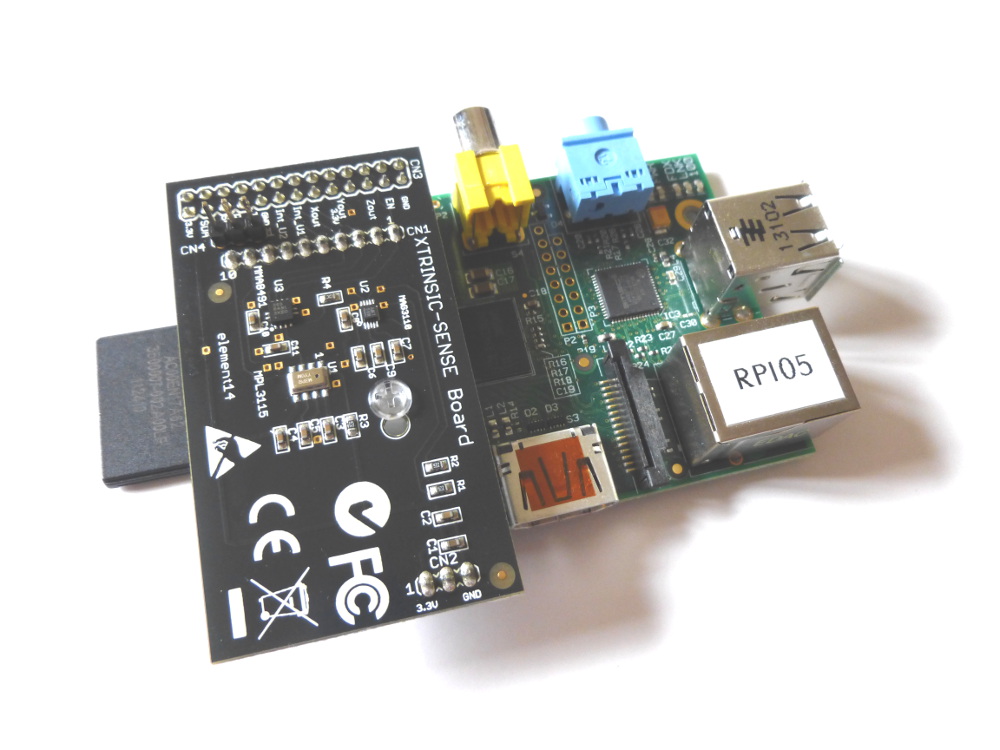
Photos
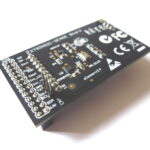
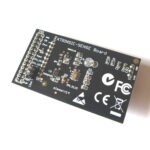
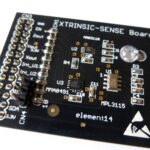
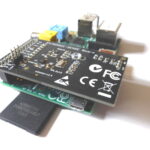
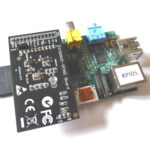
Here some photos of the board with and without a Pi :
Final Thoughts
Given the low price of this product it’s a obvious choice for all Pi fans you want to play with sensors. It is a very quick way to add temperature, pressure and position sensing to your own projects.




2 Comments
Great writeup and thanks. I ordered two of these from the us Element 14. Here are the product page for the board, and the US order page for those over in the US
http://www.element14.com/community/docs/DOC-65084/l/element14-xtrinsic-sense-mems-sensors-evaluation-board
I am going to set up a program to record the vibration and temp / humidity. For California it will be interesting to see if it actually captures anything during one of our shakers, or if you will need a real seismograph to get such info.
jim
Excellent job as usual Matt. Any ideas why I can get this all to run using sudo python .py but not in IDLE, even though I’m in the right directory with sensor.so?