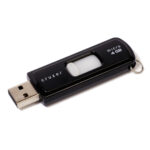
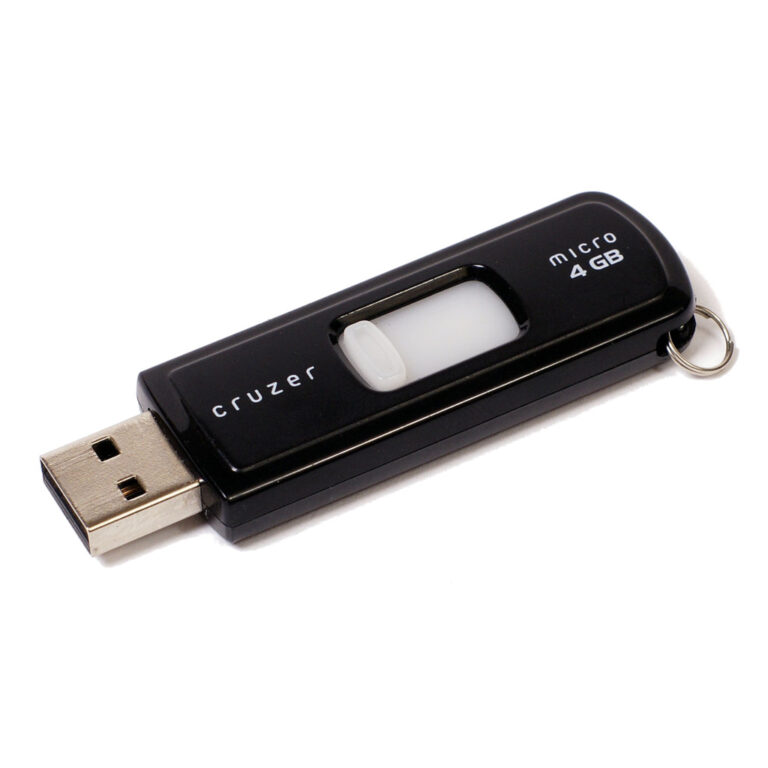
Whether you call them USB flash disks, memory sticks, keys or drives they are a useful accessory in the world of computers. By now many people will have a collection of various devices of varying capacities. Using them with the Pi is a great way of getting some use out of them rather than letting them gather dust in a drawer.
 I tend to transfer files from my Pi using FTP but occasionally it is useful to get stuff onto a USB drive. There are lots of guides already out there but I had a few issues using most of them, mainly due to permission problems. My main goal was to clarify the process by which I could mount standard FAT32 drives and allow the default Pi user read/write permissions.
So here is my procedure for using USB flash drives with the Raspberry Pi where the Pi user has permissions to use it without needing “sudo”. It works great with the shiney new [easyazon_link asin=”B009CMN3V0″ locale=”US” new_window=”default” nofollow=”default” tag=”matthawkinson-20″ add_to_cart=”default” cloaking=”default” localization=”default” popups=”default”]Kingston Digital 32GB DataTraveler Micro[/easyazon_link] I’ve just bought myself.
 Step 1 – Plug In The Device
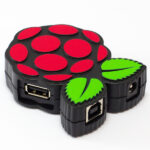
The first step is to plug in your USB stick. If you are using a mouse and keyboard you will need a decent USB hub at this point. (e.g. the [easyazon_link cloaking=”default” keywords=”PiHub by Pimoroni” localization=”default” locale=”US” nofollow=”default” new_window=”default” tag=”matthawkinson-20″]PiHub by Pimoroni[/easyazon_link]).
Step 2 – Identify The Devices Unique ID
In order to find the unique reference (UUID) for your drive run the following command in the terminal :
ls -l /dev/disk/by-uuid/
This will give you an output that should list your drive :
The line will usually refer to “/sda” and in this example it is “sda1”. My ID is “18A9-9943”. Note down yours.
You would need to repeat this step if you wanted to use a different device as the UUID would be different.
Step 3 – Create a Mount Point
A mount point is a directory that will point to the contents of your flash drive. Create a suitable folder :
sudo mkdir /media/usb
I’m using “usb” but you can give it whatever name you like. Keep it short as it saves typing later on. Now we need to make sure the Pi user owns this folder :
sudo chown -R pi:pi /media/usb
You will only need to do this step once.
Step 4 – Manually Mount The Drive
To manually mount the drive use the following command :
sudo mount /dev/sda1 /media/usb -o uid=pi,gid=pi
This will mount the drive so that the ordinary Pi user can write to it. Omitting the “-o uid=pi,gid=pi” would mean you could only write to it using “sudo”.
Now you can read, write and delete files using “/media/usb” as a destination or source without needing to use sudo.
Step 5 – Un-mounting The Drive
You don’t need to manually un-mount if you shutdown your Pi but if you need to remove the drive at any other time you should un-mount it first. Only the user that mounted the drive can un-mount it.
umount /media/usb
If you used the fstab file to auto-mount it you will need to use :
sudo umount /media/usb
If you are paying attention you will notice the command is “umount” NOT “unmount”!
Step 6 – Auto Mount
When you restart your Pi your mounts will be lost and you will need to repeat Step 4. If you want your USB drive to be mounted when the system starts you can edit the fstab file :
sudo nano /etc/fstab
Then add the following line at the end :
UUID=18A9-9943 /media/usb vfat auto,nofail,noatime,users,rw,uid=pi,gid=pi 0 0
The “nofail” option allows the boot process to proceed if the drive is not plugged in. The “noatime” option stops the file access time being updated every time a file is read from the USB stick. This helps improve performance.
My fstab file looks like this :

Make sure you set the correct UUID. Use CTRL-X followed by Y to save and exit the nano editor.
Now reboot :
sudo reboot
Your USB drive should be auto-mounted and available as “/media/usb”.
An Extra Note About File Systems
In the examples above I specified “vfat” as the file system of the device as it was formatted as FAT32. If you need to change the file system replace references of “vfat” with “ntfs-3g”, “ext3” or “ext4”.
If you are using NTFS you will also need to install the following package :
sudo apt-get install ntfs-3g
Final Thoughts
This technique suits my applications but the main disadvantage is that it is specific to a known USB device given we are using the device ID. However if you created a few mount points in advance you could manually mount a new device to a spare mount point without worrying about updating the fstab file.


25 Comments
apt-get install pmountMount and umount sda1 as user:
$ pmount sda1

$ pumount sda1
You can also use an absolute path to the partition to leverage your shell’s autocompletion (pmount /dev/sda1).
BTW if you want to automount your devices, you should use udisks rather than fstab, as you said the later requires you to manually add any new device to your fstab. I guess PCManFM supports automounting devices with udisks. If you don’t use a file manager you can use udisks-glue instead as long as you have a DBus session.
What about the package usbmount?
sudo apt-get install usbmount and you have /media/usb ready to any usb flash disk 🙂
I found mentions of that package on Google but I was put off by the fact it is no longer maintained according to its homepage.
apt-get install pmount?
Or you use the “users” option in fstap! No need for pmount.
The “users” option just allows other users to unmount the device. It doesn’t allow the Pi user to write to it if it has been mounted by fstab.
ls -l /dev/disk/by-uuid/
I only receive information from the SD card not from the nfts drive I tried mounted and unmounted with same result.
My drive is USB 3.0 1tb ext4
For the automount to work for me, I needed to add a
vfat, so that the line in/etc/fstabwas:Same thing for me. I wonder how it could have worked for Matt without that, but he should add it to his example.
Also if you use something like ext4 you cannot use uid= or gid= so you have to fool around with chown or chmod commands. Better to just use vfat and never have a file over 4GB out there.
Hi Paul, I’ve put this post on my list for review!
If I wanted to run video capture of over 4gb could I mount the drive a different file system? perhaps by changing “vfat” to something different?
Great article – thanks for cutting through the syntax and putting forward a working method.
Cheers
In your code, you’ve left out the third field, the fs vfstype. In the case of a USB key, I used vfat and was able to mount. Otherwise, it won’t mount.
After editing your “/etc/fstab” you should do “sudo mount -a” to verify that the modifications done are correct.
Because if they are wrong your system might not start and you will have to spend time fixing it on another system. (or finding software for Windows that facilitates access to linux filesystem, in order to fix the fstab)
My usb drive was not mounting as expected, until I discovered that you omitted the ‘vfat’ parameter in the fstab file – as John pointed out. Attempting “sudo mount -a” displays the error.
Just updated this post to deal with the last version of Raspbian. Added the “nofail” and “noatime” options as well the “vfat” file system type. Hopefully this will make the process more reliable for Raspbian “Jessie”.
Hey,
I’ve got an idea ,
How about making it easy.
Every single time I set up a raspberry pi system, I have to deal with this rubbish just to use a USB drive.
It’s a joke.
I’ve been a software engineer for 25 years, and it’s easier to upload files to the internet and download to the pi rather than deal with this mounting un-mounting nightmare.
What is wrong with you people ?
I recommend checking out how it’s done on an operating system called ‘Windows’ that came out in the early ’90’s.
This is less to do with the Raspberry Pi and more to do with Linux. It is frustrating and as a Windows user I get what you are saying. However Windows is useless for the Raspberry Pi and useless for many of the hardware based projects the Pi is ideal for. Try making a battery powered wildlife camera (with or without USB stick storage) with Windows!
just use USB-mount
sudo apt-get -y install usbmount
Trouble with usbmount is that on the official page it says “The original author does not have enough time any more to actively maintain the USBmount package. It is therefore currently unmaintained.” It’s an option but was last updated in 2007.
Does anyone know how I would auto mount all USB sticks to a specified folder rather than targeting one specific USB Stick?
HI There,
thanks for the best instructions i could find to do this seemingly simple task.
I completed everything you advised but i still dont see my files in Subsonic, what do you think the problem could be?
I followed along and was successful. Now, if I took the stick and put it in a Windows 10 system, would it work?
It depends on the file system used. Windows can only read certain file systems.
One thing which I was doing a mistake was that I was not able to Identify the device unique ID. And I was not having the proper command. Now I think I will be able to do it properly.
Thanks a lot. This guide helped a lot and solved my problem in 5 minutes. Another guide I was following for the same thing before this took me half and hour and didn’t even get the job done.