It was a lovely summer’s day in Bristol and something slightly unusual was going on in town.
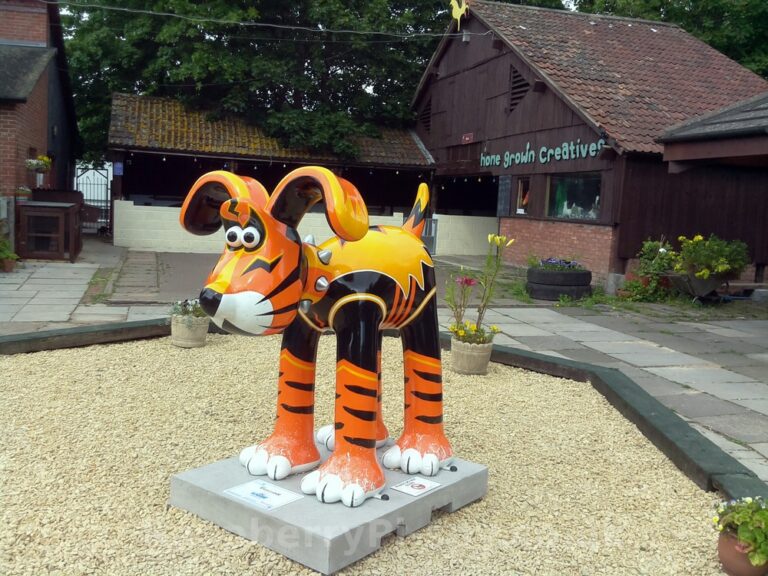
80 Gromit statues were being deployed as part of the “Gromit Unleashed” public art exhibition. This is a charity event led by Aardman Animations to raise money for Bristol Childrens’ Hospital.
So it seemed like the perfect chance to try out my Raspberry Pi camera unit as there would be plenty of things to take photos of.
My equipment consisted of :
- Raspberry Pi and camera module
- 6 Sanyo eneloop AA batteries
- Hobbyking 5V UBEC
- Modified case with power switch, 3 microswitches and 3 LEDs
- Interchangeable lenses (Wide-angle and Fish eye)
- Sandisk Ultra 8GB SD Card (Class 10)
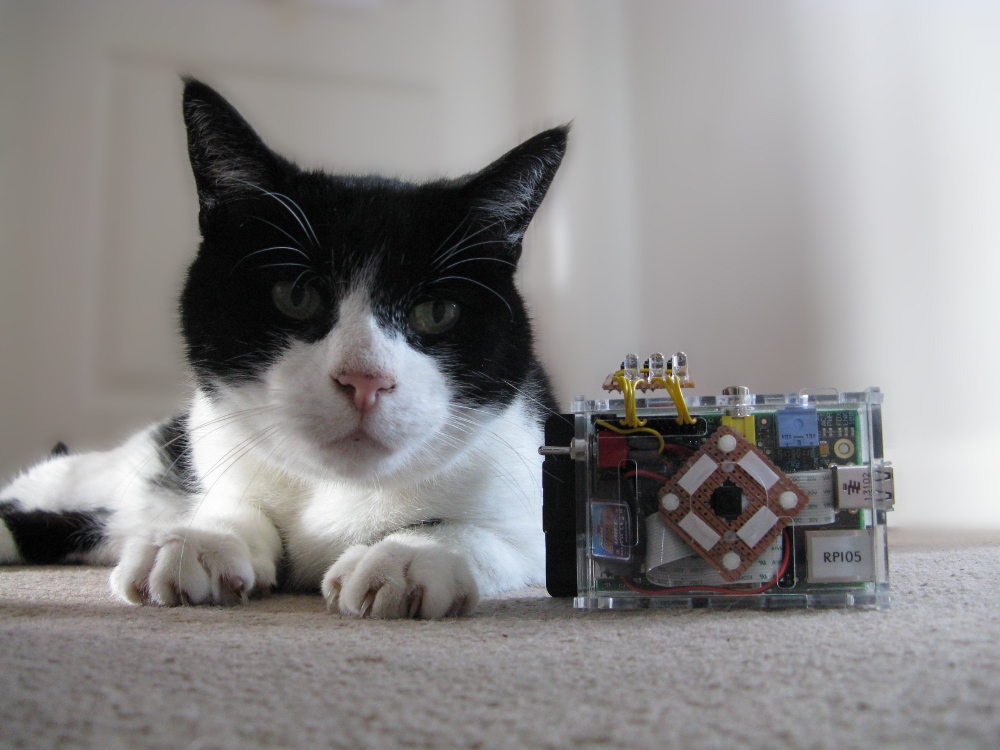
Here is a photo of my Raspberry Pi camera contraption guarded by my faithful cat Morpheus (unlike me he is not a great Gromit fan) :
It consists of a 6 cell AA battery box attached to a clear perspex Pi case. The camera module is attached to some stripboard which is sticky padded to the case. A metal 8mm washer allows for the attachment of lenses. A toggle switch on the left connects the battery power to the Hobbyking UBEC which in turn provides 5V power to the Pi. A small piece of stripboard connects to the GPIO header and provides 3 microswitches and 3 coloured LEDs.
I wrote a Python script which ran on boot. To take a photo I flicked the power switch and waited for my Python script to flash the LEDs. Pressing one of micro-switches then took a photo. The middle switch toggled the “-rot 90” command line option and the other switch told the Pi to shutdown.
I’ve never used a camera with removable lenses so I just had fun and tried a few different combinations. There is no viewfinder or screen so there was a large amount of luck involved in lining up shots … but that proved to be quite good fun.
Overall I was pleased with the results. It was exciting to actually take a load of photos and have no idea how they were going to look until I got home. It was just like being back in the 1990’s when I took photos on 35mm. You would take a whole roll of photos and have to wait two weeks to get them developed. These days digital photography has largely erased that aspect of photography for most people.
There are two improvements I am going to make to the camera before using it again :
- Add a small tube to act as a view finder to help align the camera lens with the subject.
- I used time stamps to name my files. Every time the camera was rebooted it forgot the time so many photos had file names that were not sequential. I am going to update my Python script to use a number sequence so photos are always presented in the order in which they were taken.


6 Comments
Matt, that’s awesome. With the see-through case for the Pi, it looks like one of those rugged waterproof cameras! 😉
Really fantastic snaps.
Excellent stuff 🙂 Have you thought about adding a tiny LCD to the Pi? Texy on the Foundation’s Forum has a lot of experience with these and has various sizes including one with resistive touch: http://www.raspberrypi.org/phpBB3/viewtopic.php?f=59&t=48956 . Obviously the orientation would need to be considered (screen mounts on top of the Pi, hence camera would need to be on the bottom when holding it up to take a photo).
Hello
Thats a great project
My son and I are totally new to the PI. We just installed the camera and started make some timelapse videos.
I wondered if you could share the instructions for starting the camera on boot up. Ultimately we would like to make something in a box without a keyboard/monitor etc that we can leave for a few hours and then come back check the results
Any help /advice appreciated
Hi Matt
Thanks for the post. It looks brilliant. I am a youth worker and am really keen to do some work in school on using a PI and turning it into a camera. Is there any chance of releasing some instructions or guiding me though setting it up.
Thanks
Rich
Cool. I guess you could connect some simple tilt-sensors to the GPIO pins to automatically tell which way up your camera is, which would then free up one of your buttons for some other purpose 🙂
I ordered a few tilt switches to do exactly that but never got round to trying it.