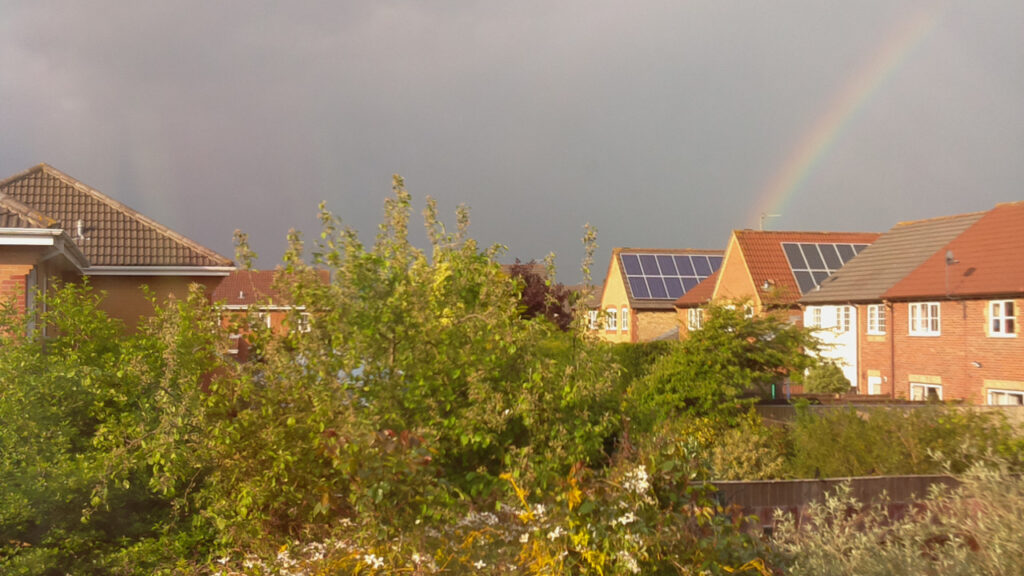
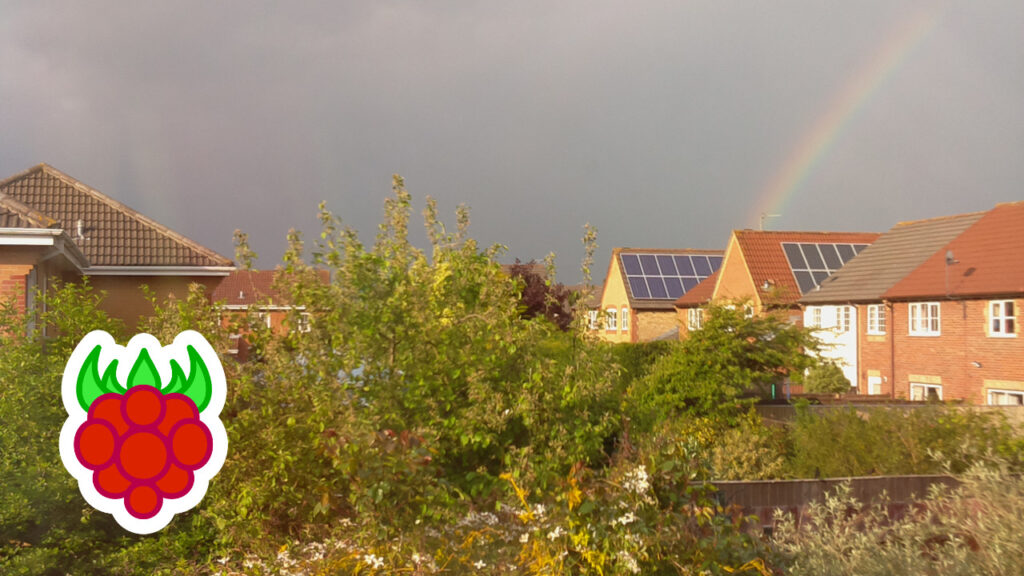
The purpose of this post is to demonstrate how to add a logo to your time-lapse videos. The logo can be any graphic you can create and could easily be a watermark or text. The objective was to add my Raspberry Pi Spy logo to the bottom corner of a video at the same time I rendered my timelapse videos from the source images.
This article assume you’ve correctly installed your camera module and had a play with taking photos with it.
Here is a list of the hardware and software I used :
- Raspberry Pi camera module connected to a Model B
- Latest version of Raspbian on an 8GB SD card
- Libav installed on my PC (download here)
- Gimp installed on my PC (download here)
- WinSCP installed on my PC (download here)
Here is an example image from my sequence followed by the effect I was after with a logo in the bottom corner.


Step 1 – Create time-lapse sequence
To start off I needed a sequence of images so I used this command to get the Raspberry Pi camera to create an image every 30 seconds for 1 hour. This was a total of 120 images.
raspistill -o timelapse_%04d.jpg -tl 30000 -t 3600000To speed things up I decided to create the video on my PC so I copied the 120 images from the Pi to the PC using WinSCP.
Step 2 – Create logo overlay graphic
Next I created my overlay image in Gimp that was 280×280 in size and saved as a PNG file. This format is great because it allowed my logo to sit on a transparent background. This image was named “watermark.png” and copied into the same directory as the set of images from the Pi.
Step 3 – Test video
I used AVConv (part of the Libav library) to compile the MP4 videos. This is an alternative to using FFmpeg. This can be done on the Pi but it is much faster on the PC.
To get a quick feel for the video and decide on a frame rate I created an initial video using :
avconv -r 5 -i timelapse_%04d.jpg
       -r 5 -vcodec libx264 -crf 20 -g 2
       -vf crop=2592:1458,scale=1280:720 timelapse.mp4
Step 4 – Final Video
Once I decided the frame rate was OK it was time to re-render the video. This time I added the additional options to the AVConv command to overlay the logo on top of the video :
avconv -r 5 -i timelapse_%04d.jpg
       -r 5 -vcodec libx264 -crf 20 -g 2
       -vf "movie=watermark.png [watermark];[in] crop=2592:1458,
            scale=1280:720 [cropped],[cropped][watermark]
            overlay=20:20 [out]" timelapse_logo.mp4
Here is the final video complete with a brief rainbow and rain splattered window :

4 Comments
Funny to do is adding a timestamp-watermark to your images :
for i in `find /raspitimelapse/ -name \*.jpg`; do

STAMP=`/bin/date -r $i +"%H:%M:%S %d-%m-%Y"`

/usr/bin/convert -pointsize 40 -size 1280x700 xc:none -fill red -gravity SouthEast -draw "text 30,10 '$STAMP'" miff:- | /usr/bin/composite -tile - $i $i

done
“date -r” reads the modification date of the image.
Hi Alanb,
This is exactly what I wanted to do! What do I need to install to get the Convert and Composite functionality?
Nick
Nick, I think those utilities are part of the “Imagemagick” image processing library. Not had a chance to check but try installing using “sudo apt-get install imagemagick”.
Thanks Matt, that works like a dream.
Nick