The HDMIPi is a 9 inch screen and enclosure specifically designed for the Raspberry Pi. It was funded through a successful Kickstarter campaign. The screen has a native resolution of 1280×800 and the driver board provides two HDMI inputs.
I opted for the version with a black enclosure and my plan was to modify and configure it to create a truly portable Pi based system that I could power up with the minimum of fuss. No, it isn’t a replacement for my tablet or laptop but it would give me a Pi based system to use away from a power socket.
I wanted the following features :
- Keyboard & Mouse
- Internal power supply
- A stand
- WiFi
- Bluetooth
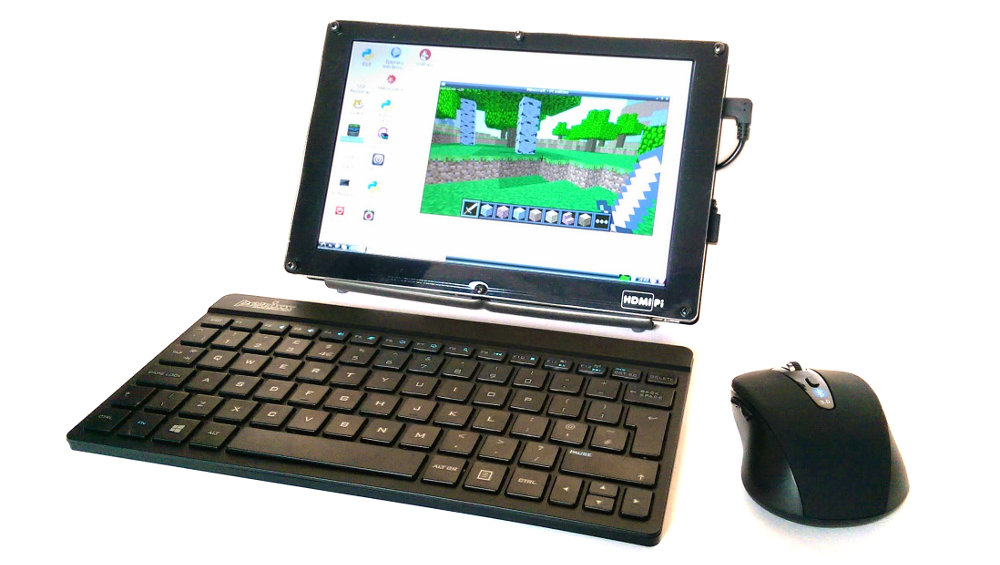 I added the following to my system :
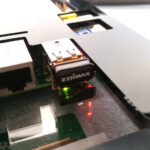
- Edimax 7811 WiFi dongle
- Tesco Bluetooth dongle
- Generic Bluetooth mouse
- Perixx 804 Bluetooth keyboard
- Lumsing PBJ-6200 6000mAh power bank
 Internal Battery
Lumsing sent me a PBJ-6200 battery to review and by coincidence it’s shape seemed perfect for the HDMIPi. In order to mount it inside the enclosure I replaced the supplied 12 mm hex standoffs with a 15 mm set. This gave an extra 3mm of height. The battery fits beautifully. It is connected to the HDMIPi PCB using a microUSB cable with right-angle connectors. The battery works great and powers the Pi and screen with no problems. Unlike some other supplies I tried the WiFi dongle works fine as well without any drop-outs.
Stand
 One of the Kickstarter proects that caught my eye recently was “Plinth”. This is a small light-weight stand designed for tablets but it turned out to be the perfect stand for the HDMIPi. See the myplinth.co.uk website for more details. It folds up nice and flat which makes transporting it easy.
Custom Buttons
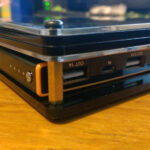
 Although I didn’t plan on changing the supplied buttons fate had other ideas. “Dr Jekyll” published a design for some replacement buttons on Thingverse and Graham Taylor (@rpiSchool) kindly printed me a set.
Due to my extended standoffs I had to mount the buttons on the reverse of the backplate.
Mouse & Keyboard
I already had the Perixx keyboard from previous experiments but I needed to source the mouse. It was surprisingly difficult to find a mouse that just had plain Bluetooth. Many of the wireless mice on the market come with manufacturer specific dongles (or “unifying receivers” as Logitech call them). This is a slightly bizarre situation as laptop users will already have Bluetooth so an additional dongle is just a waste of a USB port. Luckily eBay came to the rescue with a £5 device straight from Hong Kong.
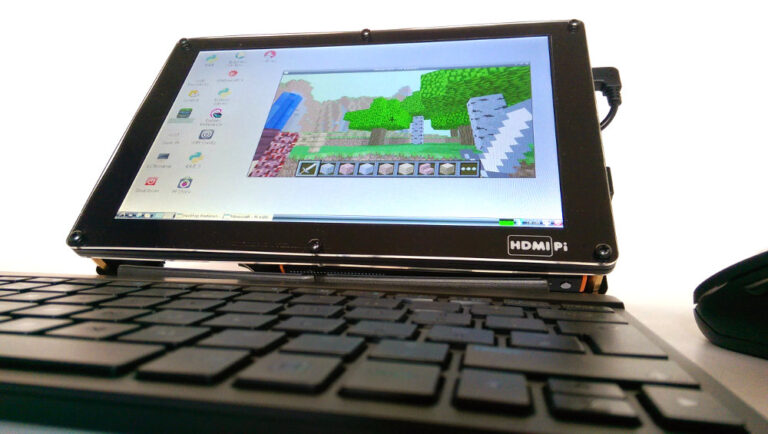
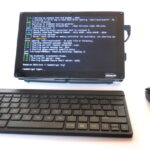
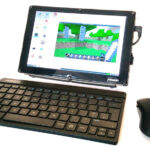
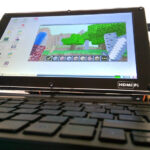
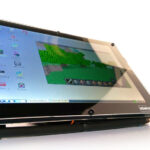
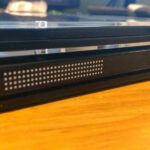
Here are some photos of the finished system :
Full details of how I configured the software on my HDMIPi can be found in “My Portable Raspberry Pi HDMIPi Build – Part 2” post.
Update #1 – Cost
Here is a list of all the components and their approximate cost :
| Item | Shop | Cost |
|---|---|---|
| HDMIPi | Kickstarter | £70.00 |
| Pi Model B | CPC | £30.00 |
| SD card | CPC | £5.00 |
| Bluetooth dongle | Tesco | £5.00 |
| Edimax WiFi dongle | Amazon | £9.00 |
| Lumsing Battery | Amazon | £17.00 |
| Perixx Keyboard | Amazon | £28.00 |
| Mouse | eBay | £4.80 |
| Power cable | eBay | £3.00 |
| Hex standoffs | eBay | £0.60 |
| £172.40 |
I already had half of the components so the actual cost to me wasn’t quite so high. You could reduce the total by using a cheaper keyboard. The total cost is clearly more than alternative devices but the advantage with this set up is that components can be re-purposed in future projects.
Update #2 – Battery Stamina
While playing an MP4 video in a continuous loop the device lasted :
2 hours 48 minutes

7 Comments
How long do you get from a fully charged lumsing battery pack in this setup?
Can you share the cost of the components so that we have an idea of the price of the
project?
Great project and clearly shows how key components come together to make a system.
I’ve updated the post to list the components with approximate costs.
Hi,
I am looking at doing a similar project. I was planning on using an 11.1V Lithium-Polymer battery, connected to the 12V Port on the HDMIPi Driver board. However, the one you have looks like you get much more capacity (6000mAh over about 2100 for the same price with an 11.1V LiPo). My main question is do you connect the driver to the 2.1A Port, or to the 1A one?
The one you used appears to cost about £20 on Amazon at the moment, but this one seems almost identical (except that it has one USB port), would it work?
http://www.amazon.co.uk/gp/product/B00L0YME7C/ref=as_li_tl?ie=UTF8&camp=1634&creative=19450&creativeASIN=B00L0YME7C&linkCode=as2&tag=raspberrypispy-21&linkId=VCRT2HP7CINLG4XQ
Thank you
I used the 2.1A port. The HDMIPi screen draws about 1000mA so the 1A port wouldn’t be suitable.
Size wise that power looks perfect. It is thinner so may fit without needing to change the hex standoffs. The only issue is that with some power banks I had trouble with the WiFi dropping out. I think was due to voltage drops causing problems with the USB WiFi dongle. The Lumsing power banks seemed to be much better.
So without trying it’s impossible to know for sure. Personally, given the low cost I would give it a try. If you had problems you could use it for other things.
Could this battery be charged while in use. I have a anker battery pack but it stops as soon as I plug in the charger.
I don’t think so. Most USB power banks don’t allow charging and discharging at the same time. So they won’t work in the same way as you would expect a laptop battery to work.